Hi friends, today we are going to make a digital web-cam in illustrator. Most people like to work with Photoshop and needless to say that Photoshop is very handy when it comes to creating beautiful effects. However, Illustrator has its benefits, especially when you want to create vectors. Pen tool is very easy to handle and shapes are beautifully define. You’ll see how easy it is to make a vector or an Icon in illustrator for yourself in this tutorial. So without wasting any more time let’s begin with our webcam.

Tutorial Details
Program: Illustrator CS5
Estimated Completion Time: 25-30 Minutes
Step 1
Create a new document of 800px width and 800px height in illustrator.

Step 2
Select the Ellipse tool (L) and make a semi oval circle. Fill it with the radial gradient (light grey –white) as shown in the image below.

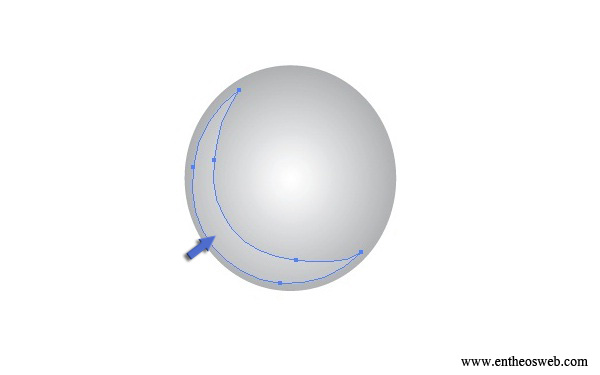
Step 3
Select Pen tool and make a crescent shape as shown in the image below. Fill it with white color #ffffff , cancel the stroke and reduce its Opacity to 35%.
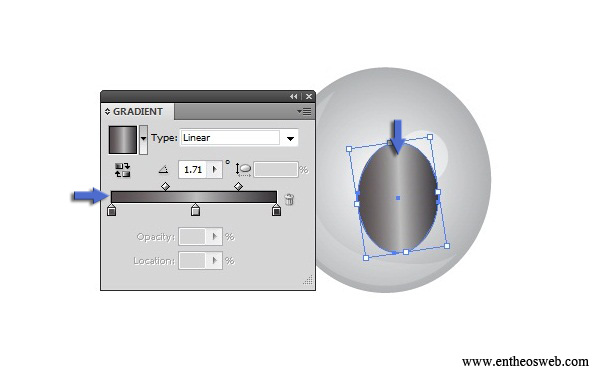
Step 4
Again select the Ellipse tool and make an oval shape in the middle of the circle we made earlier. Fill it with the gradient shown in the image and place it a bit lower in the circle.
Step 5
Copy the oval shape and paste in place. Scale it a bit smaller than the last and fill it with a new gradient as shown below.

Step 6
Now select the Pen tool and make a strip like the one shown in the image below. Make another thin strip and fill these with white color #ffffff. Reduce the Opacity to 40%. Place them over the ovals as shown below.

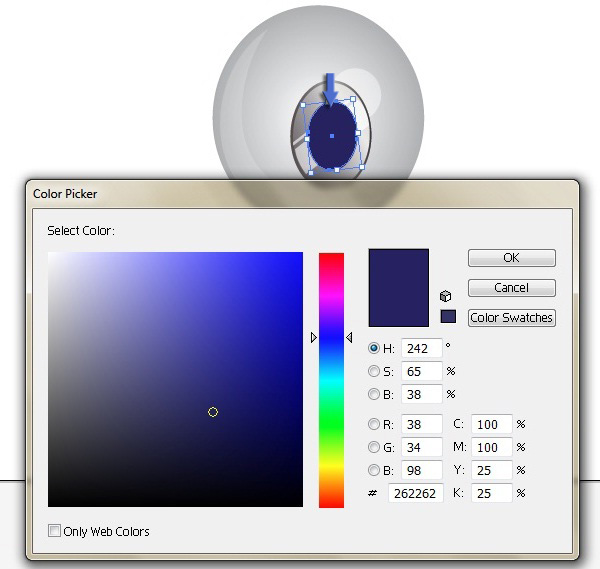
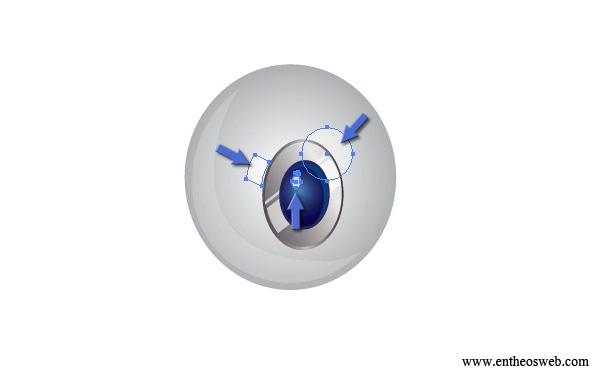
Step 7
Now make another small oval shape with the help of Ellipse tool and fill it with the dark blue color #262262.
Step 8
Copy the blue oval and paste in place. Scale it a bit smaller, fill it with the radial gradient shown below. Use the gradient tool to place the lighter circle on the upper left side.

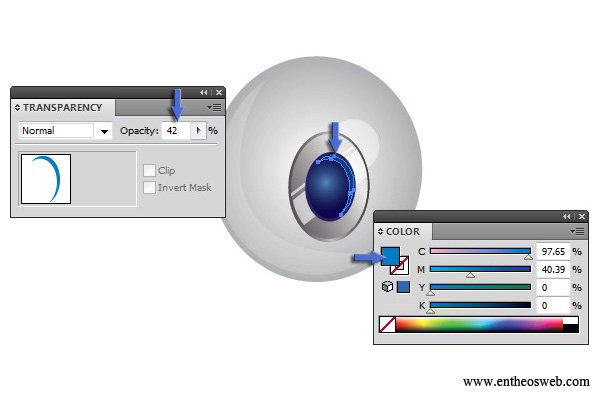
Step 9
Make another crescent shape, fill it with light blue color and place it at the right side of the blue oval lens as shown below.
Step 10
Make a couple of shapes with Pen tool to add shine and a bit of reflection on the cam and place them according to the picture given below.
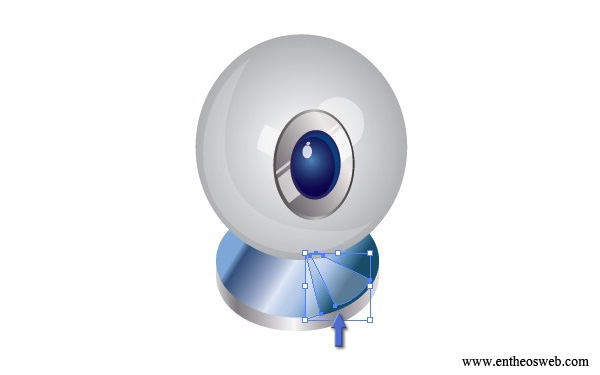
Step 11
It’s time to make the stand for our cam. You can use Ellipse tool to make a horizontal oval shape but we have used Pen tool and place it underneath the cam circle. Fill it with Silver gradient.

Step 12
Copy the oval shape and paste in place. Fill it with the silver blue gradient and then place this oval a bit ahead as shown in the image below.

Step 13
Make a couple of triangle shapes, fill them with white color and place them according to the image below. Reduce the Opacity to 45%.
Step 14
Make another triangular shape; fill it with black color#000000. Reduce Opacity to 45% and place it as shown in the picture to make the shadow of cam above.

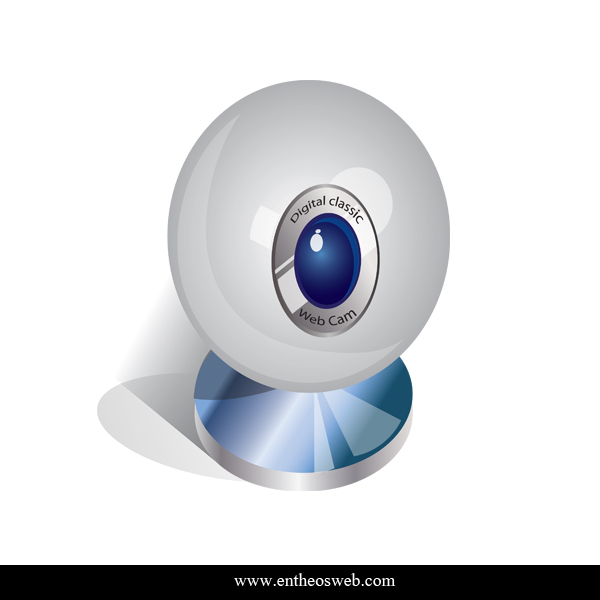
Step 15
In the last step, we’ve added a few words around the lens and a shadow under the webcam with the help of Ellipse and Pen tool. Now our webcam is ready. Hope you had fun making it.
Illustrator Tutorials & Resources