Image Trace is a New Feature in Adobe Illustrator CS6. It will convert the raster images to editable vectors using a completely new tracing in less time.
In this tutorial learn about Image Trace feature, which can automatically turn the photos into a vector graphic.

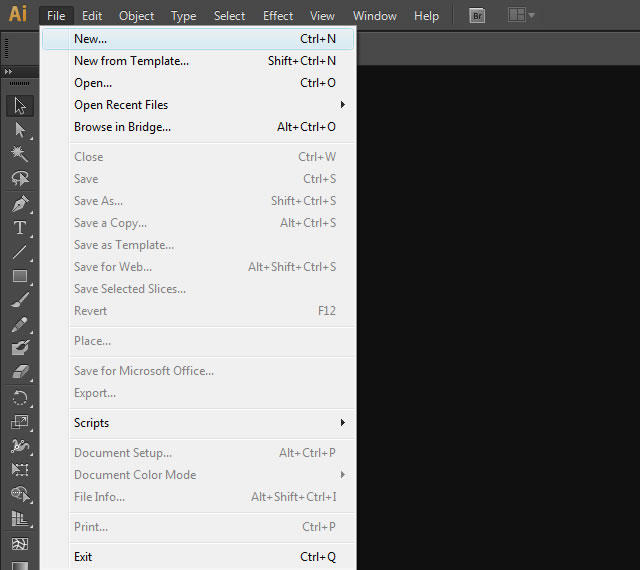
Step 1 : In Adobe Illustrator CS6, open a new document using the File > New
Step 2 : Specify the width and height as 470px & 350px. Thereafter save the file.

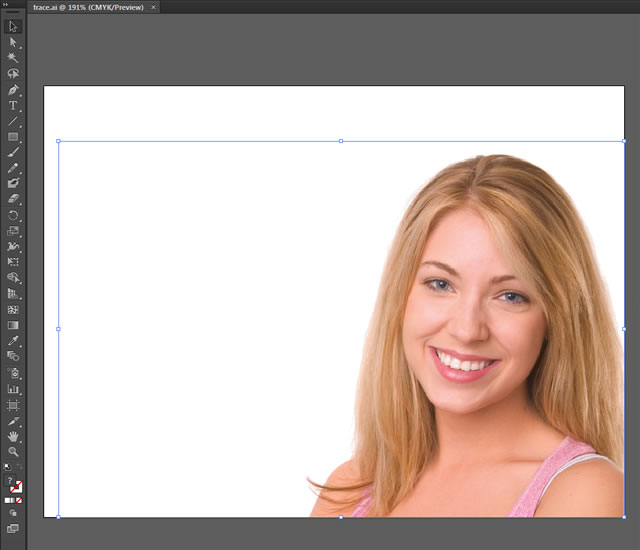
Step 3 : Choose File > Place to place an image into an Illustrator artboard. Here I have used a girl image.

If you need to resize the image then you can use “Free Transform Tool“
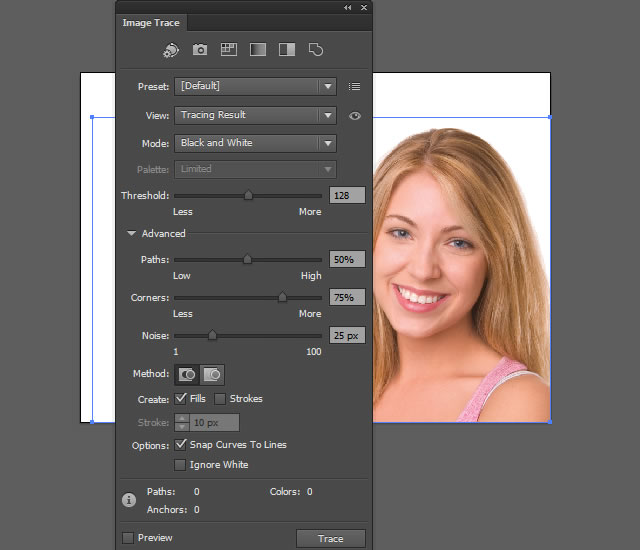
Step 4 : Choose Window > Image Trace to open the Image Trace panel.

As soon as the Image Tracing Preset with drop-down menu appears on the top with many Preset.

The Preset menu offers more options, we can choose a tracing method from them.

Step 5 : Press the “Image Trace Panel” Icon on the top to select the perfect preset which suits your option pretty well.


Image Tracing settings can be made in the Tracing Options dialog box. You can also get additional setting options, if you press the Advanced option in the Image Trace panel.
Step 6 : Let’s apply Image tracing preset to the image. I’ll be using here the Preset Low Fidelity Photo.
It allows the quick creation of the image tracing with limited colors : 241 as shown below

Step 7 : Try out with many preset. The below image is the outcome of the “Line Art” preset.

Note : Selecting Object > Image Trace > Release, we can always remove the tracing, returning it to a raster image.
Step 8 : Apply the preset “Sketched Art“
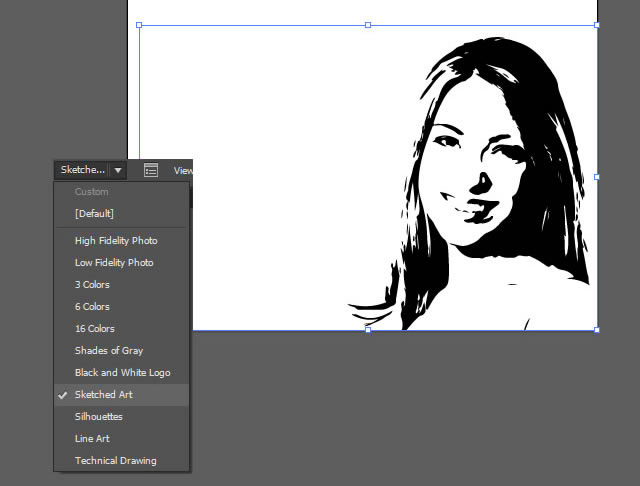
Adjust the settings as below.

Step 9 : The Threshold option is to create more darker pixel. Hence if you make the threshold value more then the image will be darker as below.

Here I have adjusted the Paths to 85% to get more details of thhe image. Always make sure the value of Noise to be in lower value.

Step 10 : Check the Fill option & Ignore White box.

Step 11 : That’s it we have obtained the final tracing image.

Step 12 : To convert an image into vector object with the optimal amount of points. Click the Expand button.

Step 13 : Converted the final image into editable vector object.

Step 14 : The final image along with the original image for you to compare.

Illustrator Tutorials & Resources


