In this tutorial, you will learn the basics of texturing in Maya by adding texture to a model of the park bench. In case you missed it, you can learn how to model a park bench in our 3D Modeling in Maya Tutorial.
You can refer to the video tutorial as you do through the steps given below:
To get started Select one side of the park bench which would be metal. Go to UV and select automatic, This will unwrap the object that has been selected to the best of what is capable by Maya Without 3D cut and sew
Once the object has been unwrapped select it and duplicate it so that u can bring it to the other side of the bench.
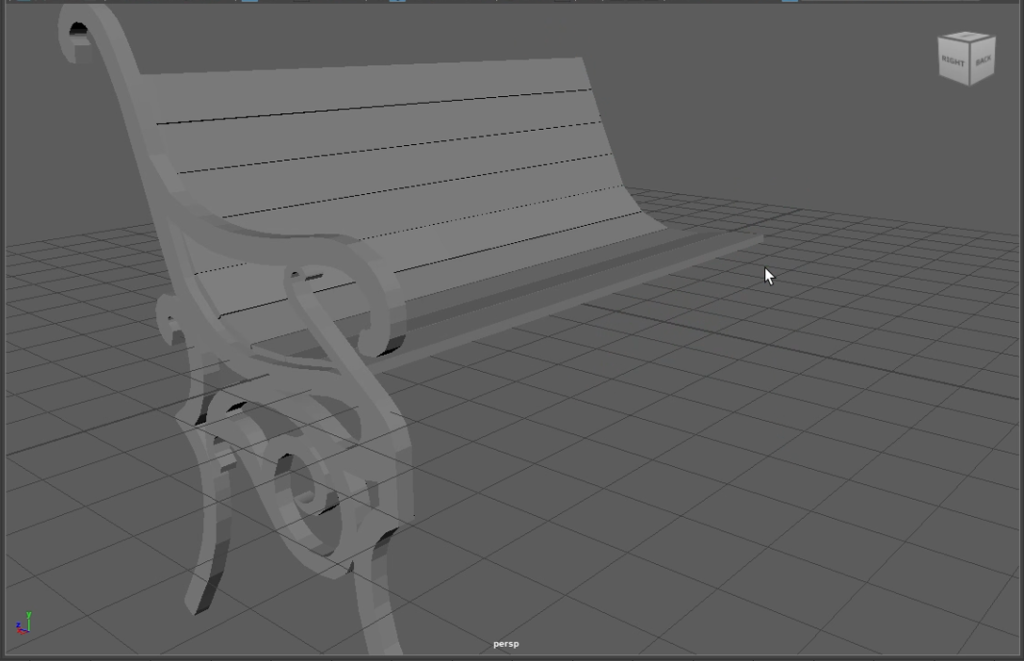

The Object that has been duplicated will have the same unwrap as the one that was used to duplicate the new object.
Automatic Unwrap all the planks used in the bench and place them in different areas within the box with different scaling. This will make it so that the texture that will be applied to the planks will all be slightly different from one another.
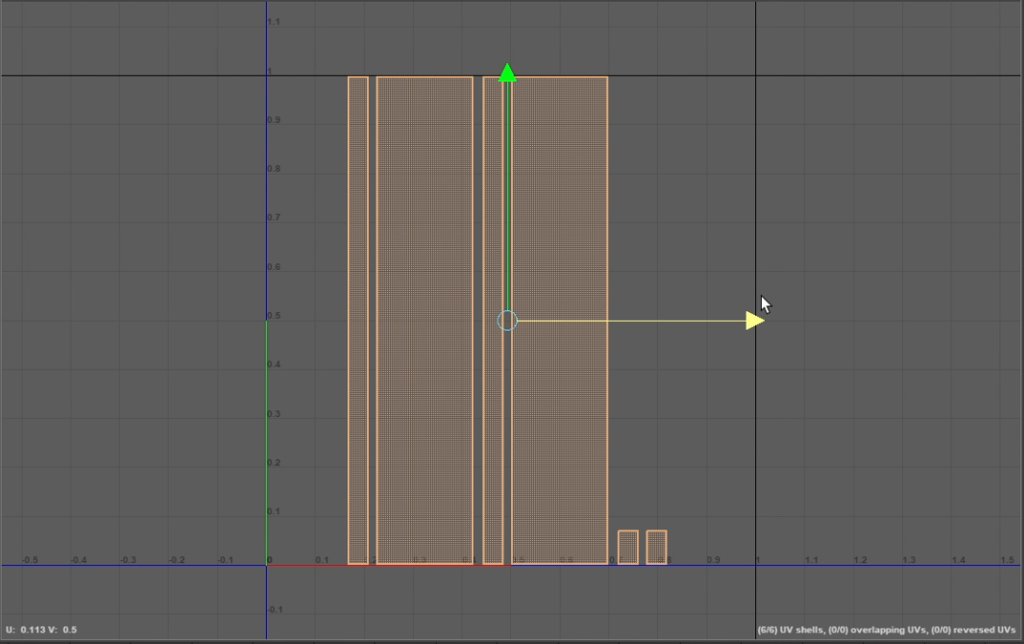
Once everything is unwrapped select all the planks >> hold right-click >> assign favorite material >> Lambert.

After the lambert has been created under the attribute editor on the right click on the small checker box next to color >> file. click the folder-looking icon next to the image name and select the texture that you want to apply.

Press 6 so that the textures show on your viewport.
To texture the handles of the bench select both the handles, right-click>> assign new material >> aiStandardSurface.
Under attribute editor select presets* >>car paint metallic and change the color to a color that you want as the bench’s handles.
With this you have finished texturing the Park bench. Congratulations!
In this tutorial, you have learned texturing basics in Maya by texturing a park bench. We hope you found this tutorial helpful!
Here is the video tutorial for your reference again:

3D Modeling Tutorials:
Maya Tutorials:
Blender Tutorials:
Game Art and Design
