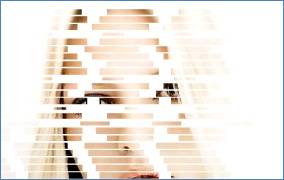
Learn how to create a unique striped box transition effect using advanced masking effects in Flash.

Demo (swf file)
Tutorial Details
Program: Flash CS5
Difficulty: All
Estimated Completion Time: 40 min
Tutorial Assets
The following assets were used during the production of this tutorial.
In this tutorial, you will learn how to create an advance masking effect of an images. Here we are taking new flash document with action script 2.0. See the reference image below.

Step 1: Setting Up Document Properties
Now Select Modify from the menu bar and select Document or You directly can press ctrl + J to open the document properties.

Now change the stage dimensions as 285×180 and the FPS is 30, as shown in the Figure below.

Step 2: Importing necessary images
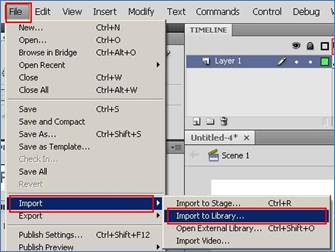
First import the downloaded used images from the source. To do that, Go to the File menu > Select Import > Select Import to Library.
Step 3: Positioning images on to the stage
Before starting we already have layer 1, now name the layer as Images. Drag the 1.jpg image from the library on to the stage.

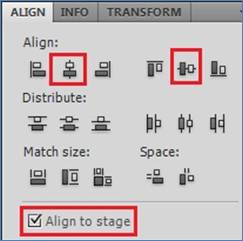
Align the image to the center of the stage using the align panel. Keep in mind that to align any item to the center of the stage, Check on the “Align to stage” check box.
Step 4: Creating masking shape
Now insert a new layer above the Images layer, and name it as Masking.

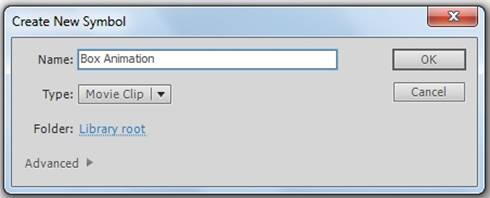
Press Ctrl + F8 to create a new symbol. Type the name Box Animation and select type to Movie Clip.
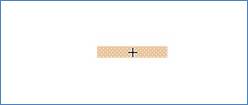
You will enter the Box Animation movie clip. Then create a rectangle shape as given in the reference image below:
Step 5: Creating masking animation
Now select the frame and drag the frame to frame 10.
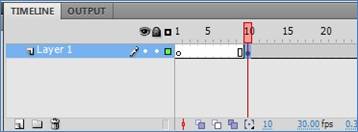
Insert new key frames by pressing F6 on frame 15 and 30.

On frame 10, transform or resize the rectangle to small and move it to slightly right from the center point as given in the reference image below:

On frame 15, move the rectangle left from the center point as given in the reference image below:
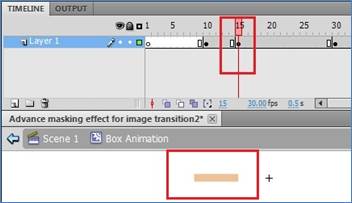
On frame 30, transform or resize the rectangle to small and keep it to the center point as given in the reference image below:

Now Select any frames between frame 10 and frame 30 and create shape tween. To do that, Select the frames > Right click on the selected frame > Select Create Shape tween.
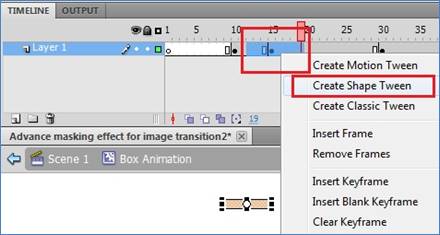
Now insert new key frames pressing F6 on frame 75 and 90.

Select frame 91 and Press F7 key to insert blank key frame.
Now Select any frame between frame 75 and frame 90 and create shape tween. To do that, Right click on the selected frame > Select Create Shape tween.

Step 6: Arranging the masking animation for Transition
Now come to the main time line and select the masking layer.
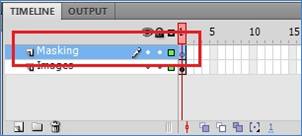
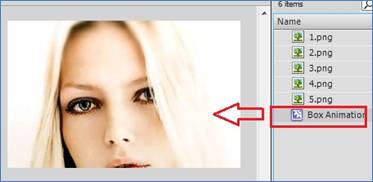
Open the library panel by Pressing Ctrl+L. Then drag the Box Animation movie clip symbol from the library.
To open the properties panel, Go to the Window menu > Select the properties. Then select the Graphic from the symbol drop down menu as given in the reference image on the left and Go to the Looping and Select Single Frame from the option drop down menu as given in the reference image on the right.
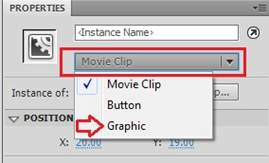
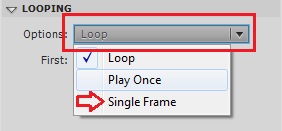
Now type 35 into the First option.

Step 7: Placing the Box Animation symbols over the image
Now move the Box Animation symbol to the top left on to the stage.

Here we will cover the image from number of copies of Box Animation symbol. Copy this symbol. To do that, Press Ctrl+C, then Ctrl+V and place each copied symbol as given in the reference image.
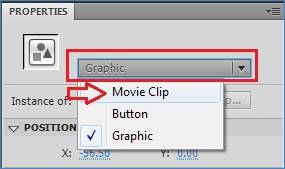
To open the properties panel, Go to the Window menu > Select the properties. Then select the Movie Clip from the symbol drop down menu as given in the reference image.
Step 8: Randomizing the animation clips
Now select all movie clip symbols and Press F8 to create a new symbol. Type the name Transition and select type to Movie Clip.
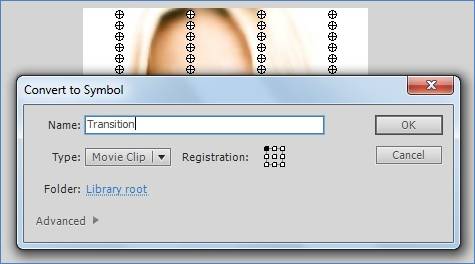
Now you will enter the Transition movie clip symbol. Select all the symbols and do right click and select Distribute to Layers.

Insert new layer and name it as Action.

Insert a new key frame on frame 20 by pressing F6. Select frame 20 and press F9 to open the action panel. Type stop(); into the action panel.
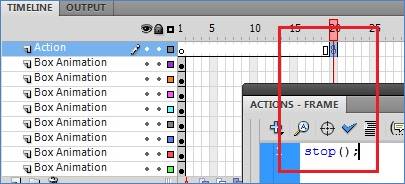
Now select frame 20 of all layer except of Action layer and Press F5 to insert frame.
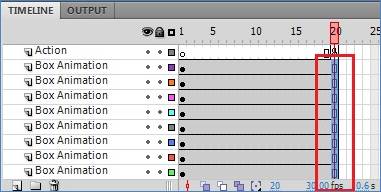
Here you can rearrange the starting frame of each layer according to you.
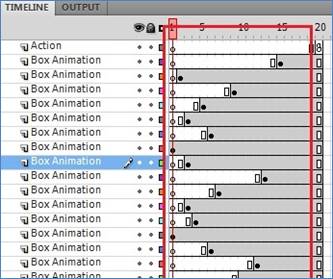
Step 9: Finalizing the transition
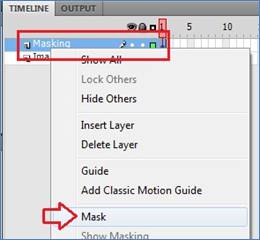
Now come to the main timeline and select the masking layer. You need to apply masking to this layer. To do that, right click > select mask.
In the end, we will place other images and give the time period for each image to appear onto the screen. Now insert key on frame 101, 201, 301, and 401 on both layers.

Now change other images on the Image layer, where the key frames are inserted. Press F5 on frame 500.
Now press Ctrl + Enter to see you effect. You will find the effect something like this.
