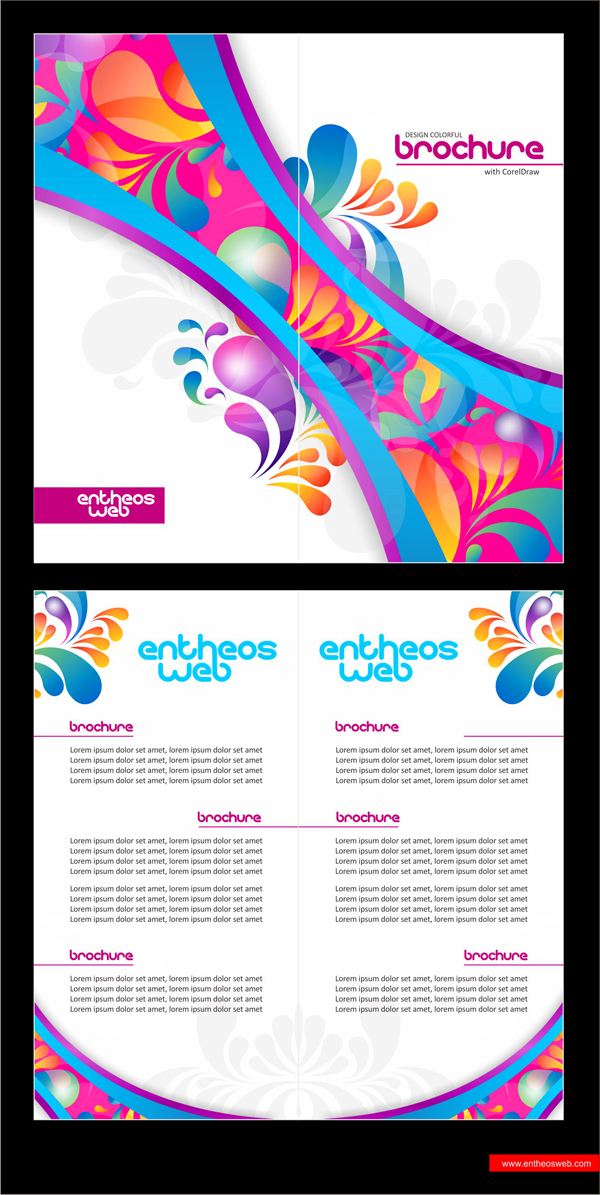
In this tutorial you will learn how to design a colorful brochure in Corel Draw. You will learn how to design the front and back of the brochure. The source .cdr file for this beautiful brochure design template is also available for download!

First of all you have to use CorelDraw with version 11+. In this tutorial I use CorelDraw X5, Okay lets get started. Let’s take a look at the basic elements used to create our design :
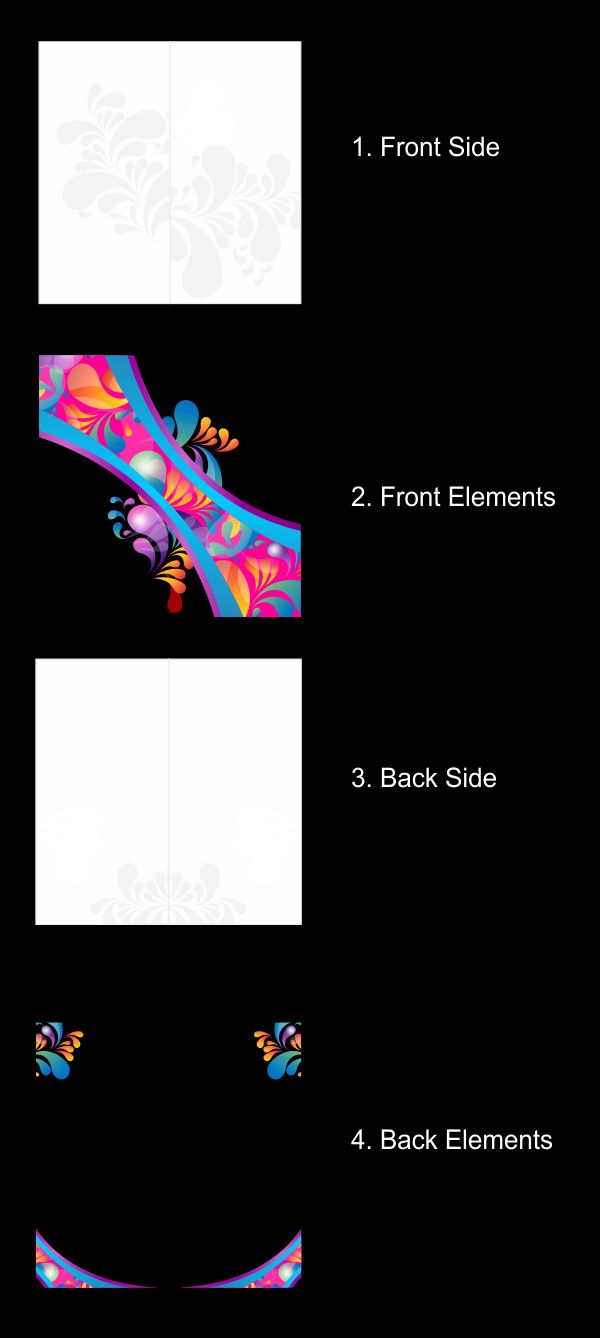
This also will be our steps to create the design.
Okay, now that you know the steps and elements, we will begin, first of all open your CorelDraw program, now create a new file and set the paper size to A4.

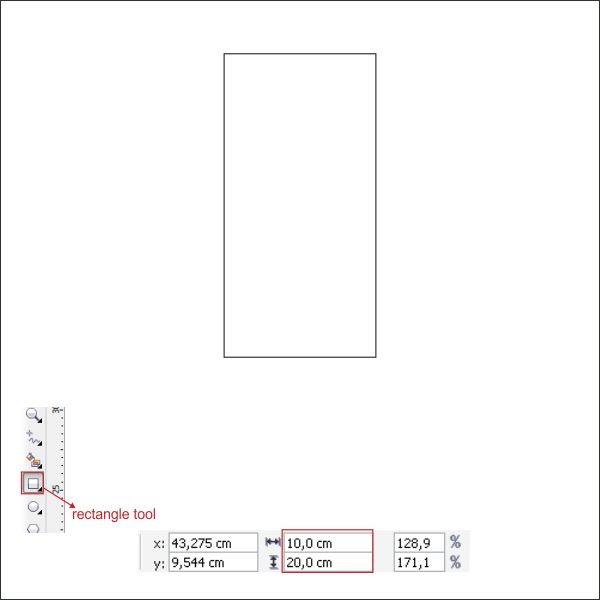
Now that we have our worksheet set, now we will begin to create the Front Side, first go to the “Rectangle Tool “, you can found it on the left toolbar, make a box shape and then make the box shape resized into 10 x 20 cm.
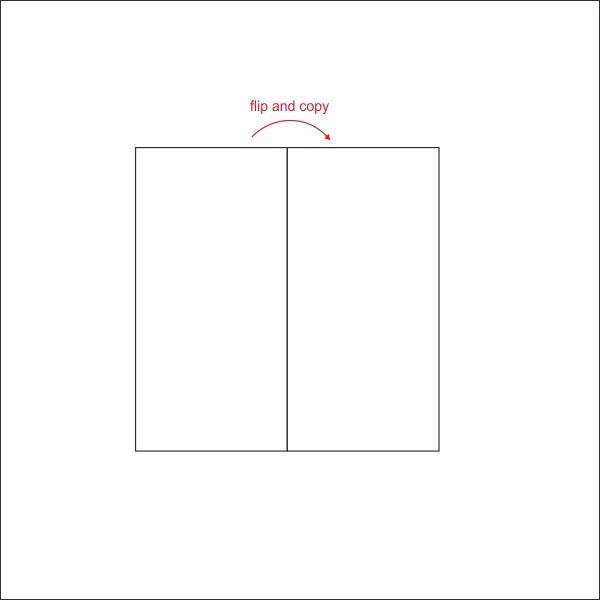
After that Flip and copy the box shape by pressing ” Ctrl + Left + Right mouse ” while dragging it to the right.
Now lets create the Brochure Front Elements, first go to the “Rectangle Tool “, make a box shape and resized it into 17 x 30 cm.

Go to the ” Shape Tool ” in the left toolbar, and right click the middle left side of the box shape, after that go to the upper toolbar and find ” Convert to Curve “.
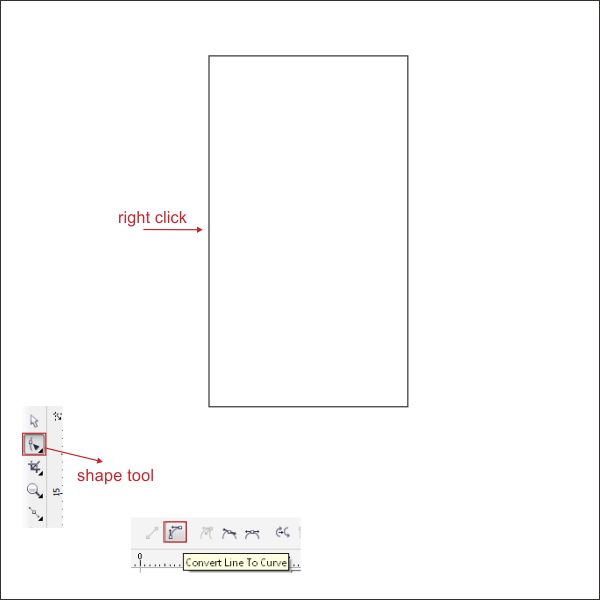
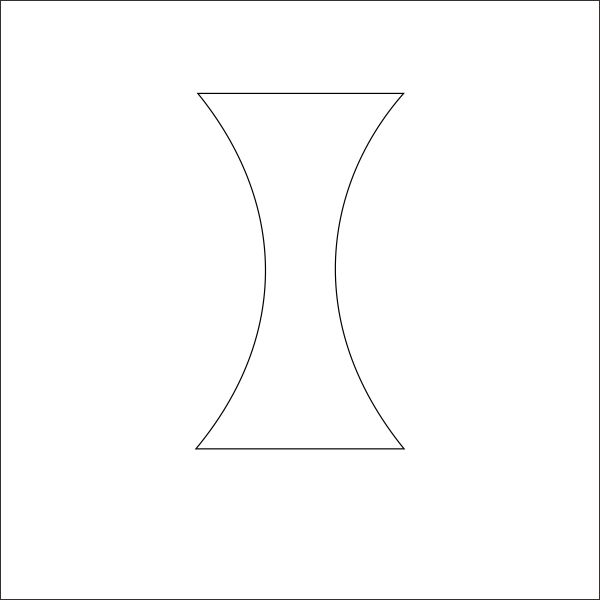
Now you see that there is an arrow on the corner, drag it in order to shape, shape it similar like below.

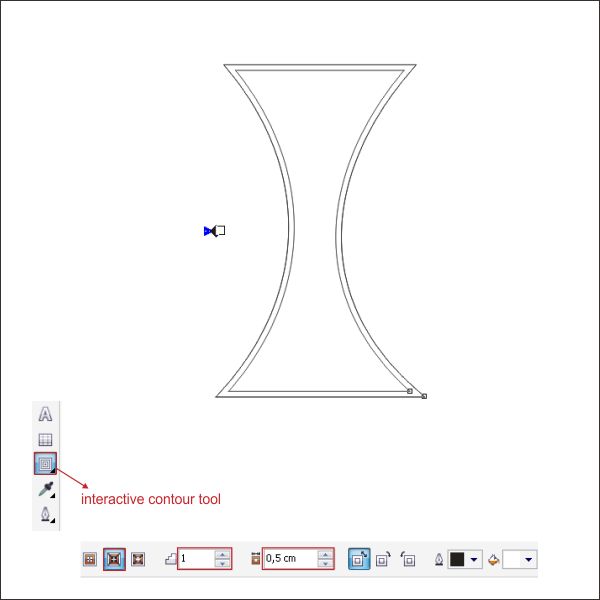
Now go to the ” Interactive Contour Tool ” in the left toolbar, after that set the contour type into Inside Contour.
Select the original shape, copy and resized it please make the copied shape smaller than the original.
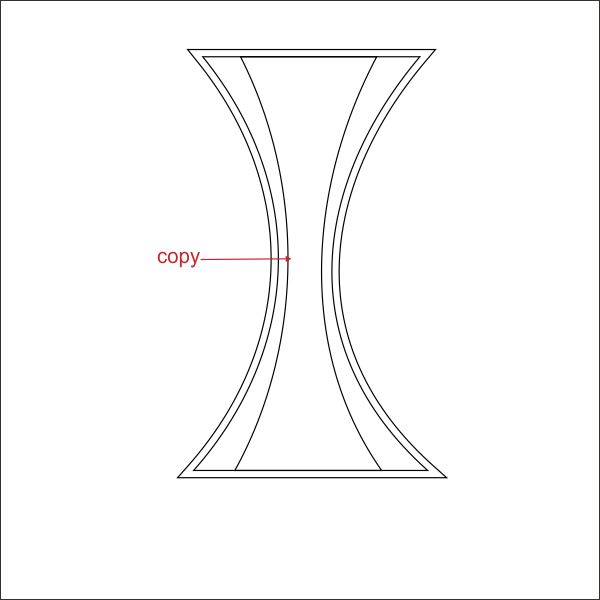
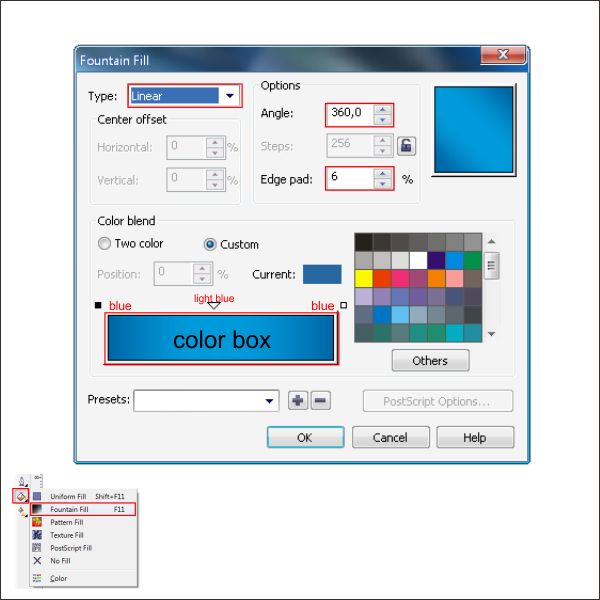
Now select the outer shape and put a color in it by go to the ” Fountain Fill ” tool in the left toolbar and apply the value below.


Now select the middle shape and put a color in it by go to the ” Fountain Fill ” tool in the left toolbar and apply the value below.

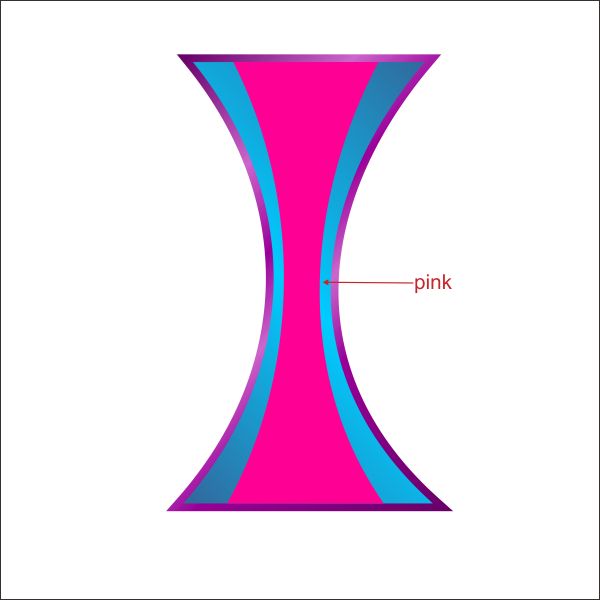
Now select the last inner shape and put a pink color in it.
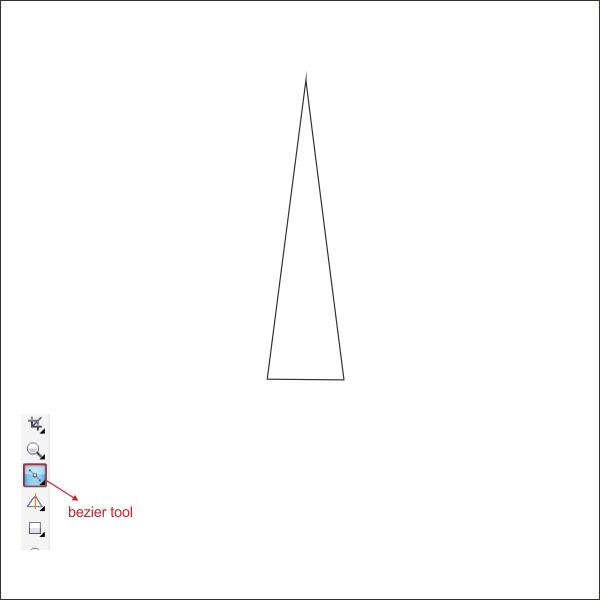
After that create a Triangle shape using ” Bezier Tool ” in the left toolbar, point and click to create the shape, make sure the last click is connected with the first, or else you cannot put color in it.
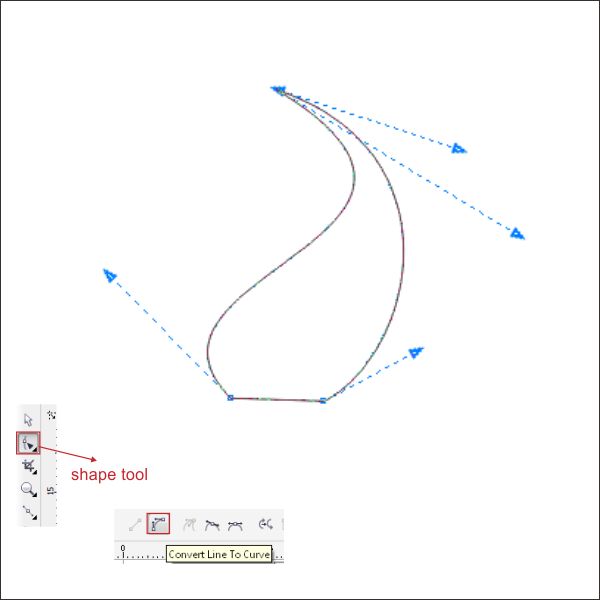
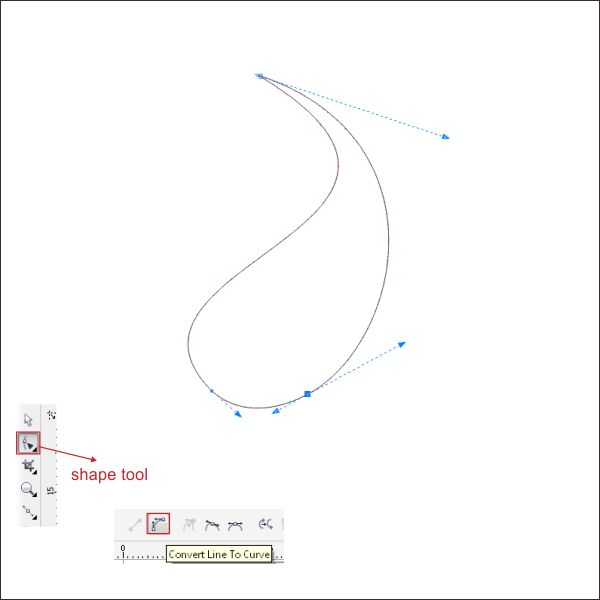
Using ” Shape Tool ” shape the Triangle shape similar like below.
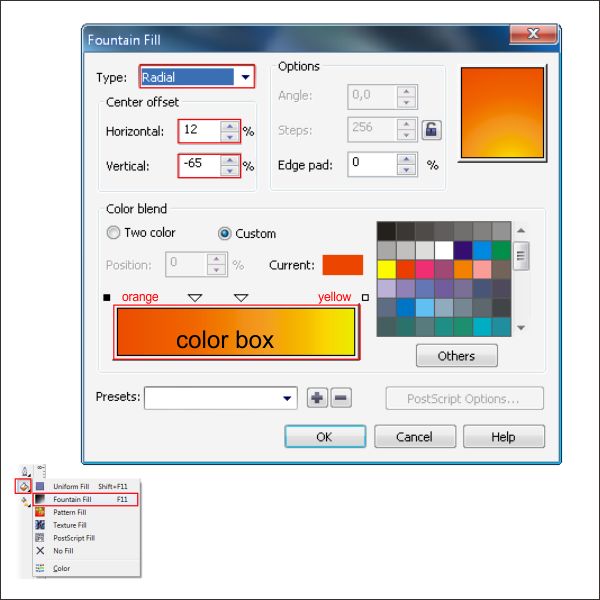
Lets put a color in it by go to the ” Fountain Fill ” tool in the left toolbar and apply the value below.

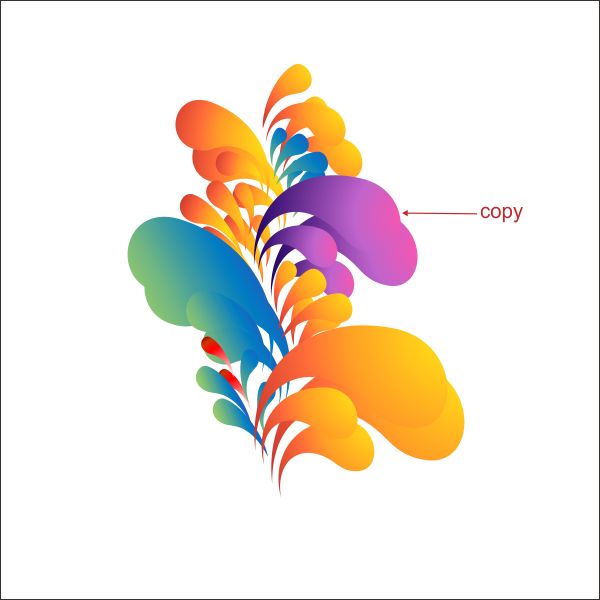
Copy the shape and create 2 more similar shape with different color, you can use any color that you like but in this tutorial i use green, blue and pink mix.

Now that we have our 3 different color shape, copy and rotate the shape similar like below.

Copy and rotate it again similar like below.

Make it more vibrant by copy and rotate it again.

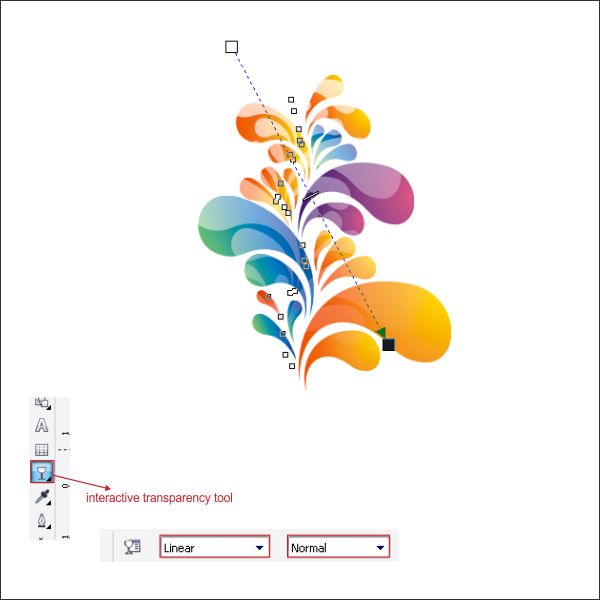
Now we are going to add some effects to the elements, select all the elements and copy it, arrange it on top of the original elements.
Select the copied elements, put a white color in it, and go to the ” Interactive Transparency Tool ” in the left toolbar, now you see that the cursor are changing into glass, drag it from top to the right bottom corner of the elements to make it transparent.
After that select all the elements, flip and copy it similar like below, make sure that the copied elements are smaller than the original.
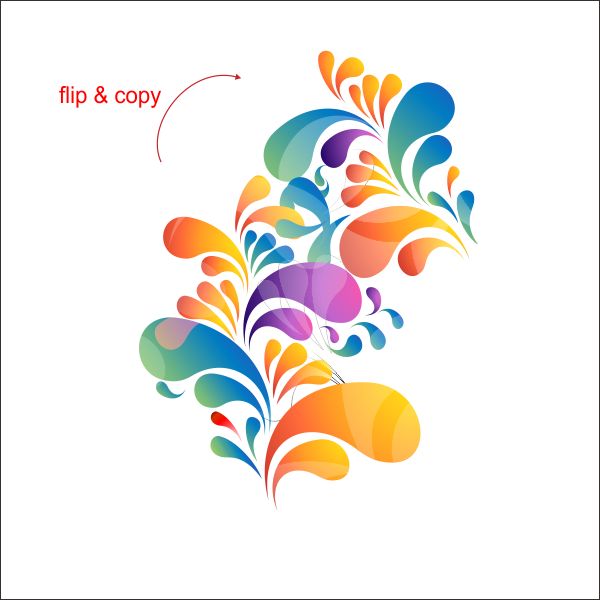
Select all the elements, flip and copy it again.

Okay now we are going to insert the Elements into the Middle Shape that we have made previously, select the elements and go to the upper toolbar and find Effect > PowerClip > Place Inside the container, then you will see a black arrow, Left-click it to the Middle shape, and now you will see that the Elements is inside the Middle shape.
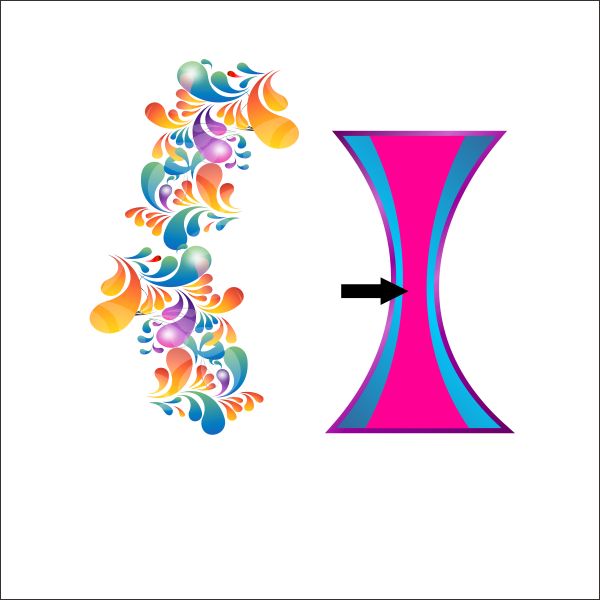
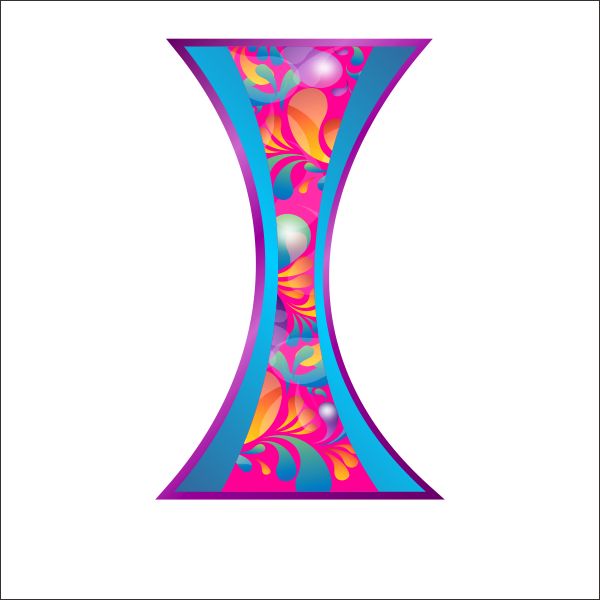
After that copy some of the Elements.

Arrange the elements into bottom of the Shape.

Select both the Shape and the Elements and rotate it.

Now select the Elements and copied it again, put gray color in it.
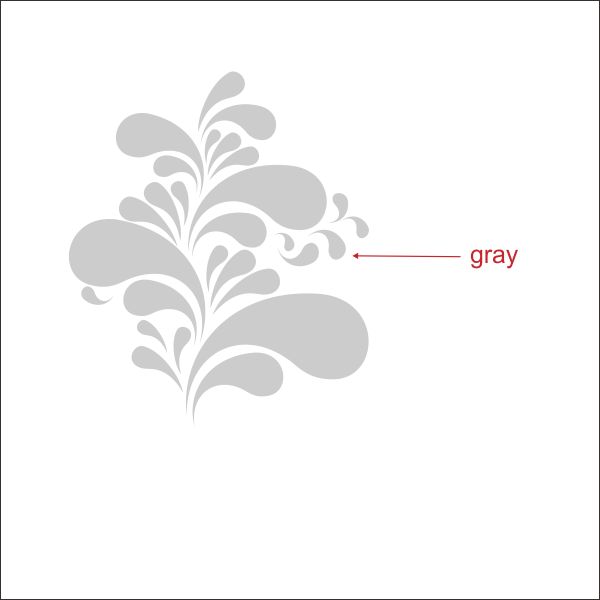
Make it transparent by go to the ” Interactive Transparency Tool ” and apply the value below.
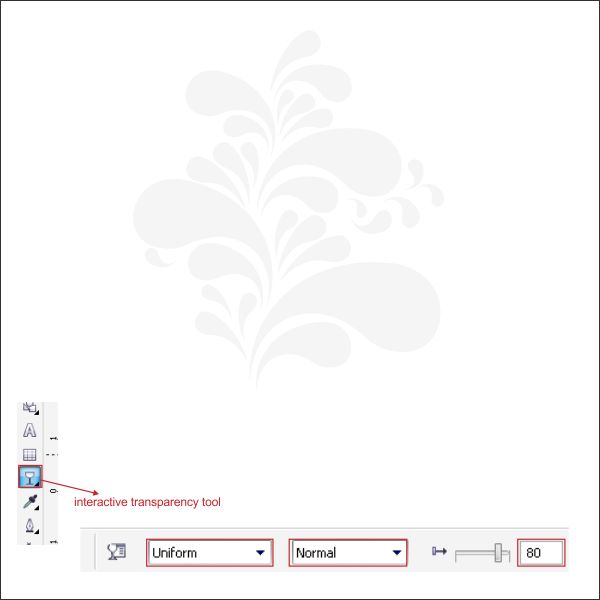
Copy and arrange the elements on top of the Shape.

Now select all the objects, and group it by pressing ” Ctrl + G “, after that arrange it on top of the Front Side Brochure that we previously made.

Select the Grouped Object, and place it inside the Front Side Brochure using ” PowerClip ” same as step 6.
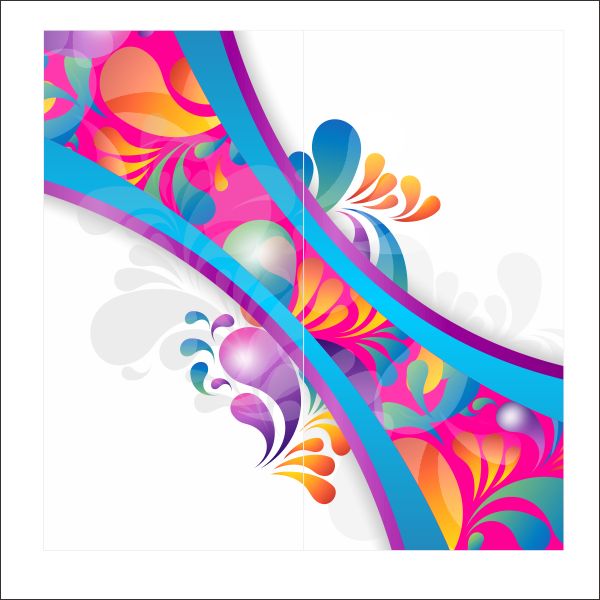
Okay lets create the Back Side Brochure, first go to the “Rectangle Tool “, you can found it on the left toolbar, make a box shape and then make the box shape resized into 10 x 20 cm.

Copy some of the Elements and arrange it on the Left top corner of the box shape.
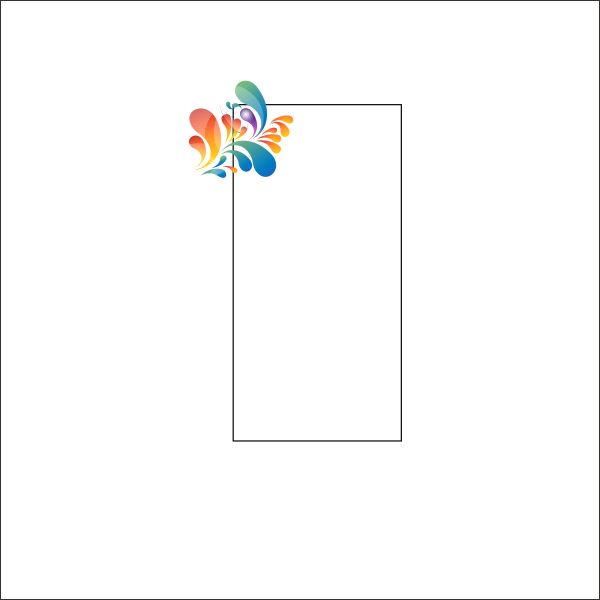
Place the elemets inside the Box shape using ” PowerClip” same as step 6.
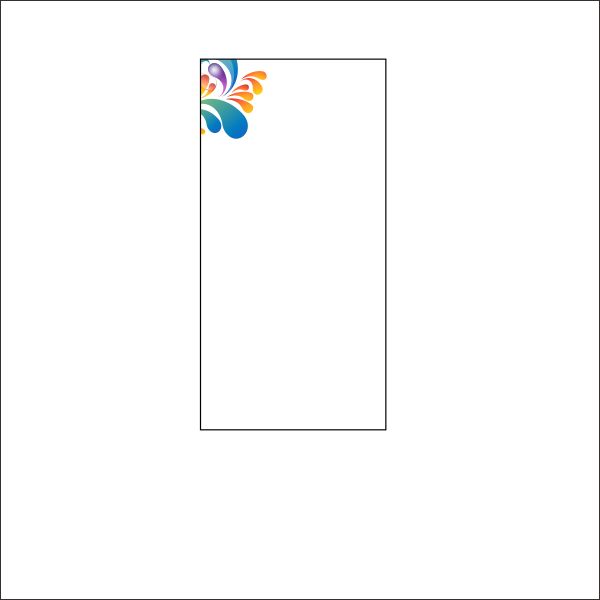
Now copy the Shape and put it on the Left bottom corner of the box shape.
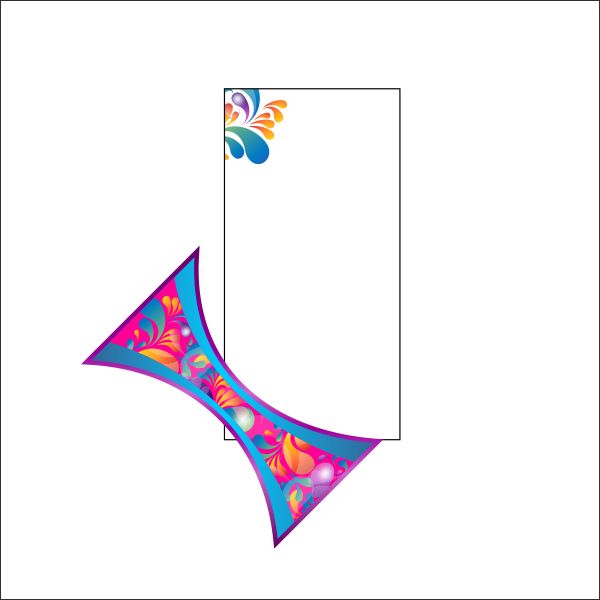
Place the shape inside the Box shape using ” PowerClip” same as step 6.
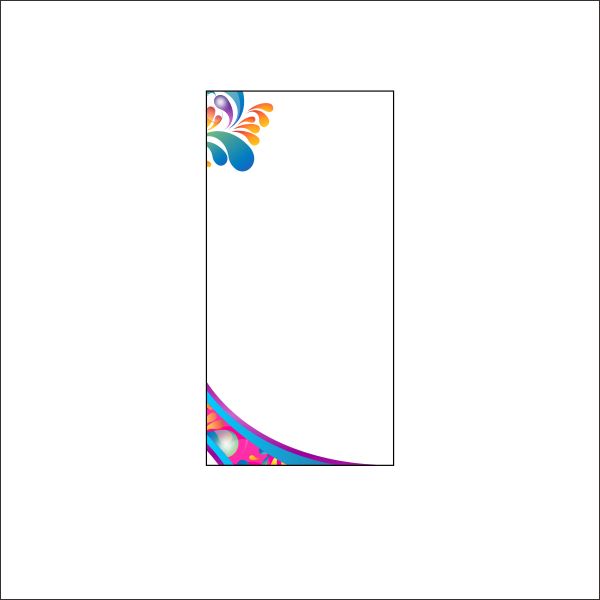
Now Flip and copy the Box shape similar like below.

Copy the Gray elements that we previously made.

Arrange it on top of the Back Side Brochure.
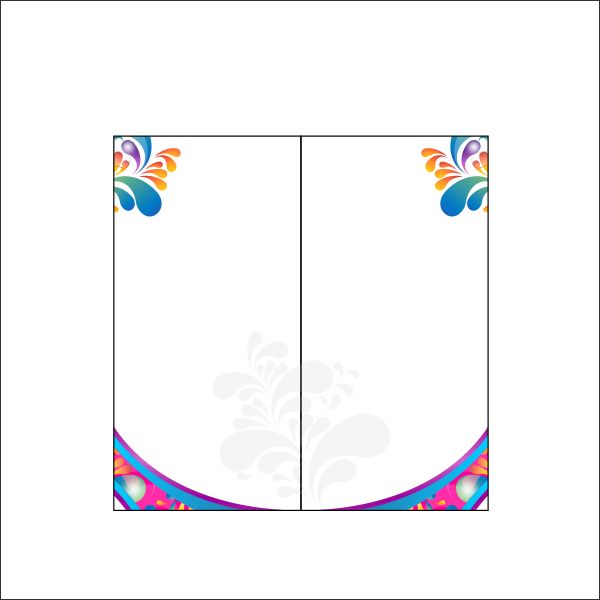
And we are done, you can make it more vibrant and exciting by adding more color, text and elements like the final image below.

You can also take a look at our collection of ready-made colorful brochure design templates to get ideas and inspiration while designing your own brochure!
Coreldraw Tutorials & Resources
