In this tutorial, we can learn how to create a circular photo collage using smart objects in Adobe Photoshop.

Let’s start our tutorial.
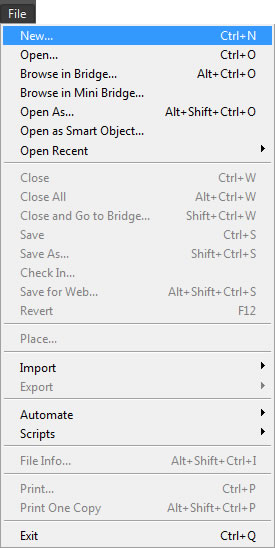
Step 1: Create a new Photoshop document in Adobe Photoshop. Go to File > New
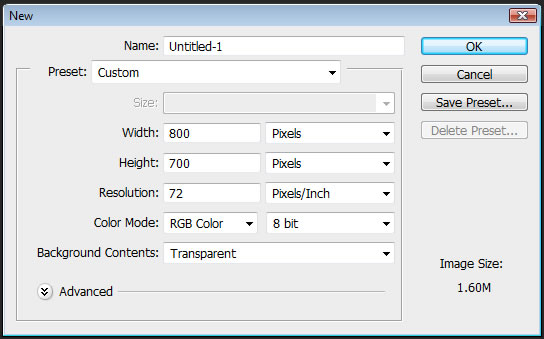
Step 2: Here we have used the width as 800 pixels and height as 700 pixels.
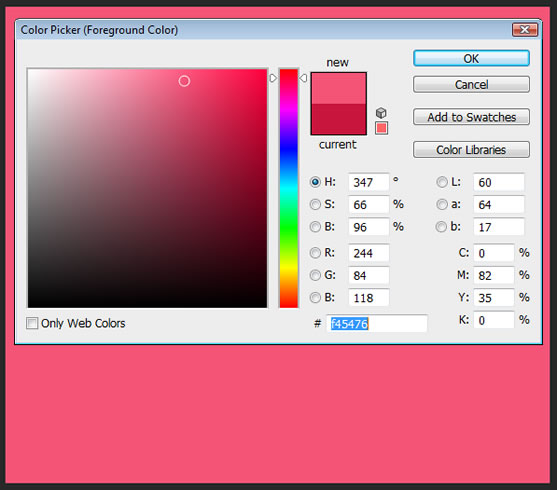
Step 3: Change the background color of the document into #f45476.
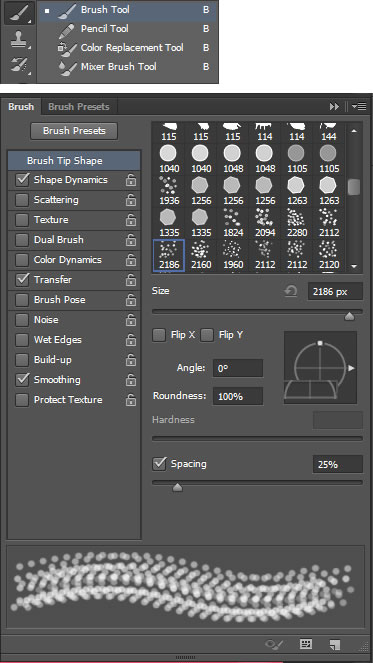
Step 4: Let’s give some bokeh effect to the background. Hence we’ll first need to select the Brush Tool. Click on the Brush Tool in the Tools panel to select it, or press the letter B. To choose any of the brushes, click on the small arrow-shaped button and a list will of brush types will appear.
You can try any brush as you like. Take the Brush Tool, select the Bokeh brushes and make changes as it shown below for the preferences
Note : The Brush tool is a basic painting tool. It can basically be used to draw lines/shapes of any colour on a blank surface or image. The essentials options for the brush tool are: Brush Tip Shape, Blending Mode, Opacity and Flow.
Step 5: Now just paint over the canvas using the Bokeh brush to obtain the bokeh effect.

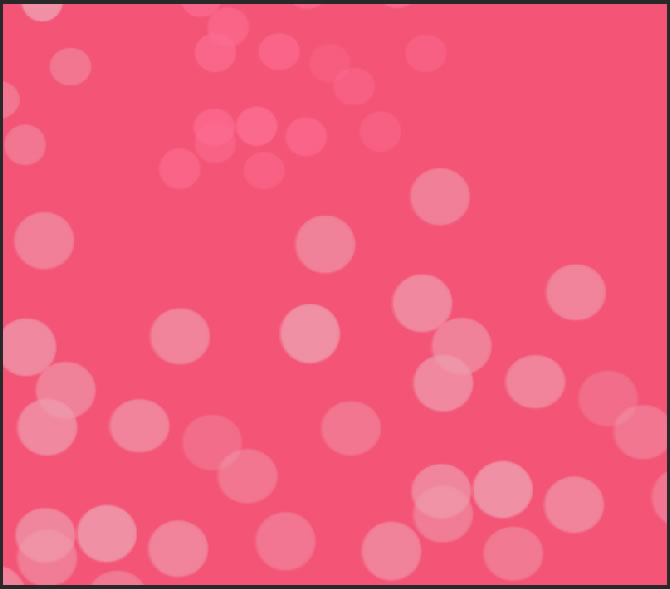
Step 6: Try again and again with different size of the bokeh brush. Here’s the final effect using the Bokeh brush:
Step 7: Now select all the layers with bokeh effect and press Ctrl + G to group them. Here I have double-clicked on the grouped layer and renamed the layer as “Bokeh Effects”.

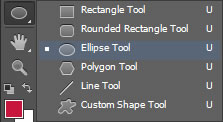
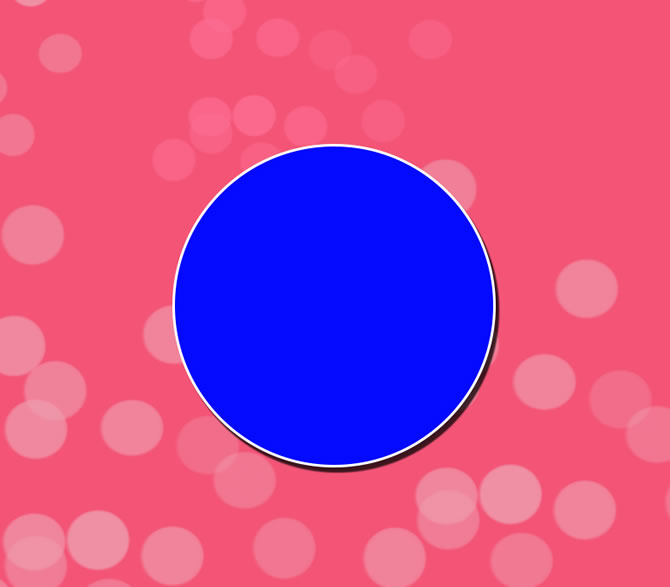
Step 8: Let’s draw a circle to place the photo for the collage effect. Use the Ellipse Tool (U) to draw a circle(hold down shift to maintain constant proportions).
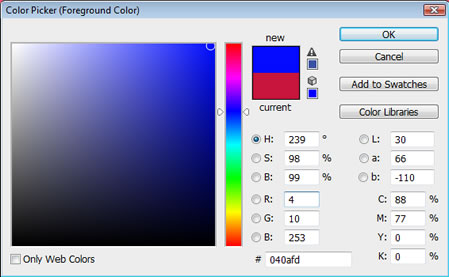
Step 9: Then open the Color Picker to fill it with color as we like. Here we will choose blue #040afd from the Color Picker, then click OK to close it.
Step 10: Choose the drawn circle and apply “Drop Shadow“. Use the below settings
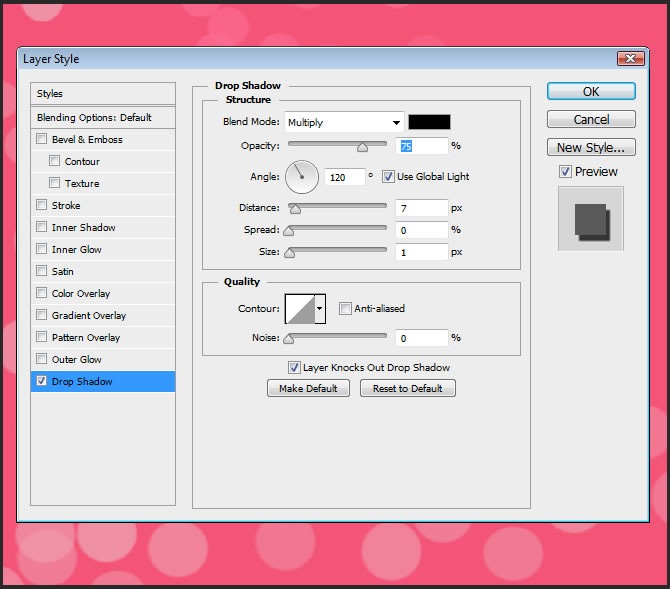
Then click OK to close out of the Layer Style dialog box, and with that, we’re done!
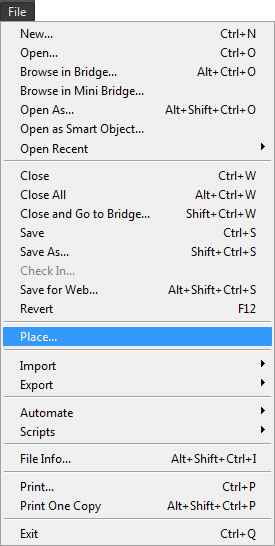
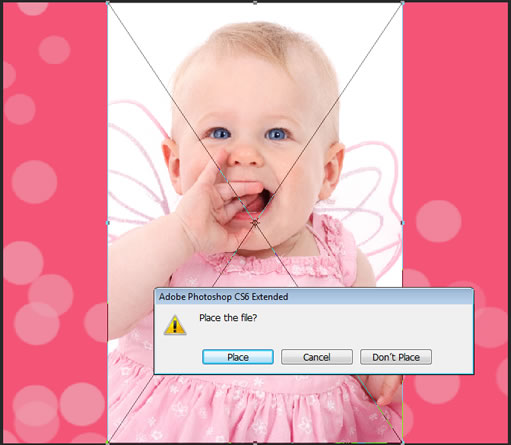
Step 11: We can add and place our first photo to the collage above the bigger circle. Go to File > Place
Step 12: The photo will be placed center of the canvas. we can resize the photo as per our need and click on the “Place” button.
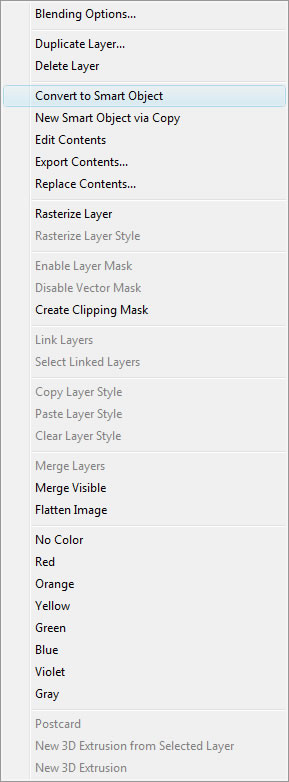
Step 13: Right-click on the main photo and select “Convert to Smart Object” as follows

As soon as you click, the photo will be converted into Smart Object.
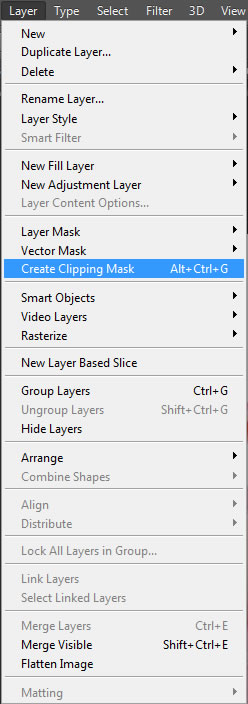
Step 14: Now we can create a clipping mask. A clipping mask is a group of layers to which a mask is applied. The bottommost layer, or base layer, defines the visible boundaries of the entire group.
To create a clipping mask, go to the Layer menu in the Menu Bar on the top and choose Layer > Create Clipping Mask or Press Alt + Ctrl + G.
Step 15: Once we click on a Create Clipping Mask, the photo will be masked inside the circle shape.
We can simply click and move the photo into position inside the clipping mask according to our taste and it will only be inside that shape below.

Step 16: Next Step is to resize and make the circle little smaller than the center one. Then duplicate the created smaller circle layer with drop down effect for 7 times. Hence we are going to use 7 photos in this photo collage.

Step 17: Additionally, insert a different set of photo above each other circle. Repeat the process of Step 11 to Step 15.


Step 18: You should have something like this:

Step 19: It’s time to add the text to our photo collage. We have used the font type as “Brie Light” and font size as 158 pixels. Apply the following styles to the text:

Step 20: Hence the text will be as shown here

Step 21: You should have the final result of the photo collage something like this:

Step 22: To replace the photo, just double click on any Smart Object thumbnail icon. There appears a dialog box.
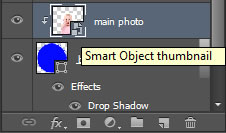
Click OK when you’re done to accept the settings and exit out of the dialog box.

Step 23: It will open in a new file with the extension .psb.
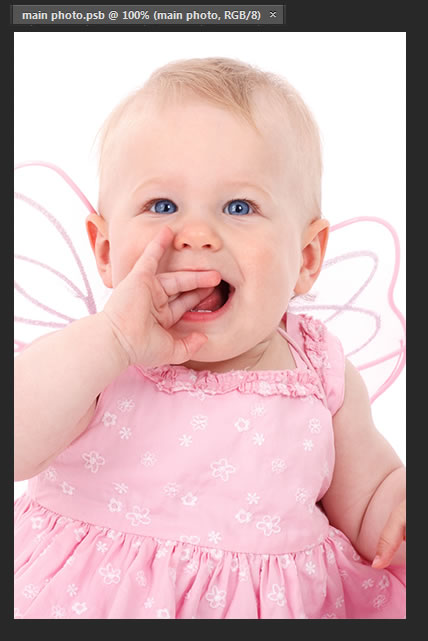
Step 24: There you can replace the used photos with yours, then save the altered .psb file and close it. The Smart Objects will automatically updated in the photo collage template.
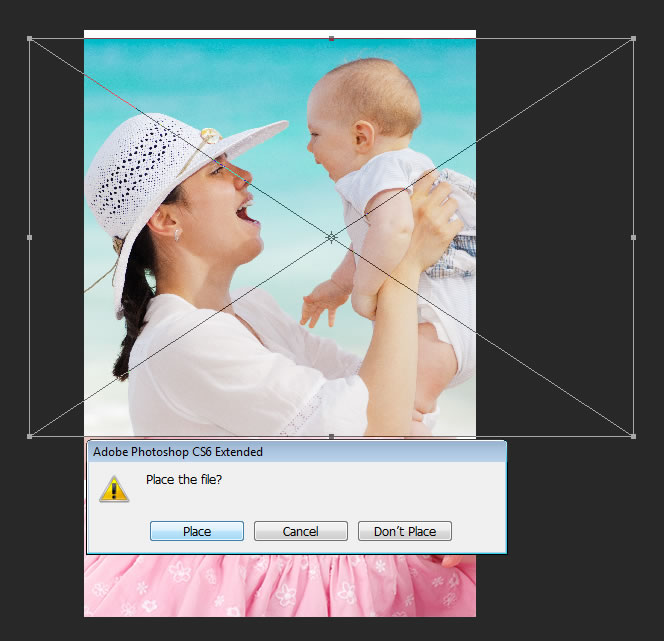
Step 24: Thus we have changed the photo using smart objects.

I hope you have enjoyed this tutorial, please share your thoughts in the below comment box.


