In this tutorial, we will learn how to create an innovative grass effect in Photoshop. We will create an environment friendly “grassy” bulb effect in Photoshop and add some trees and birds for special earth friendly & go green effects.

Program: Photoshop CS5
Estimated Completion Time: 30-35 Minutes
The following assets were used in the creation of this tutorial.
* Bulb image
* Trees vector set
* Birds brushes
Step 1
Create a new document with Width 1400px and Height 1200px.

Step 2
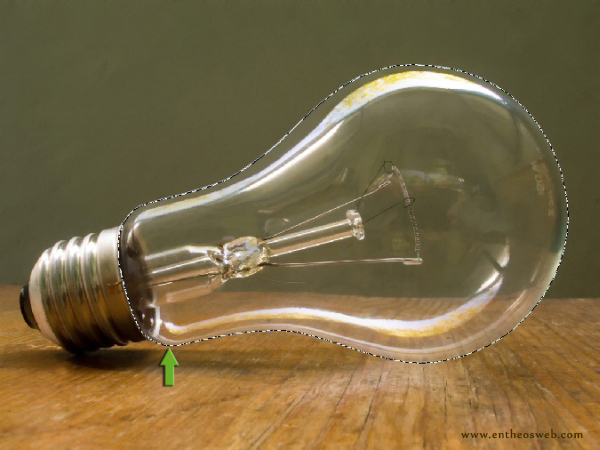
First of all, we’ll bring the bulb on our canvas. Open the bulb image, select the ‘pen tool’ and ‘shape layers’ option to trace the bulb shape. You can either trace the whole bulb or bulb and holder separately.
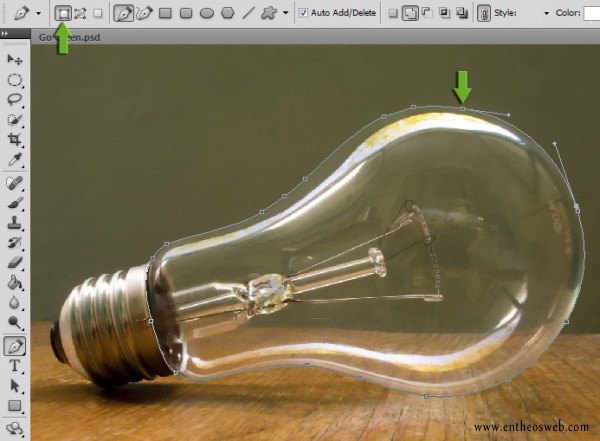

Now right click and select the option of ‘make selection’ and click on the ‘bulb image’ layer, not the pen path layer. After that, press Ctrl+ C to copy the selected area and then create a new layer by going to Layer > New and press Ctrl+ V to paste the selection on this new layer.
Step 3
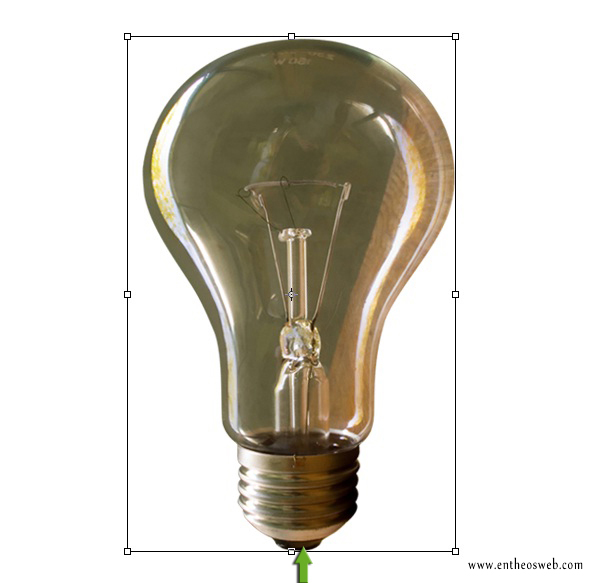
Once again copy the bulb shape layer, which we’ve just made by pressing Ctrl+ C and paste it on a new layer in your document. Press Ctrl+ T to activate the ‘free transform tool’ for adjusting the size of the bulb and rotate it to align vertically.
Step 4
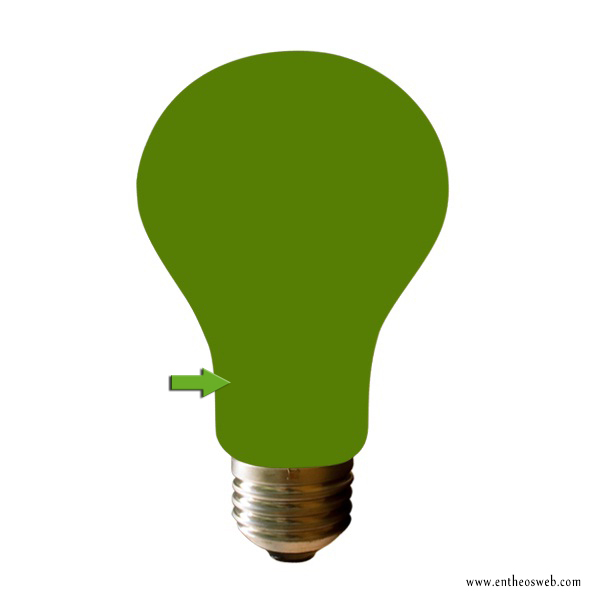
Next, we’ll give this bulb grass effect. Set # 87b20a as your foreground color and # 3c7e00 as the background color. Create a new layer and fill it with # 567e04 color using ‘paint bucket tool’. Click on this layer and then press Ctrl+ thumbnail of the bulb shape layer and click on the icon of ‘add layer mask’.
Step 5
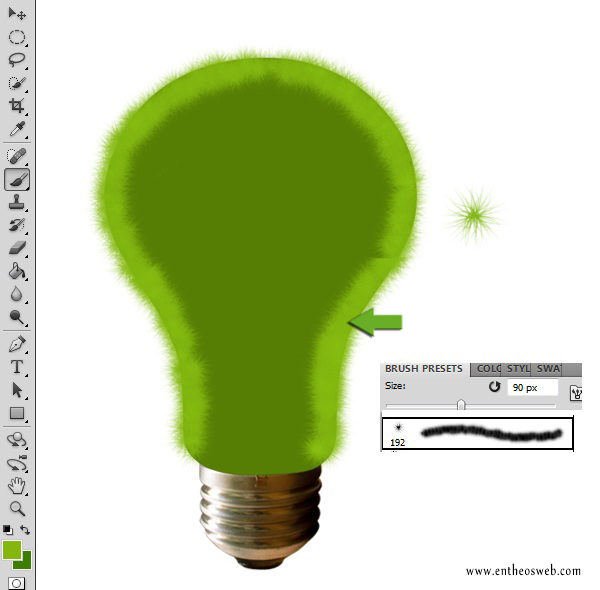
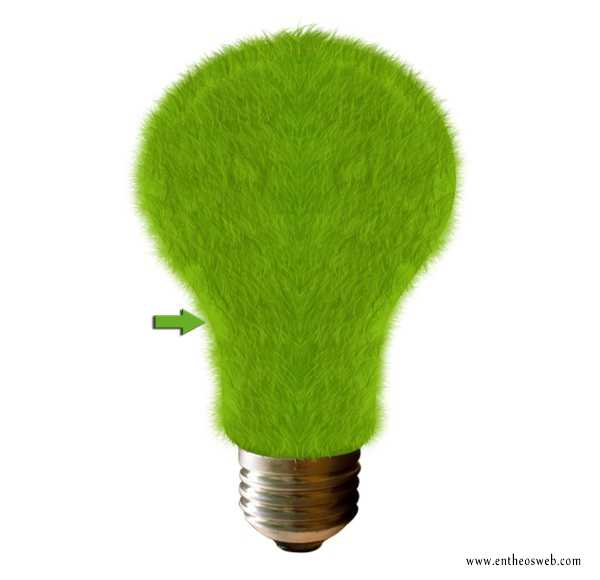
Now select the ‘brush tool’ and ‘Fuzzball’ brush. Adjust brush size and apply it at the borders of the bulb as displayed below.
Step 6
Create a new layer, ‘Dune grass’ brush and apply it on the right half on the bulb as shown below.

Now duplicate this layer by going to Layer > Duplicate layer and then go to Edit > Transform > Flip horizontal. Drag this flipped grass layer to the left using ‘move tool’.
Step 7
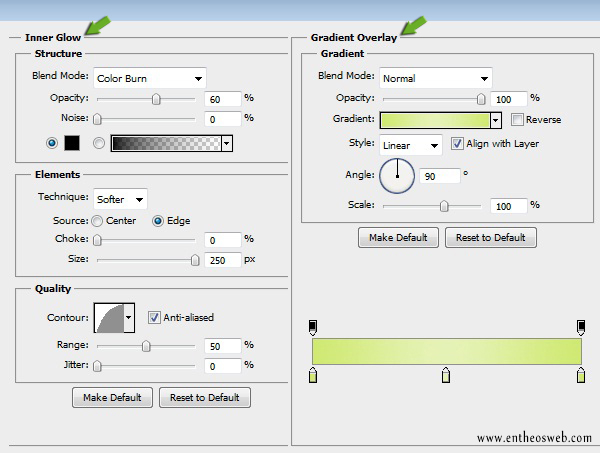
Next, we’ll create a background for the grass effect. Create a new layer and place it below the rest of the layers. Fill it with any color using ‘paint bucket tool’ and then go to Layer > Layer style > Blending options and use the given settings.

Step 8
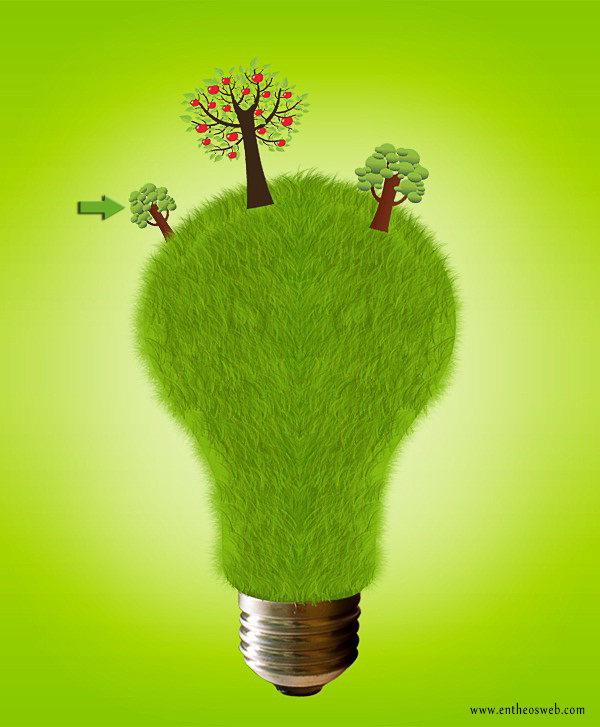
Now we’ll add tree vectors on the canvas. Open the vector file; select the tree vector using ‘rectangular marquee tool’ and then copy and paste tree on a new layer. Position one of the trees layer below the background layer to give the impact that it’s at the backside of the bulb.
Step 9
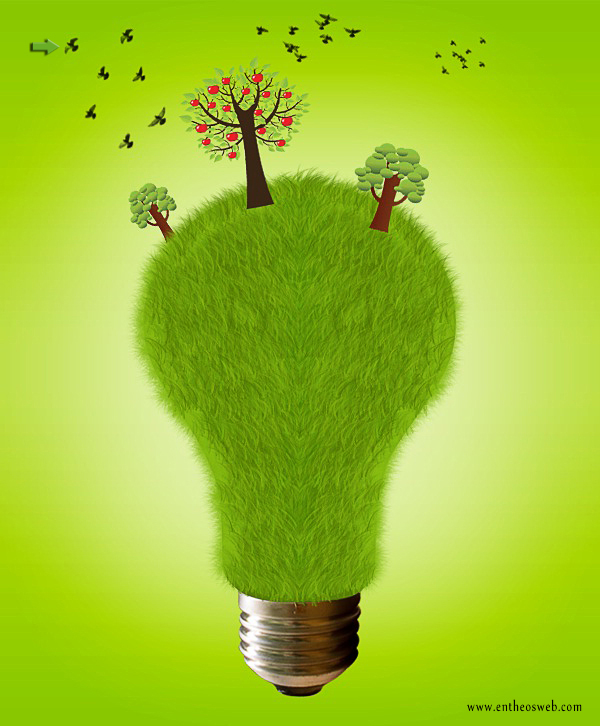
Load the birds’ brushes on your Photoshop. Create a new layer and apply birds brush in different sizes. You can alter its direction using ‘free transform tool’.
Step 10
Next, we’ll add text. Create a new layer, select the ‘type tool’ and type in your text.
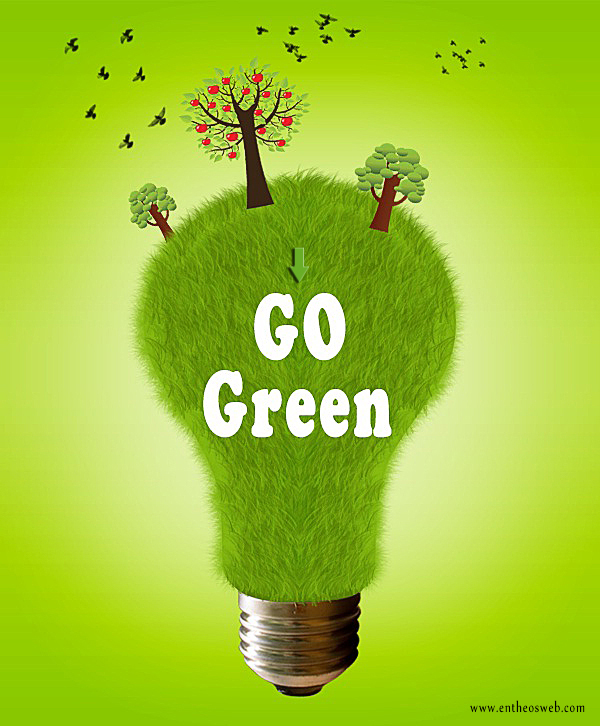
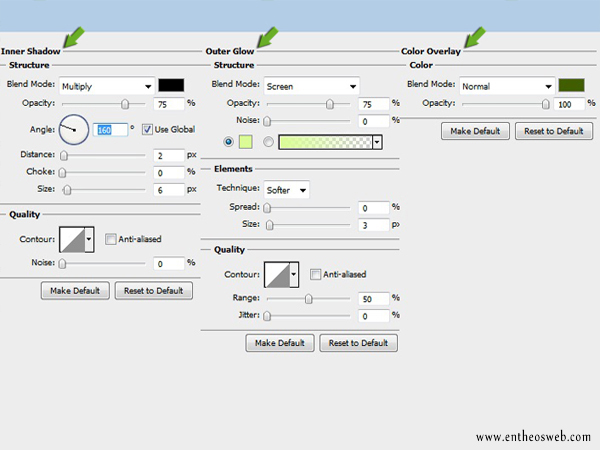
Now click on this text layer and go to Layer > Layer style > Blending options and use the given settings.
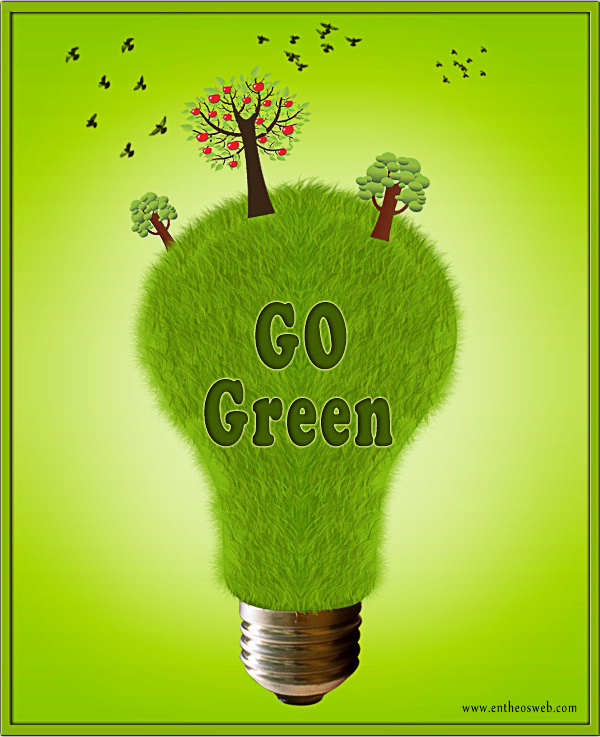
Hope you enjoyed the creation of this innovative grass effect. You can also create grass effect in seconds using a ready-made Grass Effect Photoshop Action.

