In this tutorial you will learn how to create a watercolor paint effect on a photo using several techniques in Adobe Photoshop CS6. To create the watercolor painting effect, we have used Smart Objects, layers, filters, eraser tool, brushes and blending modes.

Tutorial Assets
You will need to download the following assets for this tutorial.
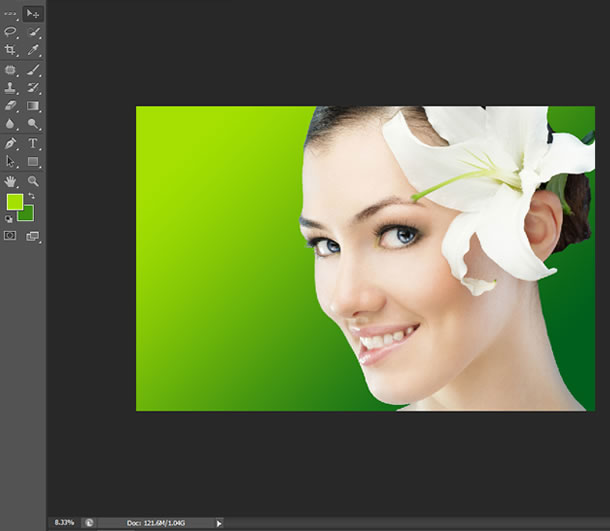
Step 1 : Open the model photo to the canvas of Adobe Photoshop CS6.

Step 2 : Select “Lasso Tool” from the tool bar and remove the background of the model photo.

While cropping make sure the below setting are done. You can add 7 px feather for the smoother look of the cropped edges.
Step 3 : Now, the model photo will look as similar as below without the background.

Step 4 : We need to create a new gradient background layer using the “Gradient Tool” at the bottom of the cropped model photo layer.

Step 5 : Now the image will look like the screen shot, with the new gradient background.
Duplicate and hide the cropped model layer for safety purpose.
Note: Smart Objects can contain multiple colour fills, strokes and things that aren’t possible with Photoshop’s vector layers.
Step 6 : Now select the visible model layer. Go to Layer > Smart Objects > Convert to Smart Object. You can also select the Smart Object by Right-clicking the selected layer.

This will convert the model layer to a Smart Object, which will allow more Layer Styles to be applied. The filter which applied to a Smart Object will remain as a Smart Filter which means it will remain fully editable. Icon in lower right corner of thumbnail indicates Smart Object.
Step 7 : Let’s create a duplicate Smart Object. Choose Layer > Smart Objects > New Smart Object via Copy or drag the Smart Object layer to the “Create a new layer” icon at the bottom of the Layers panel. And also we will change the name as “effect1”.

Step 8 : Repeat the process of “Step -7“or press Ctrl+J to create two more duplicate of the Smart Objects. These Smart Objects copy can be renamed as “effect2” & “effect3” by double-clicking on them. Hide the eye of these newly created Smart Objects by clicking on their layer visibility icons, so that only “effect1” layer will be visible.
Step 9 : Now you can go through all the effects one by one. Let’s start with the “effect1” Smart Object selected layer.
Go to Filter > Filter Gallery > Artistic > Cutout
Use the following settings : Number of Levels : 7, Edge Simplicity : 7 and Edge Fidelity : 7

You can edit the Smart Filter by double-clicking on the filter name in the Layers panel and the filter dialog box reopens with the last used settings. Adjust new settings and click OK.
Set blending mode to “Luminosity“.

Step 10 : Select “effect2” Smart Object layer and Go to Filter > Filter Gallery > Artistic > Dry Brush
Use Brush Size : 1, Brush Detail : 3 and Texture : 2

Set blending mode to “Screen“.

You will have the following effect so far:

Step 11 : Next, duplicate the “effect1” and “effect2” layers with Smart Filter to obtain more watercolor effect. Hence merge these two layers into a new layer named “effect4” by pressing “Ctrl+Alt+Shift+E“.

Step 12 : Finally, select “effect3” Smart Object layer and go to Filter > Noise > Median

Step 13 : As soon as Median filter dialog box opens. Set Radius : 52 px and click Ok.

Here set blending mode to “Soft Light“.

Step 14 : You will have the following effect to the model photo so far with the gradient background.

Step 15 : Download the watercolor brush and paint some texture over the background as per your artwork. But make sure all the individual paint strokes have been made in different layers, so that we can apply more effects to them separately.
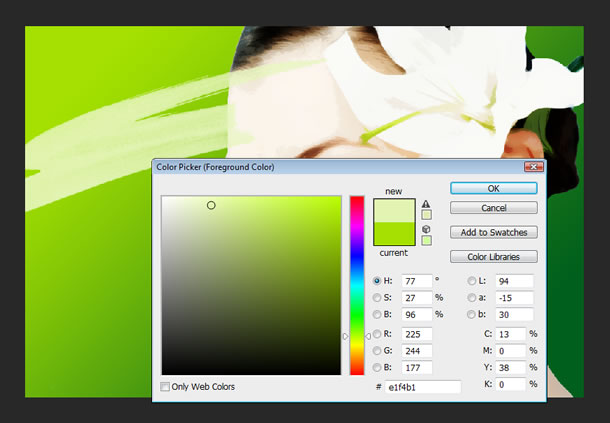
Again, select one of the watercolor brush and painted the stroke over the next layer.

Step 16 : Keep painting many strokes on the model photo in different layer until you are satisfied with the paint style.

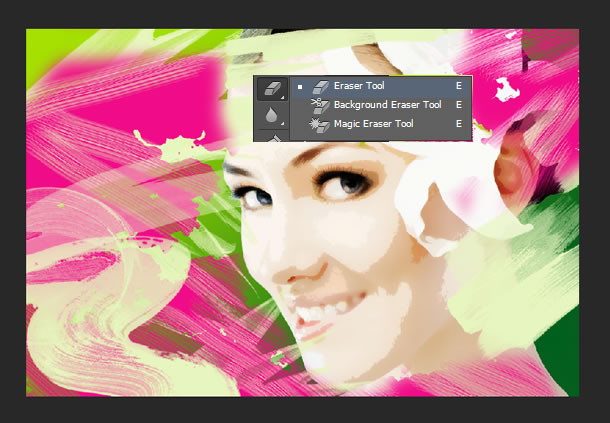
Step 17 : Pick another Brush (i.e, watercolor splatter brush) and paint again. Now with dark pink color. If the watercolor paint splattered on the model face, then use the “Eraser Tool” from the tool bar to erase some of the portions.
Step 18 : Set blending mode to “Overlay” for all the painted strokes.

You can also try and play with some blend modes or other effects to get an awesome effect.
Step 19 : That’s it! here is the final effect.

Hope you enjoyed this tutorial! Please do write in with your comments and feedback.