In this tutorial we will learn how to create an abstract background in Photoshop.
Program: Photoshop CS5
Estimated Completion Time: 30-40 Minutes
Tutorial Assets
The following assets were used in the creation of this tutorial.
* Halftone-2-brushes by env1ro
Step 1
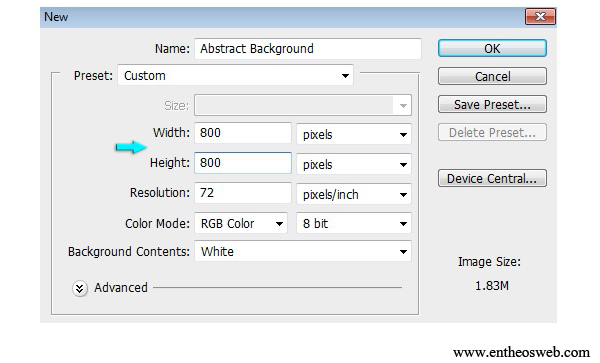
Create a new document with width 800px and height 800px.
Step 2
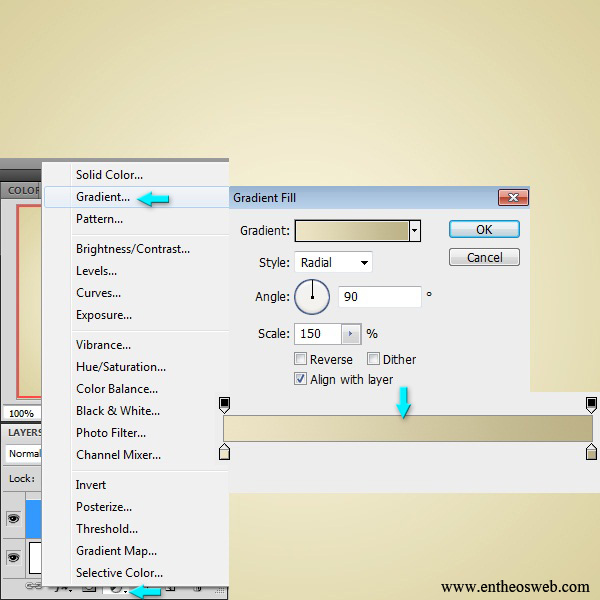
Click on the icon of ‘create new fill or adjustment layer’ present at the bottom of layers panel and select the option of ‘Gradient’. Use the given settings.
Step 3
Open the grunge patterns file. Now click on this gradient layer and go to Layer > Layer style > Blending options. Use the given settings.

Step 4
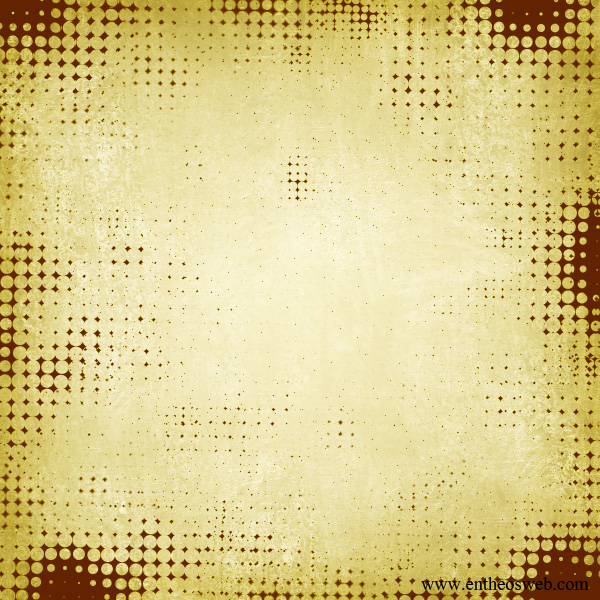
Set # 5f4000 as your foreground color. Create a new layer by going to Layer > New layer. Select the brush tool and pick brush4, 6 from the halftone2 brush pack and apply it at the edges as shown below.
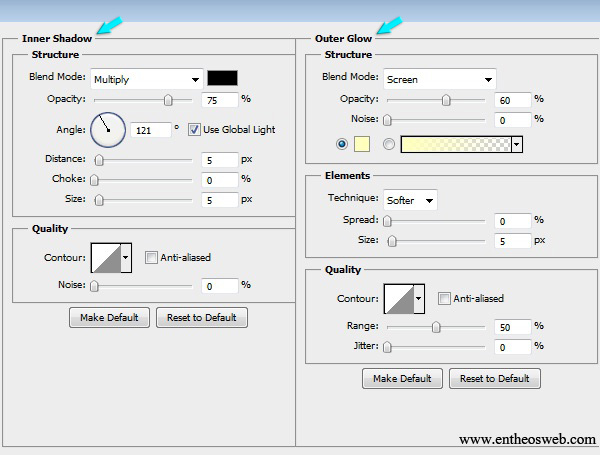
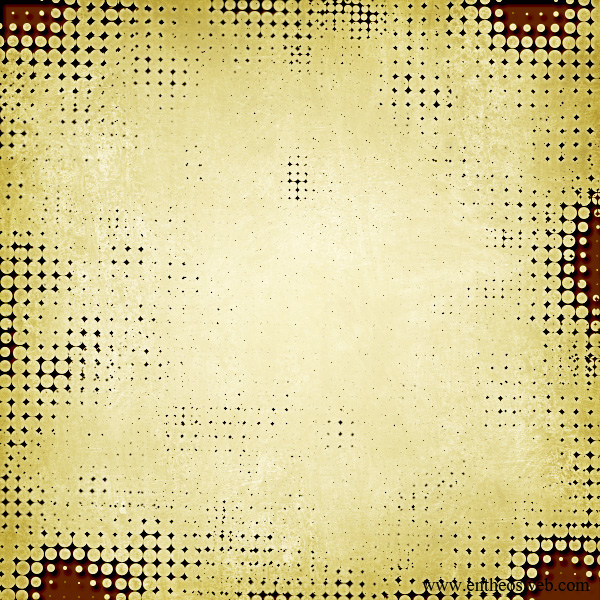
Click on this brush strokes layer and go to Layer > Layer style > Blending options. Apply the given settings.
Step 5
Create a new layer, select the ‘pen tool’ and click on the option of ‘shape layers’ from the top options bar. Draw the shape as shown below.
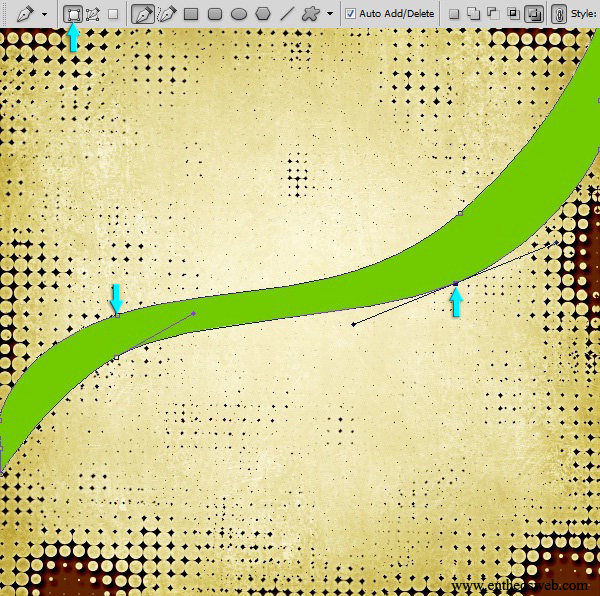
Draw few more shapes in different colors as shown below.

Step 6
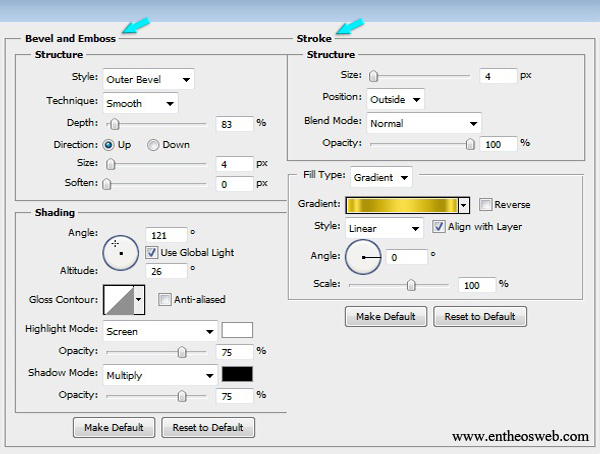
Click on one of the shapes layer and apply the following layer style settings on it.

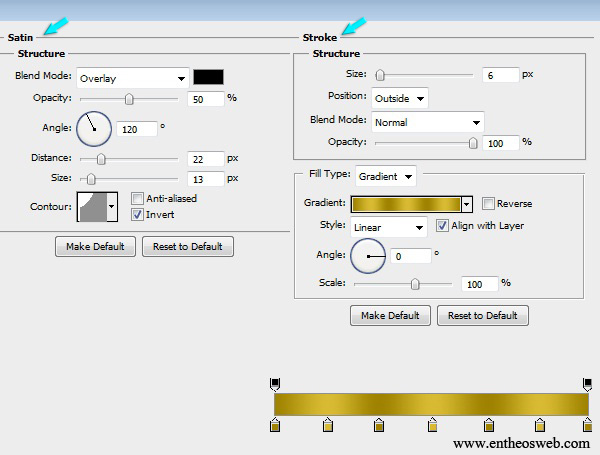
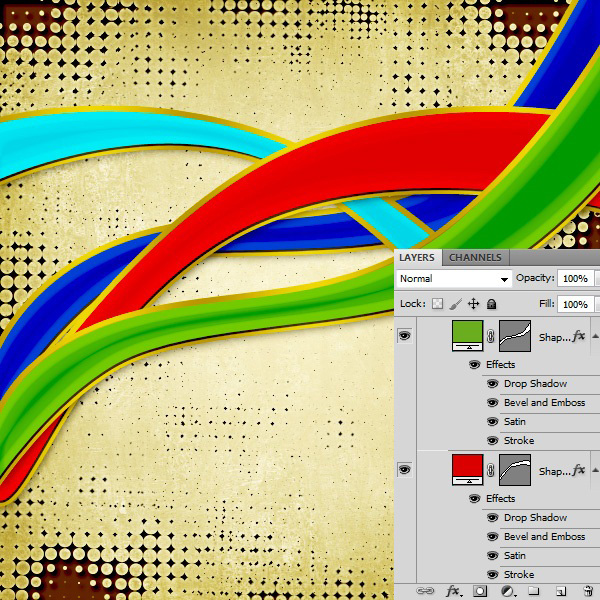
Right click on this layer and select the option of ‘copy layer style’. Now right click on rest of the shape layers and select ‘paste layer style’ to apply the same effects on them.
Step 7
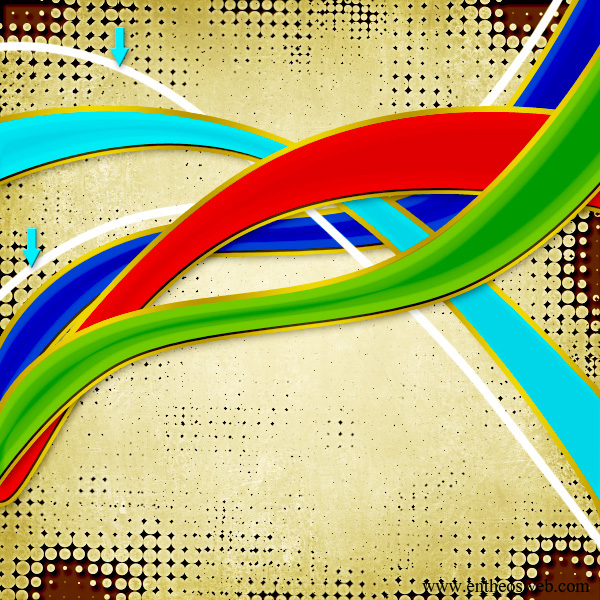
Next, we’ll create few silver lines. Select the hard round brush and adjust its size at 8px. Now create a new layer. Select the ‘pen tool’ and choose the option of ‘paths’ from the top options bar. Draw the curvy line. Now right click and select the option of ‘stroke path’, choose brush as shown below.
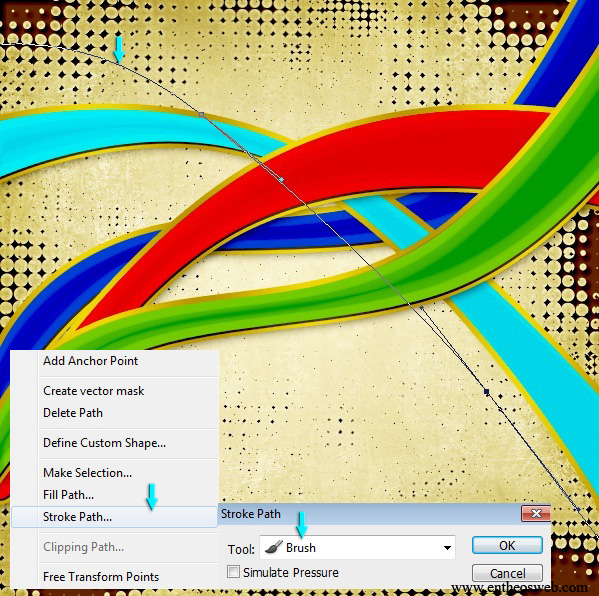
After that, right click again and this time select the option of ‘delete path’. Place this layer in between the colorful lines layers. Draw another line on a new layer in the same way.
Step 8
Select one of the white lines layer and apply the following layer style settings.


Step 9
Create a new layer, select # 5f4000 color and apply hard round brush on it in different sizes. Change the blending mode of this layer to ‘Color burn’ and reduce its opacity to 30%. Place this layer just above the background gradient layer.

Create a new layer; select the ‘elliptical marquee tool’ to draw a circle. Fill this selection with #622300 color using ‘paint bucket tool’. Duplicate this layer. Now with the selection still on, go to Select > Modify > Contract. Use 10px value here and hit ‘delete’. This will form a ring on this layer. Now click on the circle layer and reduce its size a bit using ‘free transform tool’. To activate free transform tool’ press Ctrl+ T.
You can add drop shadow to the ring layer to give it some character. Reduce the opacity of circle layer to 25% and ring layer to 40%. Duplicate these layers few times to place the circles at different positions.

Step 10
Our background is done. We can stylize text according to it. Create a new layer and type in your text using # 5e2f00 color.

Now apply the following layer style settings for the text.


That’s it. Hope you learned something useful. Do share your thoughts.
