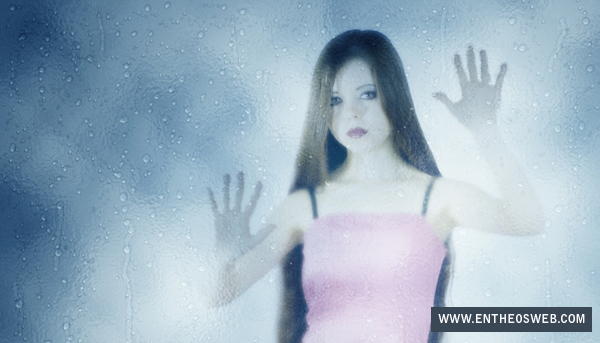
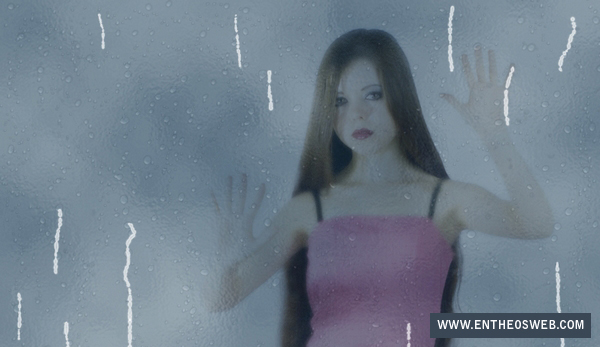
In this tutorial we’ll show you how to make a realistic rainy window effect using basic Photoshop tools, filters, brush and layer styles.
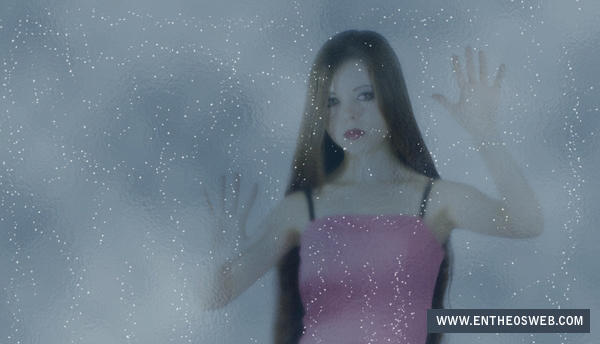
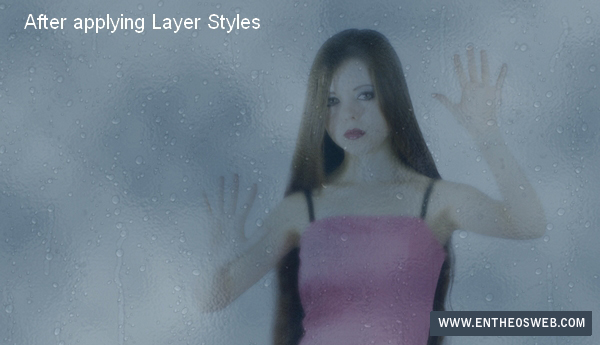
This is what we ‘ll be creating:

Tutorial Details
Tutorial Assets
The following assets were used during the production of this tutorial.
Step 1
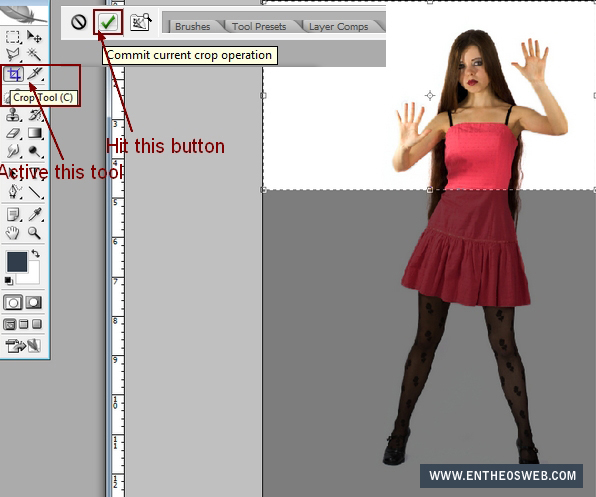
Open your model picture. You can use your own image if you can’t download this image from Photoxpress. I crop this picture to make a better effect (for this tutorial purpose). Hit C to active this tool and grab a square around the part you want to take then hit one button to complete this action.
Step 2
Press W to active Magic Wand Tool with settings below. Use Magic Wand Tool to click inside white background of this picture :


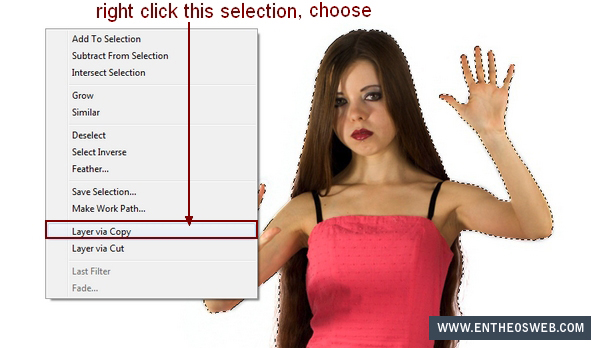
Hit Cmd/Ctrl+Shift+I to inverse this selection and we have selection for model:

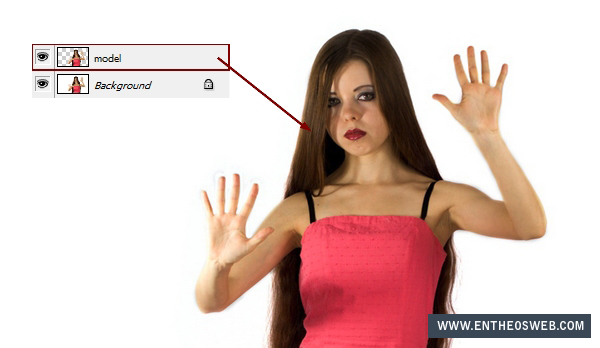
Right click this selection, choose Layer via Copy and we have a new layer with extracted model. Name this layer as “model”:
Step 3
Duplicate model layer we have “model copy”. Go to Filter-Blur-Gassian Blur and set radius as 1,5 px (it depends on the sharpness of your photo):


Add layer mask and use soft black brush with opacity and flow about 50% to make some parts of model more visible:

Step 4
I want to change color of model so I use a Curves layer. Choose Layer-New adjustment layer-Curves:


Step 5
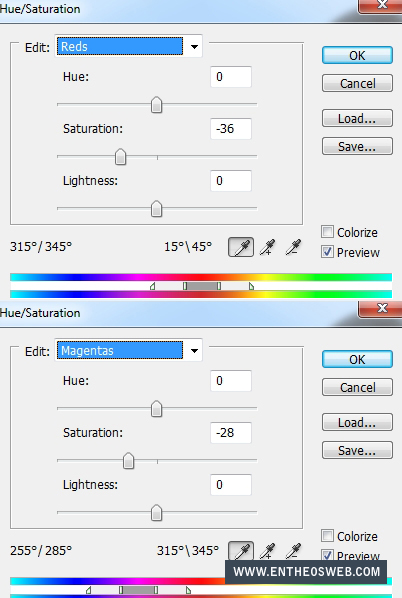
I use a Hue/Saturation layer to reduce red and magenta tone of model:


Step 6
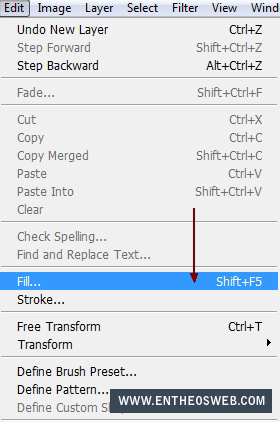
Hit Cmd/Ctr/Shift+N to make a new layer. Choose Edit-Fill with color #605a4b:

Lower opacity of this layer to 30%:

Make a new layer fill again but with color #043157 and opacity 40%:

It’s only my favorite color choice and you’re free to make color you like.
Step 7
In this step we will make a glass window effect. Create a new layer with method used above. Set foreground and background color to white ( #ffffff) and #3a4755.

Go to Filter-Render-Clouds:

We have :

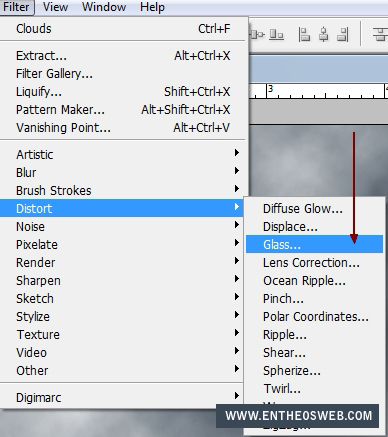
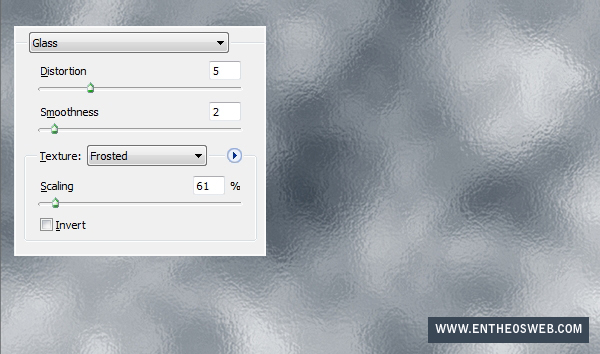
Choose Filter-Distort-Glass:
Change the mode to Soft light 80%:

Add layer mask and use soft black brush with opacity and flow 40% to blur glass effect on model face, hands:

Step 8
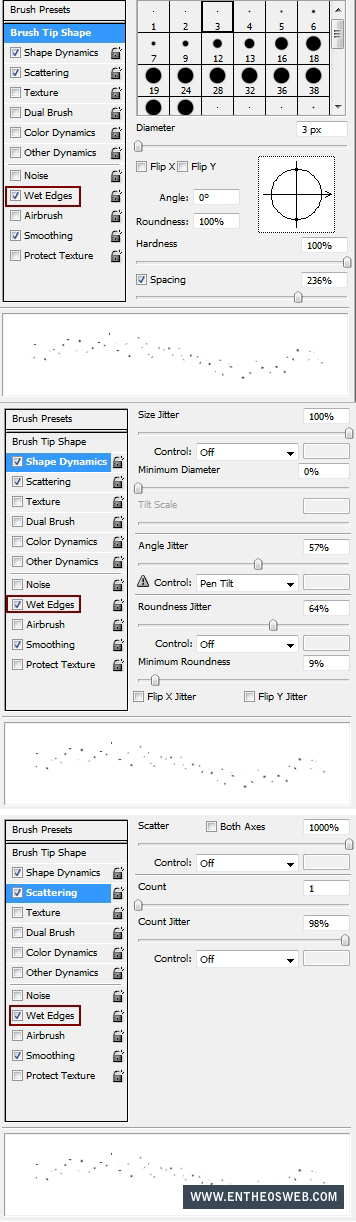
In some next steps I’ll show you how to make realistic rain drops. Make a new layer on the top and set foreground color to white. Hit B to active Brush tool, choose size with 3 px then press F5 to make settings of this brush as shown below:
Use brush to paint over the picture:
Name it “small drops”. Right click this layer, choose Blending Options:


Lower opacity of this layer to 50%:

Step 9
Create a new layer and use white brush with same settings but increase brush size to 9px. Paint on the pic as shown below:
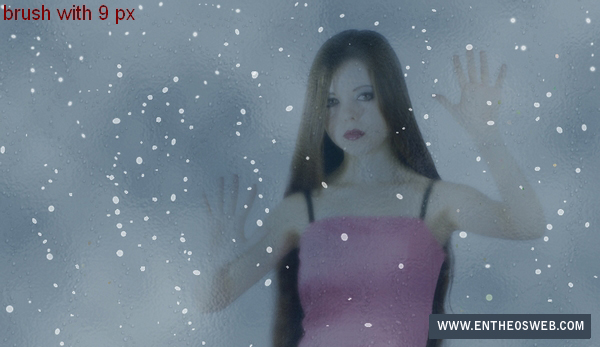
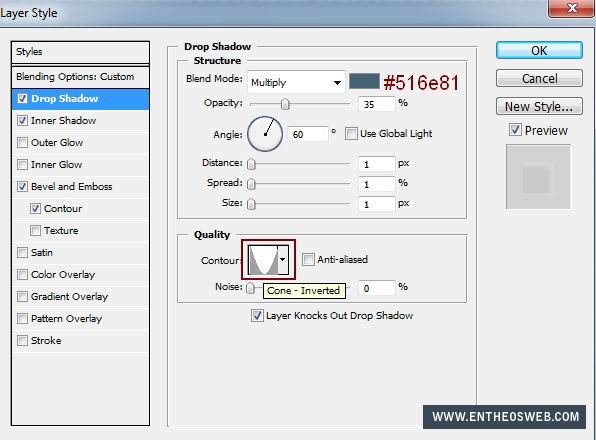
Apply layer style like in step 8 but add more Drop Shadow effect:
Change opacity to 30%:

Step 10
To make rain traces on window, I use white brush with changed settings:

Make some random traces on window:
Apply same layer style done in previous step ( Drop Shadow, Inner Shadow, Bevel and Emboss) but set opacity to 20%:
Step 11
The model hands pulsing the window so them need to be clearer, darker, more visible. Come back to model layer, make selection for model hands as shown below ( don’t need to be so precise with these selections):

Copy them into a new layer ( right click, choose Layer via Copy like we did in step 2) and place this layer on the top. Call it “hands”:
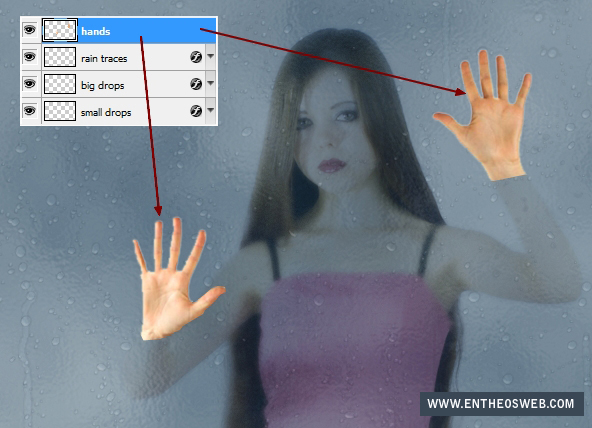
Lower opacity to 10% and use layer mask to hide the edges of them:

Step 12
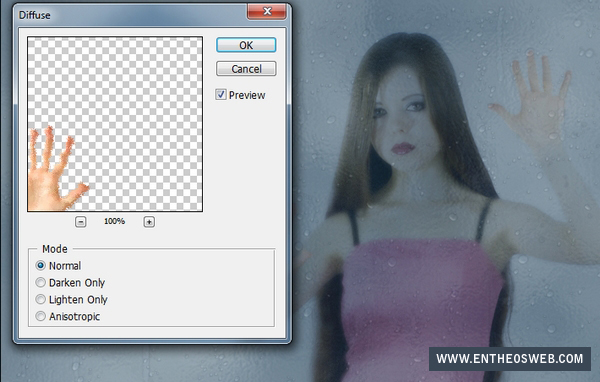
Click Filter-Distort-Ripple:


Then Filter-Stylize-Diffuse:

Step 13
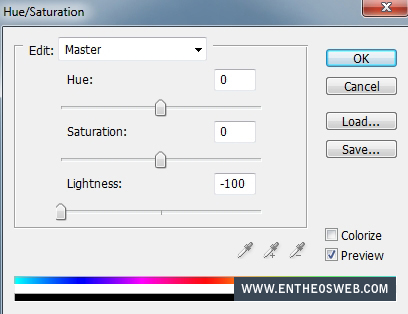
Choose a Hue/Saturation layer above hands layer with Clipping Mask options:

Down the lightness to -100:

Step 14
To darken the hands more, I use a new layer (non-Clipping Mask) and brush with color #3a4755. Paint on right hand with brush 100% opacity and 30% for the left (as it’s darker than the right already). Put the mode as Soft light 50%:

Step 15
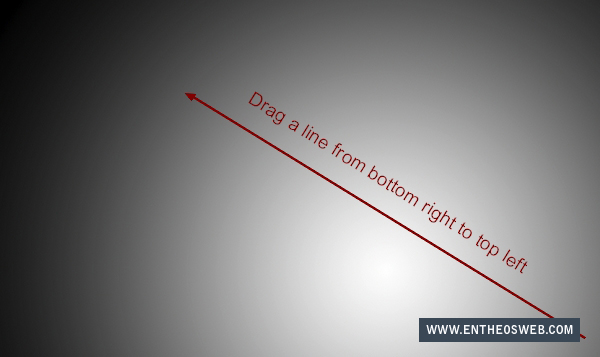
To change the light of picture, I use Gradient layer. Make a layer and hit G to choose Gradient Tool (with default color : black and white) with settings below:

Drag a line from bottom right to top left:
Change the mode to Soft light 100%:

Step 16
To change color and contrast of picture, I add a Curves layer:


Step 17
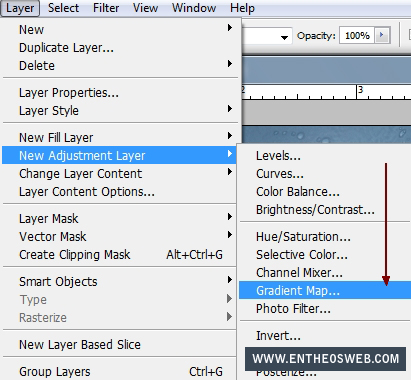
I use a Gradient Map layer:

Set the mode of this Gradient Map layer to Soft light 100%:

Step 18
To increase a bit contrast, I use Brightness/Contrast:

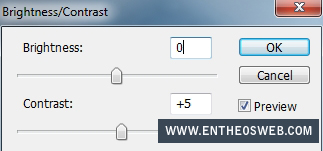
This step is optional.
Final Result