In this tutorial, we will learn how to create a scenic sun rise in an image in Photoshop using different kinds of filters.

Program: Photoshop CS5
Estimated Completion Time: 15-20 Minutes
The following assets were used in the creation of this tutorial.
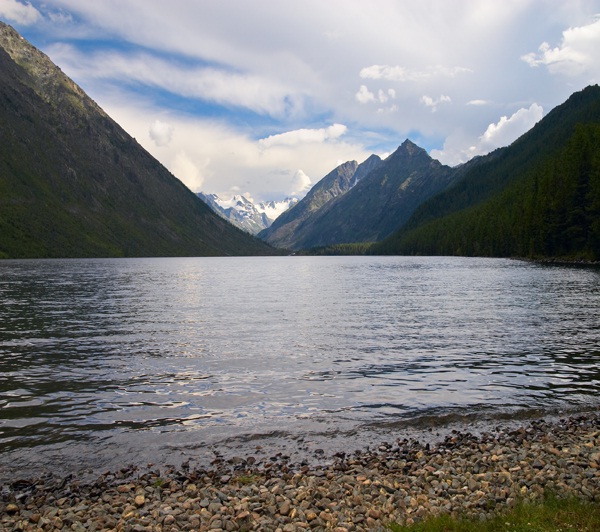
* Mountains landscape and lake
Step 1
Create a new document with width 1200px and height 1000px in Photoshop.

Step 2
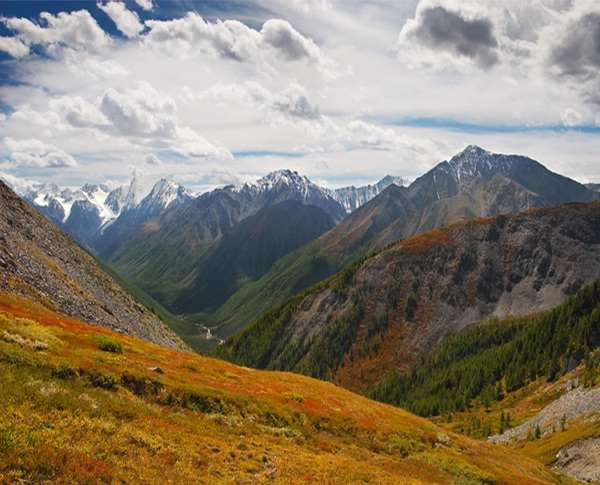
Open the image file on which you want to apply the sunrise effect. Press Ctrl+ A to select the image, and then press Ctrl+ C to copy the selection. Come back to your document and press Ctrl+ V to paste the image here.
Step 3
Duplicate the image by going to Layer > Duplicate layer. Now go to Filter > Render > Lighting effects and use the given settings.


Step 4
Now create a new layer by going to Layer > New layer. Fill it with # 000000 color using ‘paint bucket tool’. Now go to Filter > Render > Lens flare and use the following values.

Step 5
Change the blending mode of this layer to ‘screen’.

Step 6
Now click on the image copy with lighting effect and go to Image > Adjustments > Levels. Use the given settings for it.

Step 7
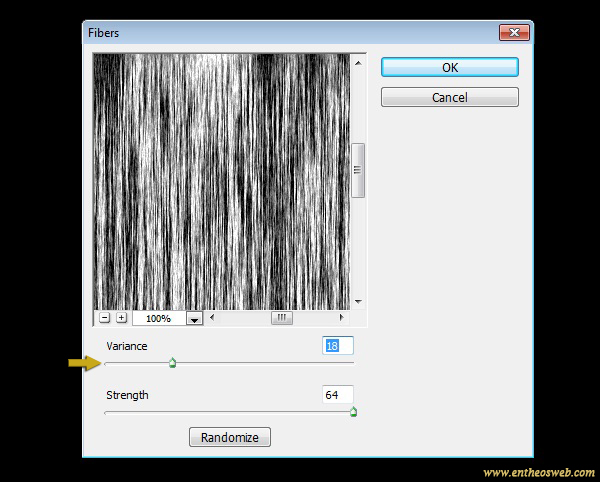
Next, we’ll create sun rays. Create a new layer and fill it with # 000000color using ‘paint bucket tool’. Now go to Filter > Render > Fibers and use the given values here.
Step 8
Now go to Filter > Blur > Radial blur and use the following settings for it.

Step 9
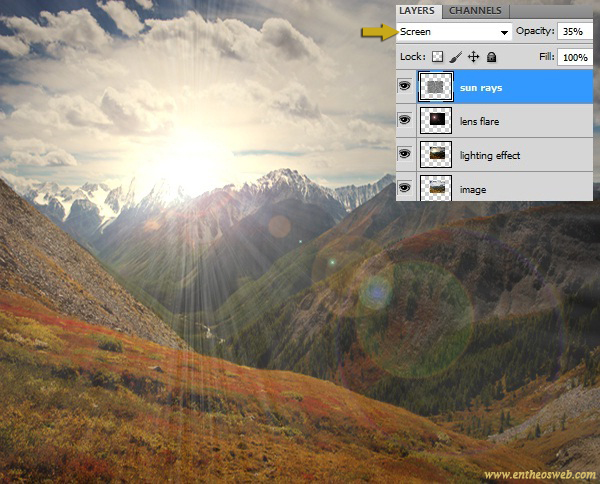
Change the blending mode of this layer to Screen.

Reposition the sun rays with the help of ‘move tool’, so that its center comes over the sun. Reduce the opacity of this layer to 35%.
Step 10
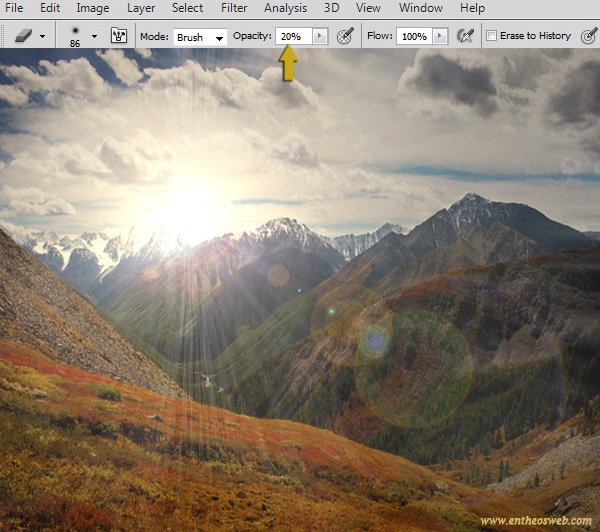
Now select the soft round eraser tool, reduce its opacity to 20% and gently erase the edges of the sun rays layer to blend it nicely with the image.
Step 11
Create a new layer; place it just above the image copy with lighting effect. Fill this layer with # fffec4 color using ‘Paint bucket tool’. Change the blending mode of this layer to ‘Multiply’.
Step 12
You can create sunrise effect on any image using this technique. If you are applying this effect on an image with watr, then follow this step to create lighting effect on water surface. Here we’ve applied the above mentioned technique on this image.
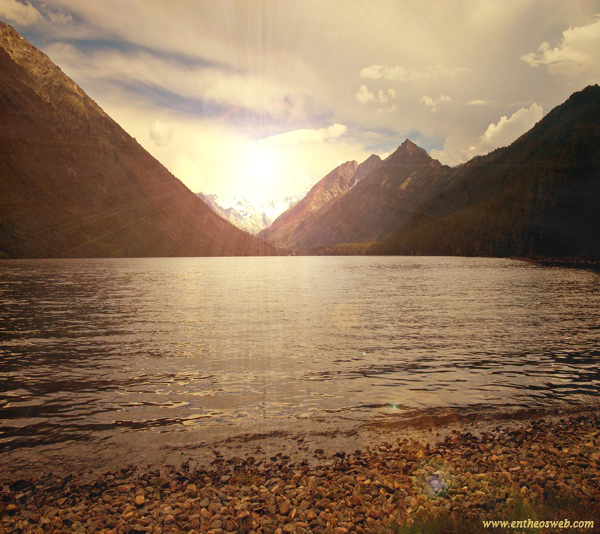
Now to highlight water, select the soft round brush, keep its opacity 15%. Set # ff9024 as your foreground color. Apply the brush over the water as shown below.
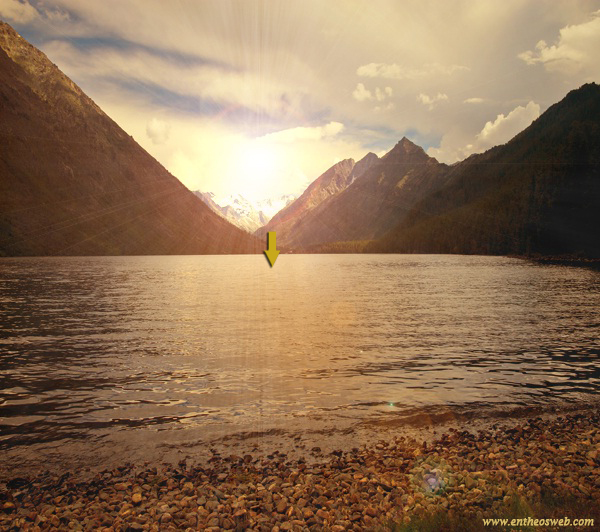
Change the blending mode of this layer to ‘Overlay’.
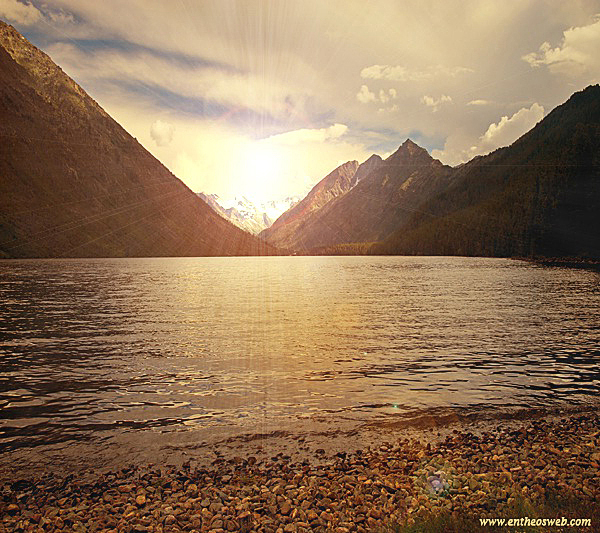
Have a look at our final results.

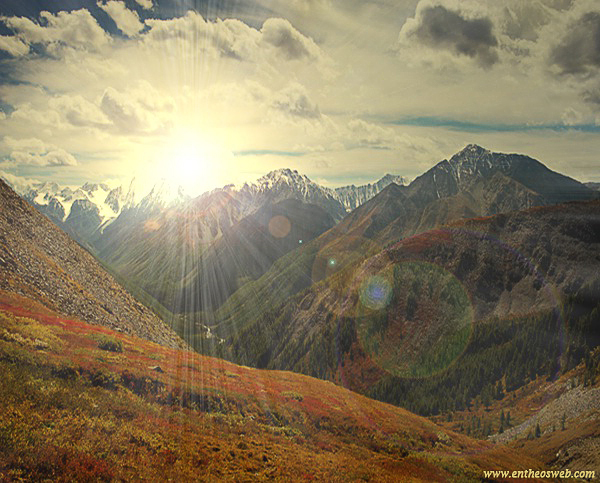


Hope you enjoyed this tutorial and learned something useful. Do share your thoughts regarding it. Have fun!


