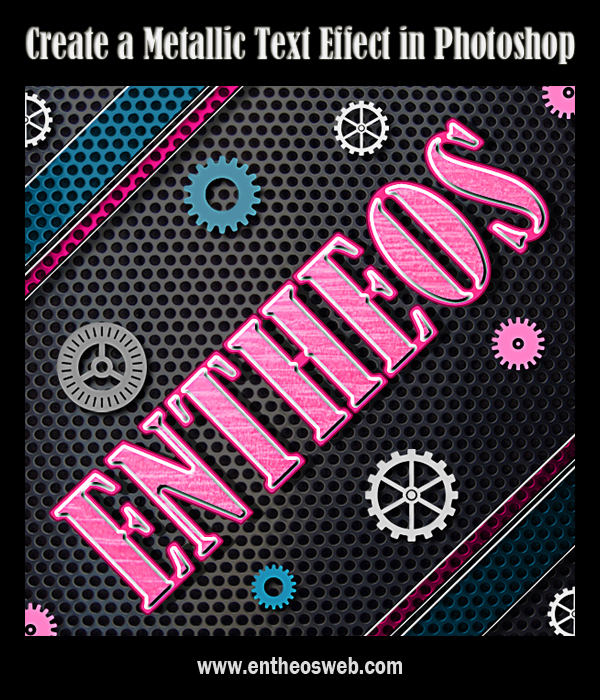
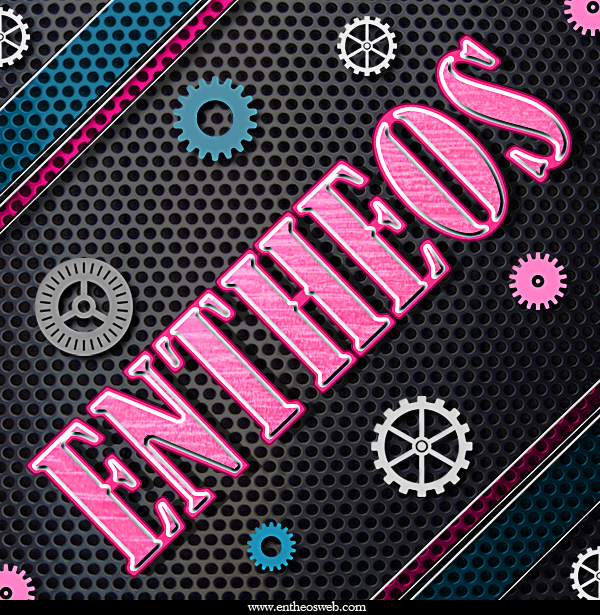
In this tutorial, we will learn how to create a cool metallic text effect in Photoshop.
Tutorial Details
Program: Photoshop CS5
Estimated Completion Time: 30 – 40 Minutes
Tutorial Assets
The following assets were used in the creation of this tutorial.
Step 1
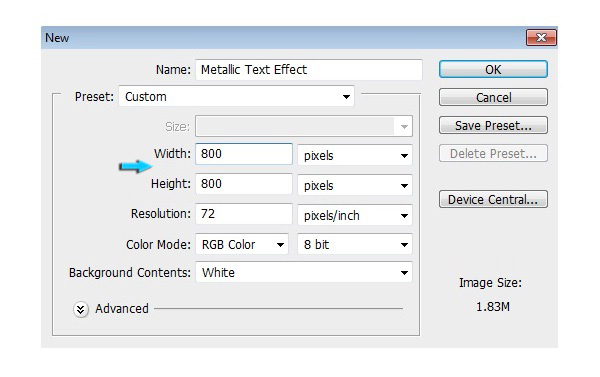
Create a new document with width 800px and height 800px.
Step 2
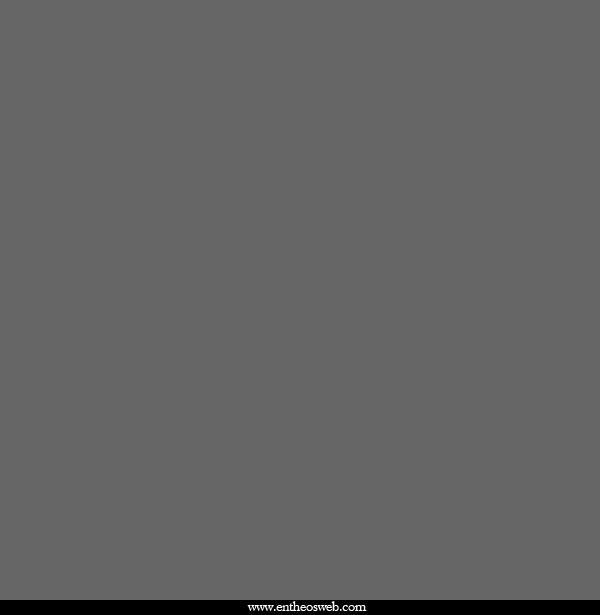
Fill the background with # 666666 color using ‘Paint bucket tool’.
Step 3
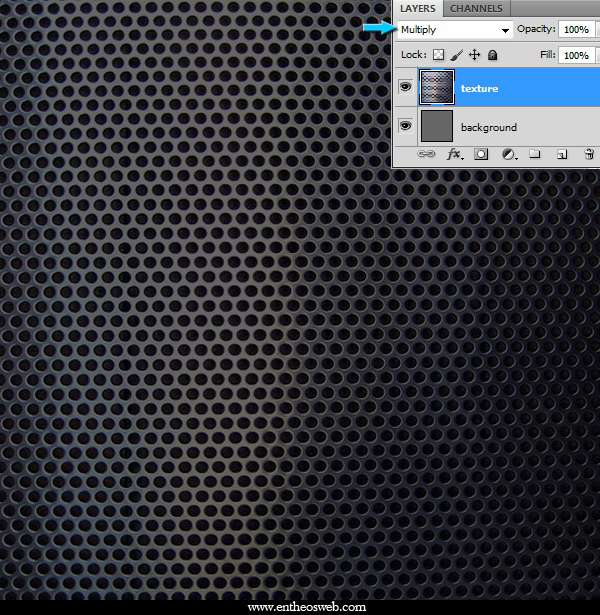
Open the chrome texture file, press Ctrl+ A to make selection around it, and then press Ctrl+ C to copy the selection. Come back to your document and press Ctrl+ V to paste the texture here. Change the blending mode of ‘texture’ layer to ‘Multiply’.
Step 4
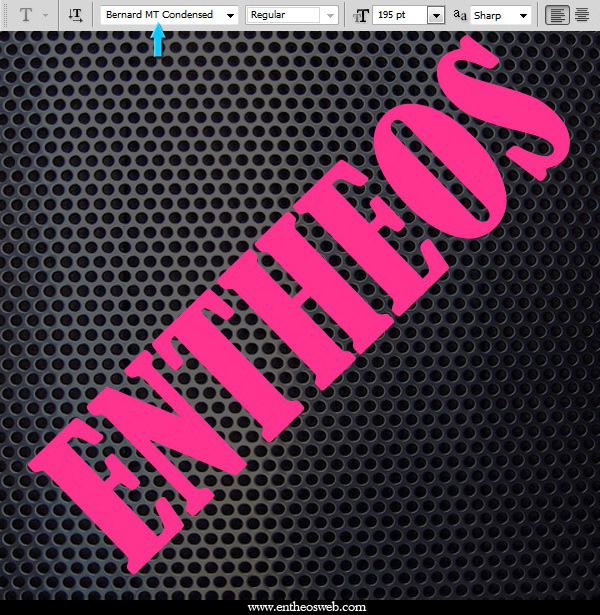
Now we’ll type in the text. Set # ff348f as your foreground color, select the ‘Type tool’ and write down the text. We’ll be using ‘Bernard MT Condensed’ font. After that, rotate the text using ‘Free transform tool’. You can activate the ‘Free transform tool’ by pressing Ctrl+ T.
Step 5
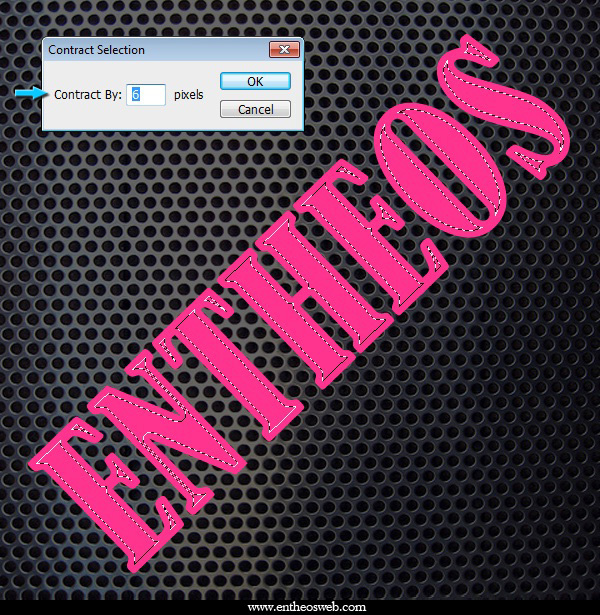
Now duplicate this ‘text’ layer by going to Layer > Duplicate layer. After that, go to Layer > Rasterize > Type. Now we’ll contract this text, so press Ctrl+ the thumbnail of this rasterized text layer to select it and then go to Select > Modify > Contract. Use the value of ‘6px’ to contract it. Once you are done, go to Select > Inverse and hit ‘Delete’. In this way, we will get a contracted text layer. Press Ctrl+ D to deselect the text.

Step 6
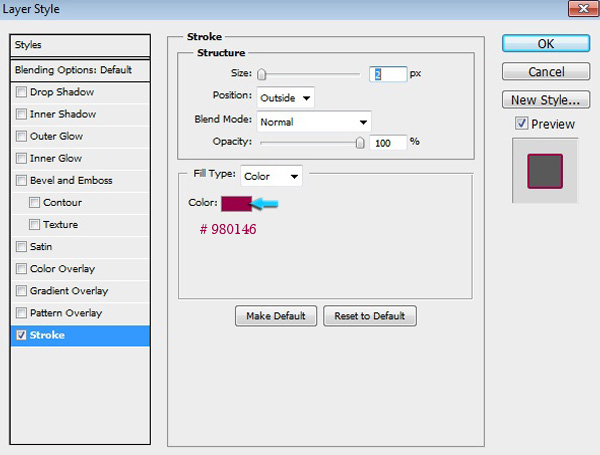
Next, we’ll do some layer styling on the text layers. Firstly, click on the ‘original text layer’ to select it and go to Layer > Layer style > Stroke. Use the given values here.
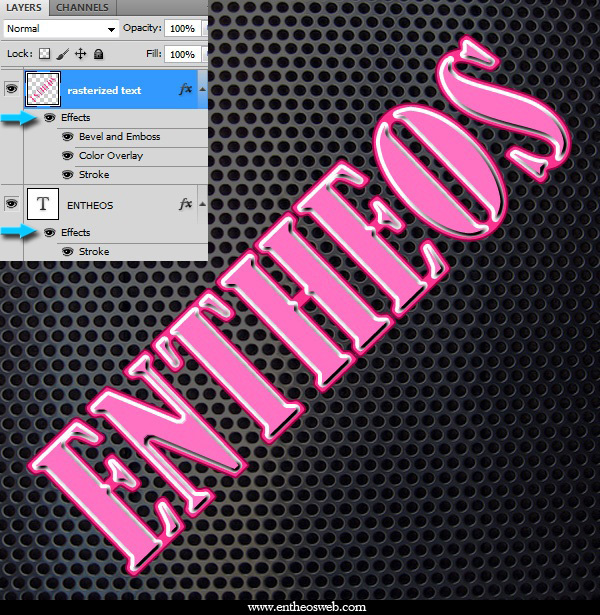
Now click on the ‘rasterize text layer’ and apply the following layer style settings on it.

Step 7
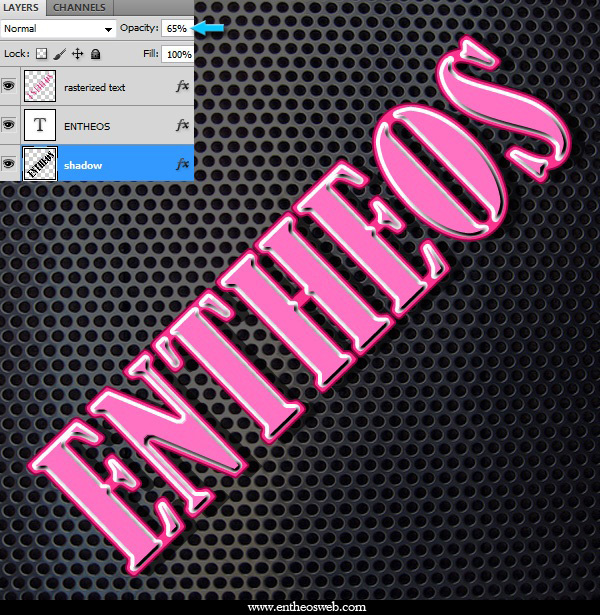
Duplicate the original text layer, rasterize it, label it as ‘shadow’ and place this copy below text layers. Now press Ctrl+ U to open the ‘Hue and Saturation’ window. Use the given settings.

Now drag shadow towards right and downward. Reduce the opacity of this layer to 65%.
Step 8
Now we’ll apply few textures to the ‘rasterized text layer’. Open the ‘silver metallic texture’, paste it in your document in the same way as explained in step 3. You can change its angle using ‘Free transform tool’. Now click on this texture layer, then press Ctrl+ the thumbnail of ‘rasterized text layer’ to make selection around it. After that, click on the icon of ‘Add layer mask’. In this way, texture would be confined to the rasterized text only. Change the blending mode of texture layer to ‘Soft light’ and reduce its opacity to 75%.

Open the gold texture layer and apply it on ‘rasterized text layer’ in the same way. Change the blending mode of gold texture layer to ‘Soft light’ and reduce its opacity to 50%.

Step 9
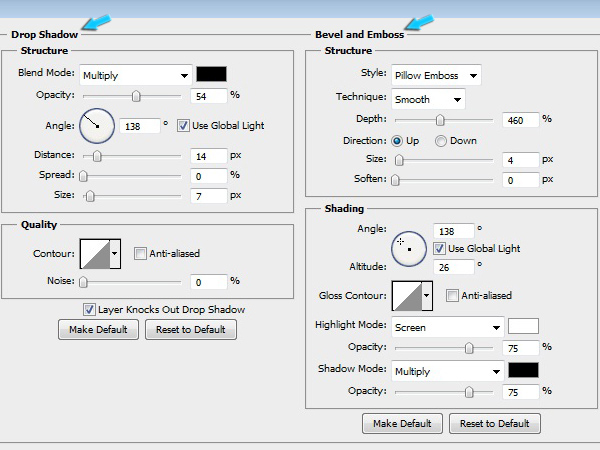
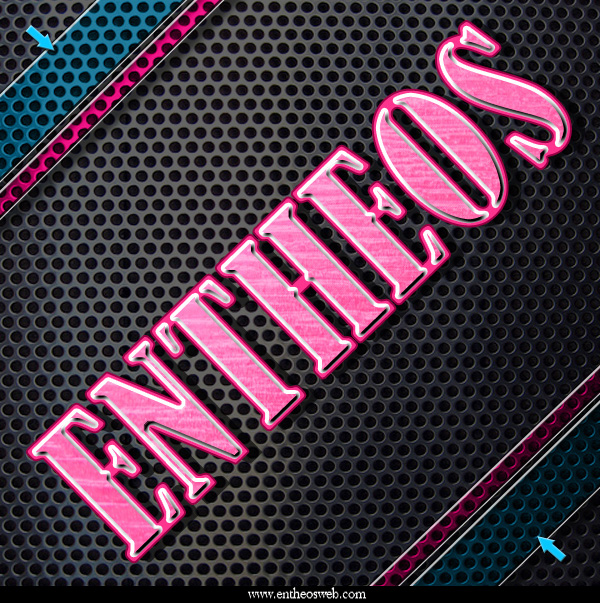
Select the ‘Rectangle tool’ to draw 4 rectangles. Arrange them at an angle in the corners one by one using ‘Free transform tool’. Here we’ll give # 005a7b color to the thick rectangles and # ff2495 color to the thin rectangles. Change the blending mode of all the rectangle layers to ‘Color’.

Now click on one of the rectangle layer and go to Layer > Layer style > Blending options. Use the given settings.
Step 10
Open the gear vector file, select one gear using any selection tool and paste it in your document. You can resize them and place them randomly to enhance the overall effect. Once you are done, click on one of the gear layer and apply the given layer style settings. You can use different colors using Color overlay option.
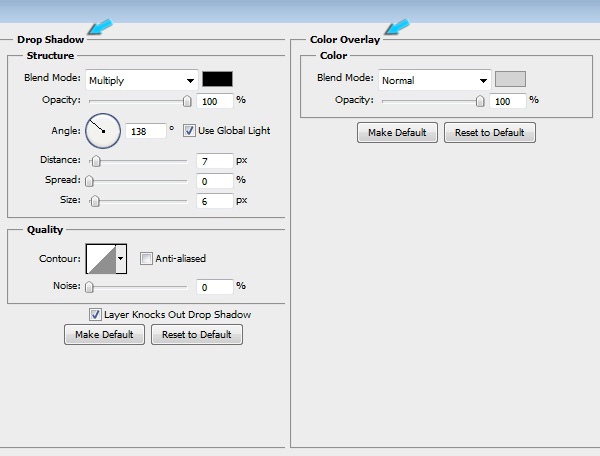
Once you are done, go to Layer > Layer style > Copy layer style. Then click on rest of the gear layers one by one and go to Layer > Layer style > Paste layer style to apply the same effects on them.
That’s it. Hope you learned something useful. Don’t forget to share your thoughts.
