In this tutorial, we will learn how to create retro disco background in Photoshop.

Tutorial Details
Program: Photoshop CS5
Estimated Completion Time: 25-35 Minutes
Tutorial Assets
The following assets were used in the creation of this tutorial.
* Halftone-2-brushes by env1ro
* Natural Grunge Textures by WebTreatsETC
* Disco Balls Vector Pack By WebSoulz
Step 1
Create a new document with width 800px and height 800px.

Step 2
Fill the background layer with # dfd198 color using ‘paint bucket tool’.

Step 3
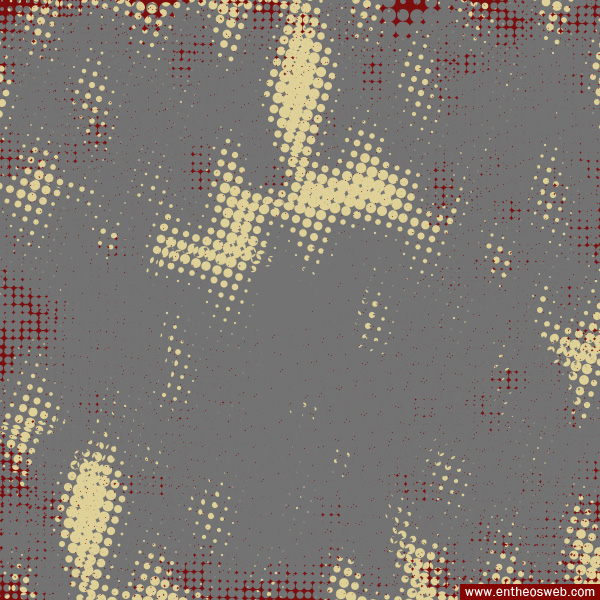
Now set #737373 as your foreground color and create a new layer by going to Layer > New layer. After that, select the ‘Halftone brush 9’ and apply all over it. Now pick # 7b0e0e color and use ‘Halftone brush6’ at the edges on a new layer as shown below.
Step 4
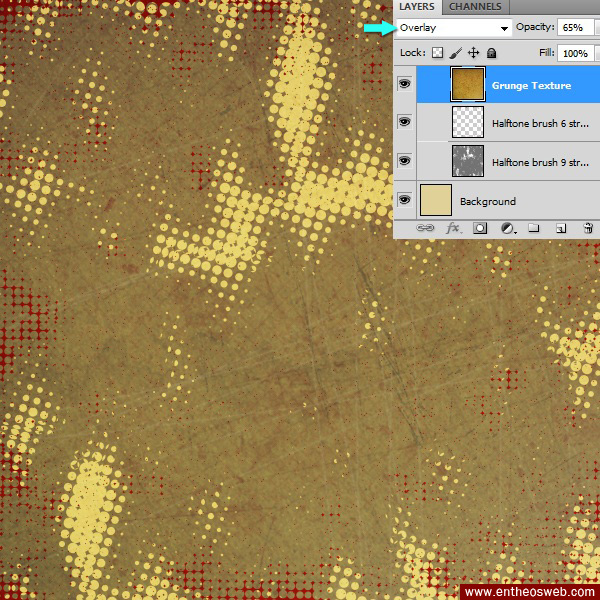
Open the grunge texture file, press Ctrl+ A to select it, then press Ctrl+ C to copy the selection. Come back to your document and press Ctrl+ V to paste the texture here. Change the blending mode of texture layer to ‘overlay’ and reduce its opacity to 65%.
Step 5
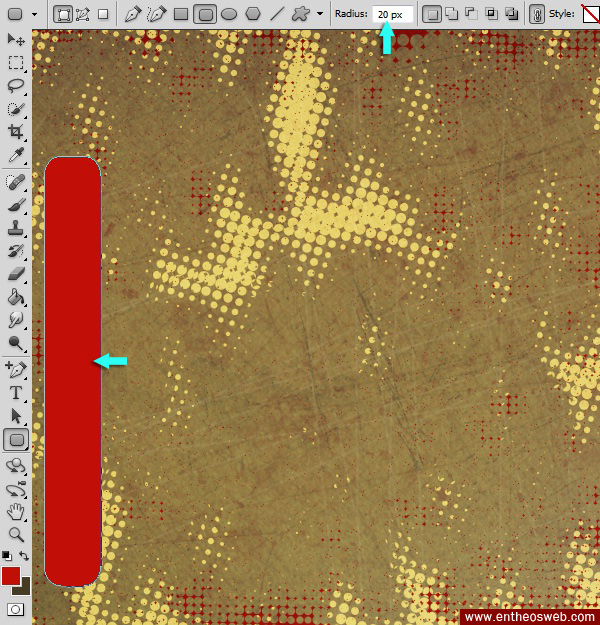
Now select the ’rounded rectangle tool’ with 20px radius to make a rectangle as shown below.
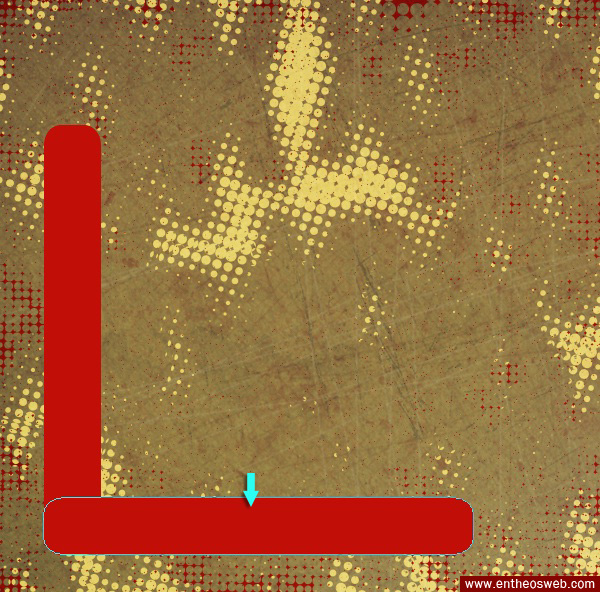
Duplicate it by going to Layer > Duplicate layer. After that, go to Edit > Transform path > Rotate 90 CW. Arrange this copy as shown below using ‘move tool (V)’.
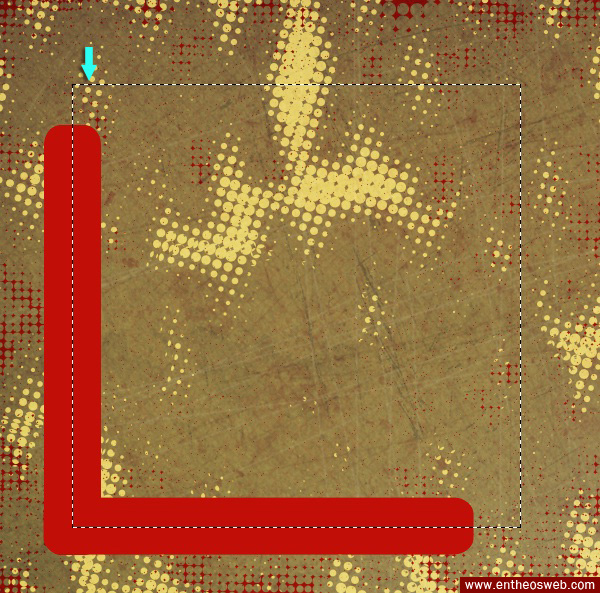
Now select both layers of rectangles by pressing ‘Shift’ key and clicking on the layers, then right click on the layers and select the option of ‘rasterize layers’. Right click again and choose ‘merge layers’. Once you are done, select the ‘rectangular marquee tool’ to make selection as below. Now go to Edit > Clear. In this way, you would get a nice shape.
Step 6
Now duplicate this shape layer 4 times and give each shape colors as shown below using the option of ‘color overlay’. For that, you need to go to Layer > Layer style > Color overlay. Collect these layers in a new group and place it below the texture layer.
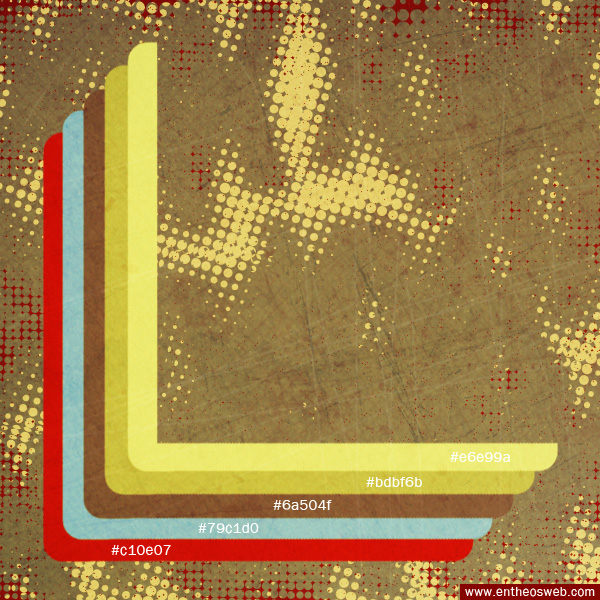
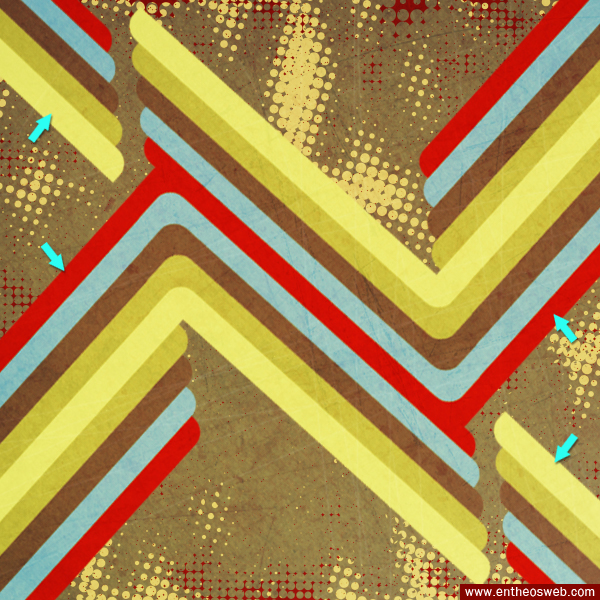
Rotate this group using ‘free transform tool (Ctrl+ T)’. Duplicate this group and go to Edit > Transform > Flip vertical. Arrange it as shown below.

Now you need to duplicate this final shape few times and arrange it as displayed below using ‘free transform tool (Ctrl+ T)’.
Step 7
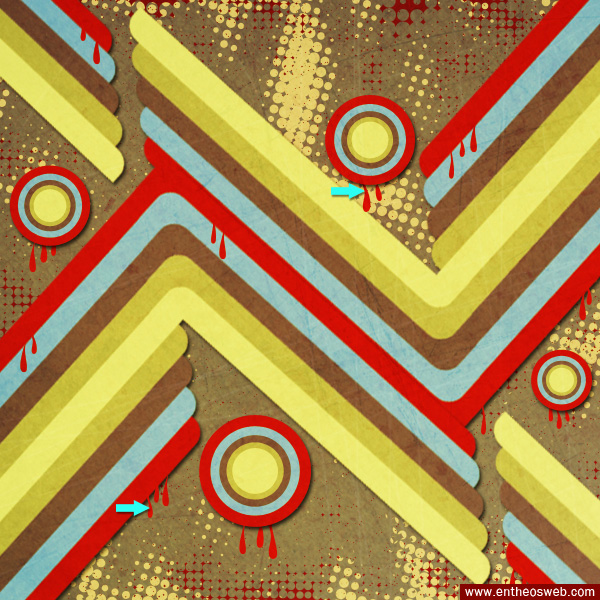
Select the ‘ellipse tool’ to draw 5 circles placed over each other using same colors as used for rectangular shapes. Collect them in a group, duplicate and resize this group few times.
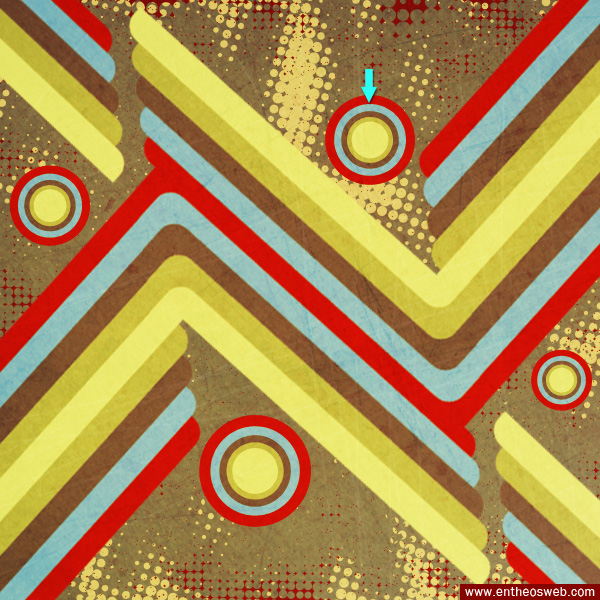
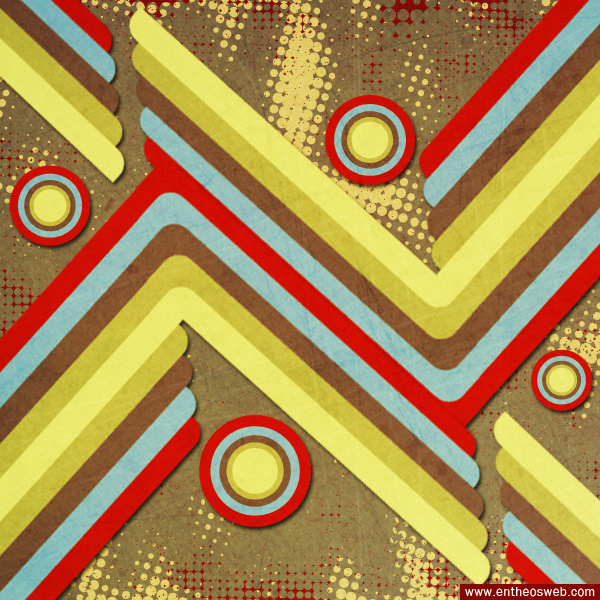
Now click on one of the shape layers to select it and go to Layer > Layer style > Drop shadow. Use the given settings.

Right click on this layer with drop shadow and select the option of ‘Copy layer style’. After that, right click on rest of shape layers one by one and select the option of ‘Paste layer style’ to apply the same effect.
Step 8
Next, we’ll create some bloody drops dipping from the red shapes. So select the ‘pen tool’, click on the option of ‘shape layers’ from top options bar and draw the drop shapes.
Step 9
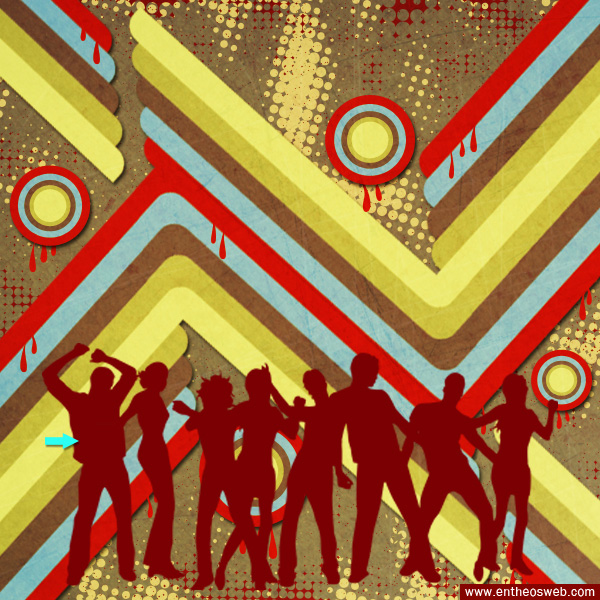
Open the disco silhouettes file in adobe illustrator to remove the background and front figures, save this file now. Open the newly saved file in Photoshop, copy and paste silhouette vectors in your document. Change their color using the option of ‘color overlay’ as explained in step 6. Use # 7a0003color here.
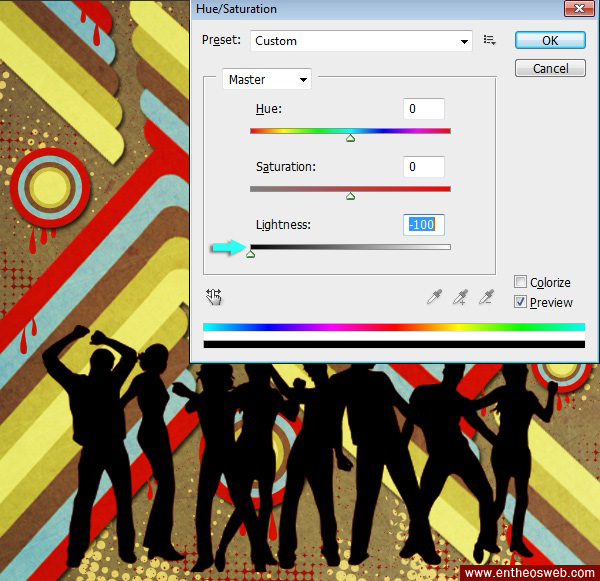
Duplicate this layer, hide the effects and press Ctrl+ U to open the ‘Hue and Saturation’ window. Use the given settings.
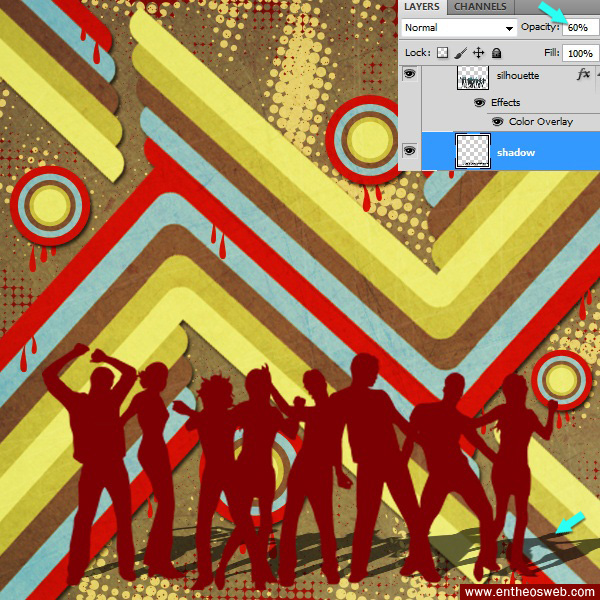
Now go to Edit > Transform > Distort and use it to form the shadow as shown below. Reduce the opacity of this shadow layer to 60%.
Step 10
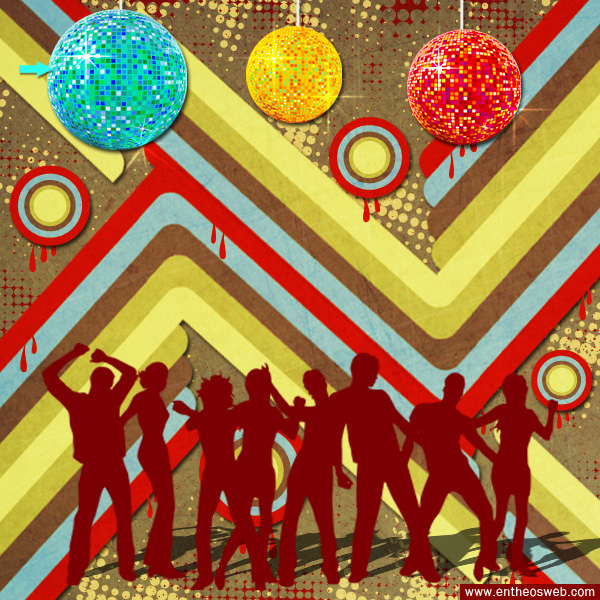
Paste the disco ball vectors in your document, you can resize them using ‘free transform tool’. Apply the same settings of drop shadow for these as explained in step 7. Make a thin rectangle using ‘rectangular marquee tool’, fill it with # ececec color. Place it behind the disco ball. Do the same for rest of the disco balls.
Step 11
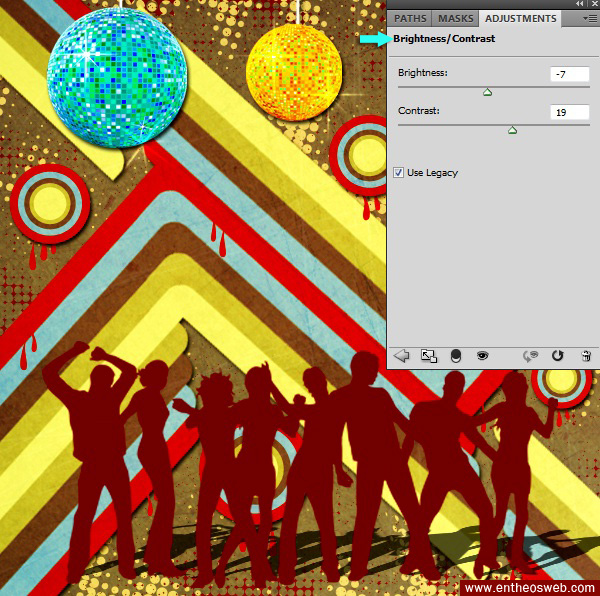
Now click on the icon of ‘create new fill or adjustment layer’ present at the bottom of the layers panel and select the option of ‘Brightness and Contrast’. Use the given values.
Step 12
Next, open the ‘color balance’ adjustment layer and use the given settings.

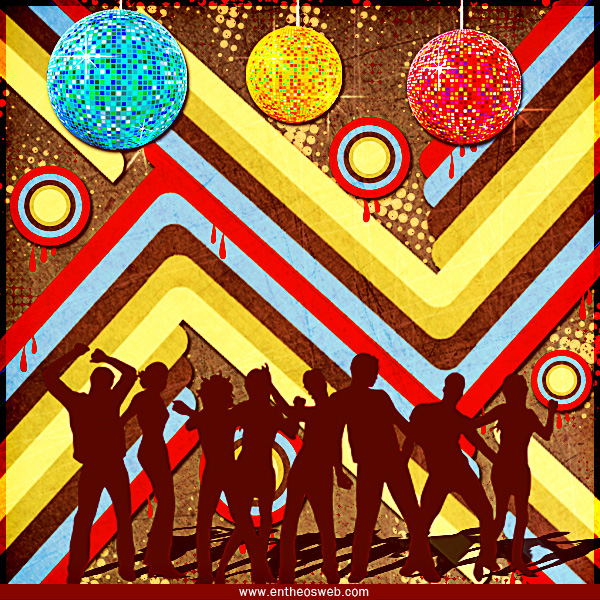
That’s all. Hope you enjoyed the tutorial and learned something useful. We’ll be waiting for your feedback.
