In this tutorial we’ll show you how to create a grunge effect and apply it on a photo in Adobe photoshop CS6.

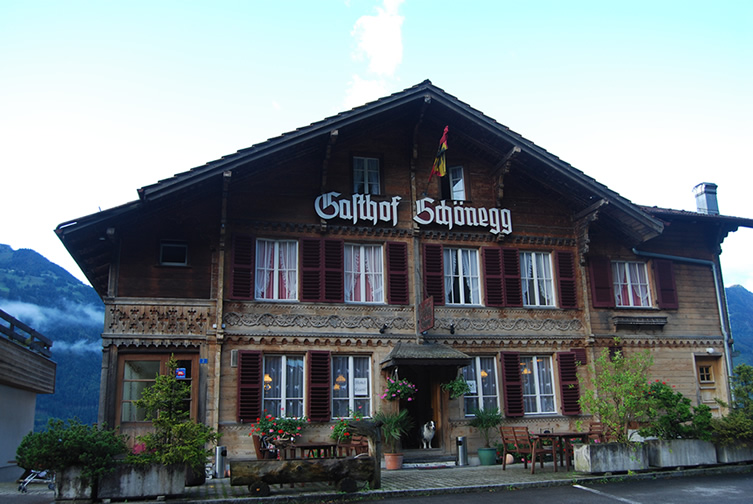
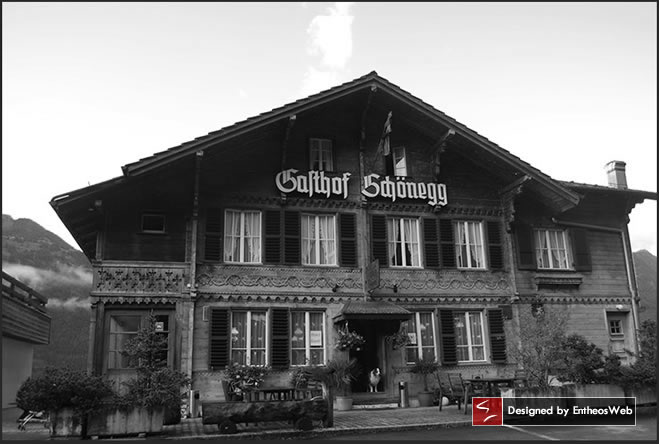
Let’s start the tutorial. Here’s the image that I am going to apply grunge effect.
Step 1 : Open a new file in Adobe Photoshop CS6 and place the house image on the canvas.
Go to File > Place

Select the image from the folder where you have saved, then click “Place” button.

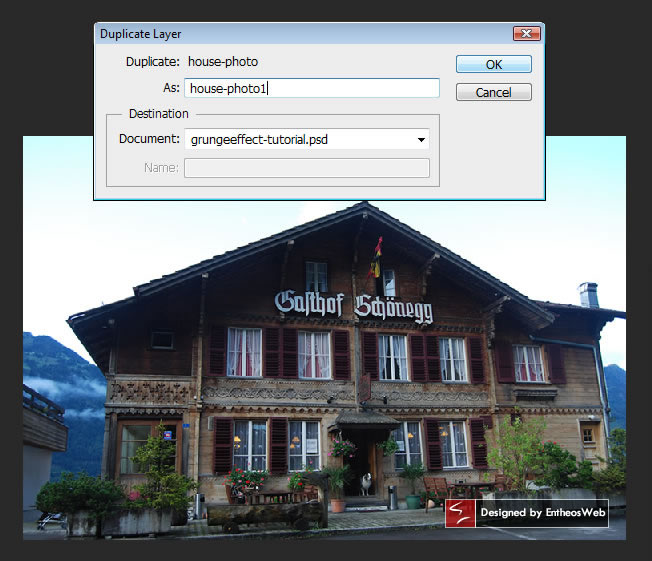
Step 2 : Duplicate the house image layer by pressing Ctrl-J or going to Layer > Duplicate layer or you can also select the Duplicate Layer by Right-clicking the selected layer.

Now we will change the name as “house-photo1” for the duplicated layer.
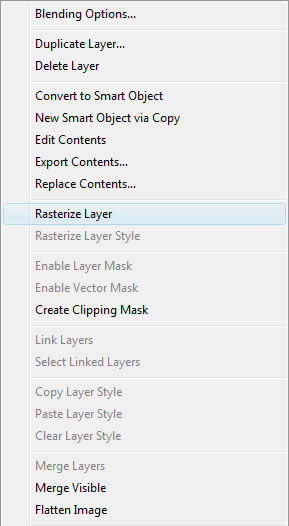
Step 3 : After that, go to Layer > Rasterize > Layer or by Right-clicking the selected layer.
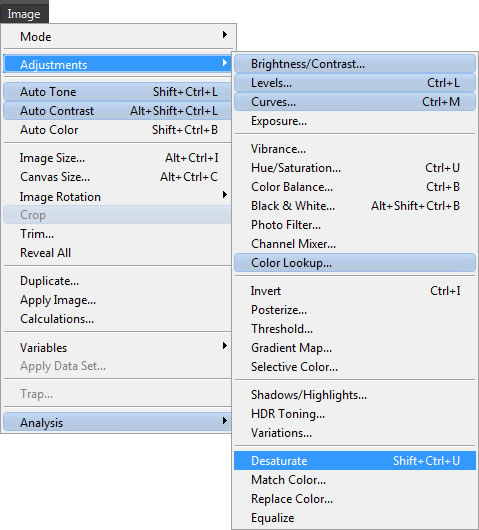
Step 4 : Next click on your duplicated layer, then choose Image > Adjustments > Desaturate.
Note : Desaturation is an easy way to converts a color image to grayscale values, but leaves the image in the same color mode for the selected layer only.
Step 5 : Photoshop instantly desaturates all the color in the photo and you will have the following desaturate effect so far:
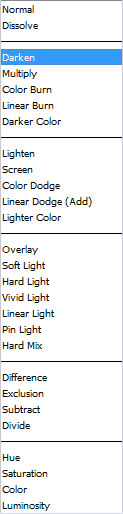
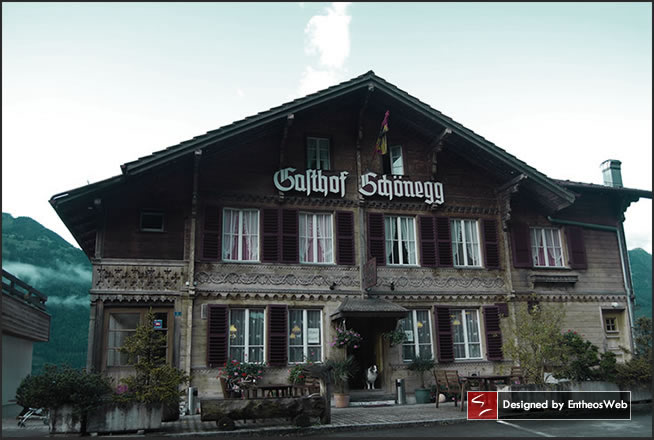
Step 6 : Once you are done, then select the desaturated house image and change the Blend Mode to Darken with 100% opacity.

Step 7: Now, the house image will look as similar as below.
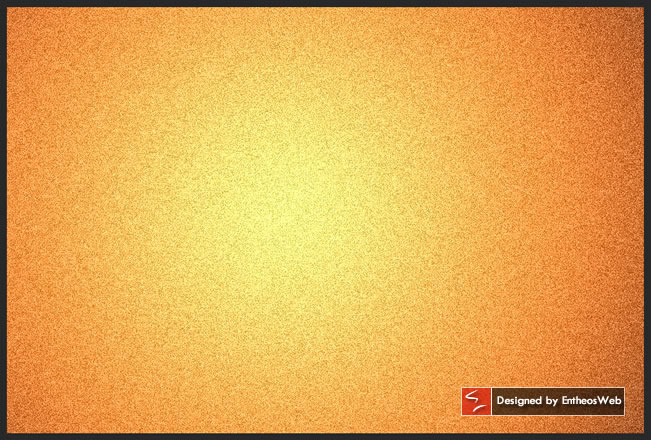
Step 8 : Next, we’ll start creating a grunge background to apply it on the house image. Click on the “Create a new layer” icon at the bottom of the Layers panel.

Step 9 : We need to create a new gradient background layer using the “Gradient Tool”. Here I have used the radial gradient using orange and yellow colors.


Step 10 : From the main menu choose Filter > Noise > Add noise.
Note : You can add graininess to your image with the Add Noise filter to reduce detail or add a static effect.

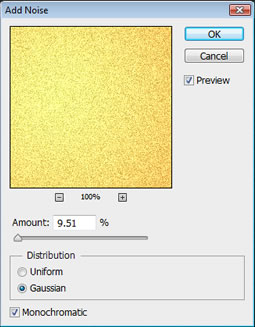
Step 11 : This opens the Add Noise dialog box. There make the noise monochromatic, Gaussian and set it as 9.51% and click OK when you’re done to close out of the Add Noise dialog box.
The noise filter gives you a slight texture effect. Hence the image will look similar to this
Step 12 : Again go to Filter > Noise > Dust & Scratches
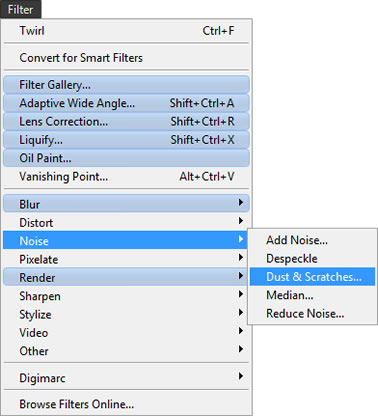
Step 13 : Use the following settings : Radius : 1 Pixels and Threshold : 3 Levels and click OK.

In this stage, your image should be noisy, dust and Scratches like this:

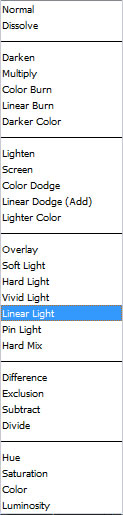
Step 14 : Set the Blend Mode to Linear Light and lower the layer’s Fill opacity to 52%.

Step 15 : That’s it! here is the final effect.

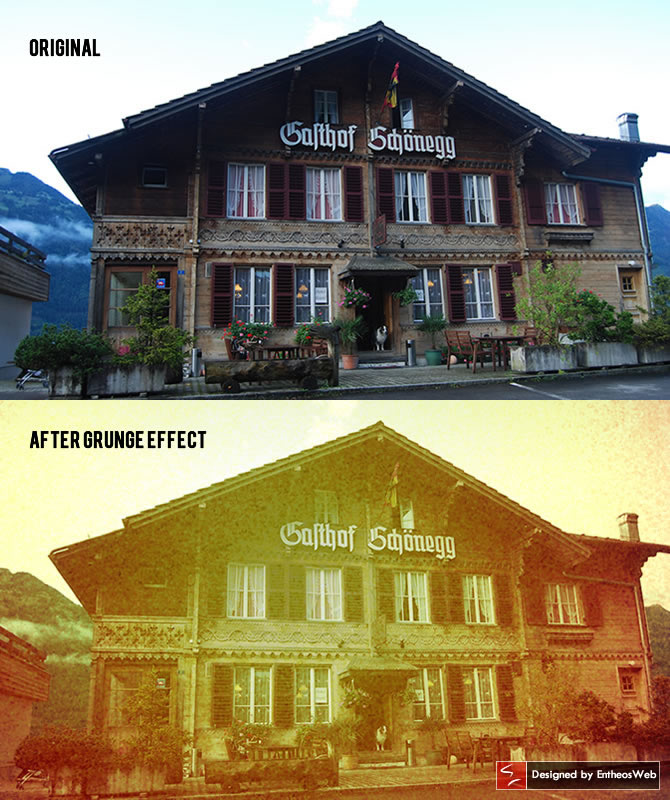
Step 16 : Here’s the comparison between the original and the final photo.
Hope you enjoyed this tutorial on creating a grunge effect and apply it on a photo in photoshop. Do share your thoughts regarding it and also let us know what you think!