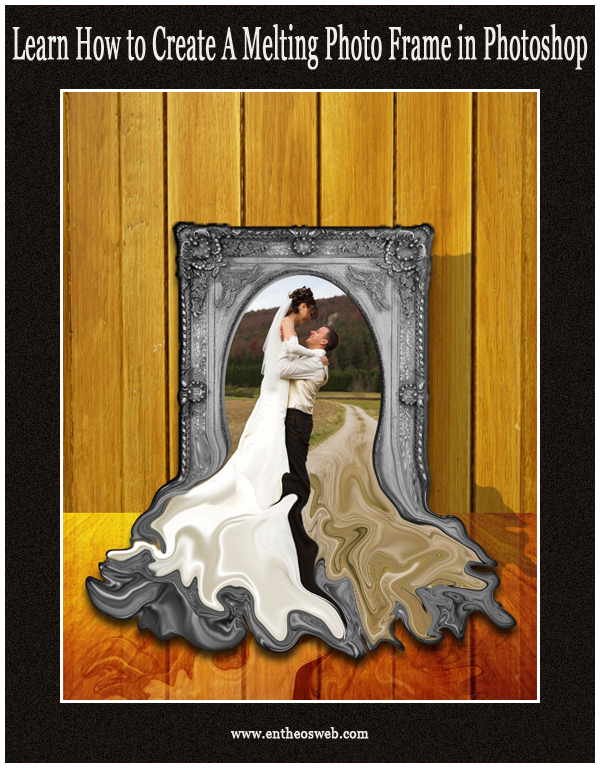
In this tutorial, we will learn how to create a wooden background with a melting photo frame in Photoshop using the Liquify filter and the turbulence tool.
Tutorial Details
Program: Photoshop CS5
Estimated Completion Time : 20-25 Minutes
Tutorial Assets
The following assets were used in the creation of this tutorial.
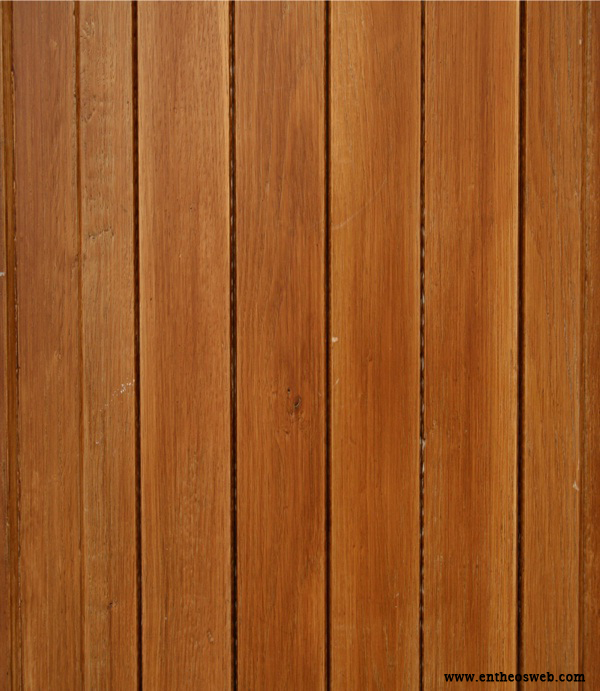
* Wood background
* Wood texture
* Photo frame
* Couple’s photo
Step 1
Create a new document in Photoshop with 1200px width and 1000px height.

Step 2
Now open the ‘wood background’ image, press Ctrl+ A to select the image and then press Ctrl+ C to copy it. Come back to your document now and press Ctrl+ V to paste the image here. After that, you can resize the image according to your need with the help of ‘free transform tool’. You can activate ‘free transform tool’ by pressing Ctrl+ T.
Step 3
Open the ‘wood texture’ image now and paste it in your document in the same way as explained in step 2. After that, go to Edit > Transform > Distort and drag the points as shown below to give the impact of a table.

Step 4
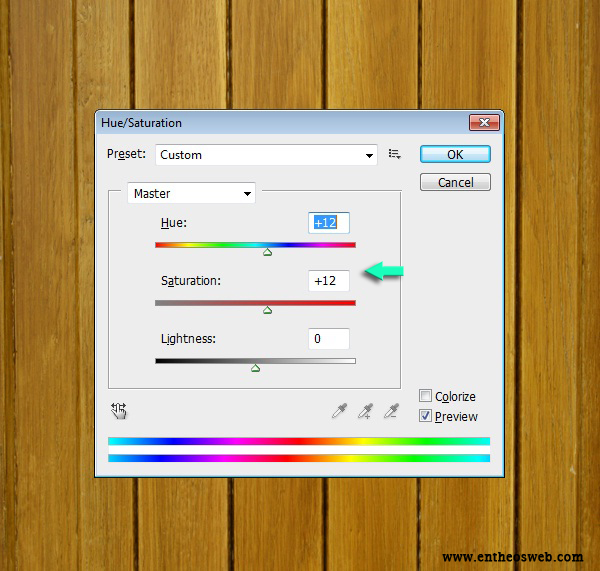
Next, we’ll adjust the colors of both of these images. For this tutorial, we would give yellowish tone to the wood. For this, click on the ‘wood background’ layer and go to Image > Adjustments > Hue and Saturation. Use the following values here.
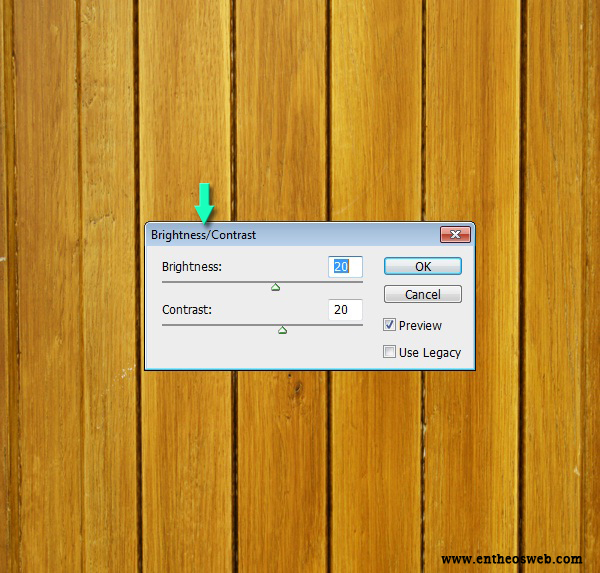
After that, go to Image > Adjustments > Brightness/Contrast and use the given settings.
Step 5
Apply same settings for the table wood texture as explained in step 4.

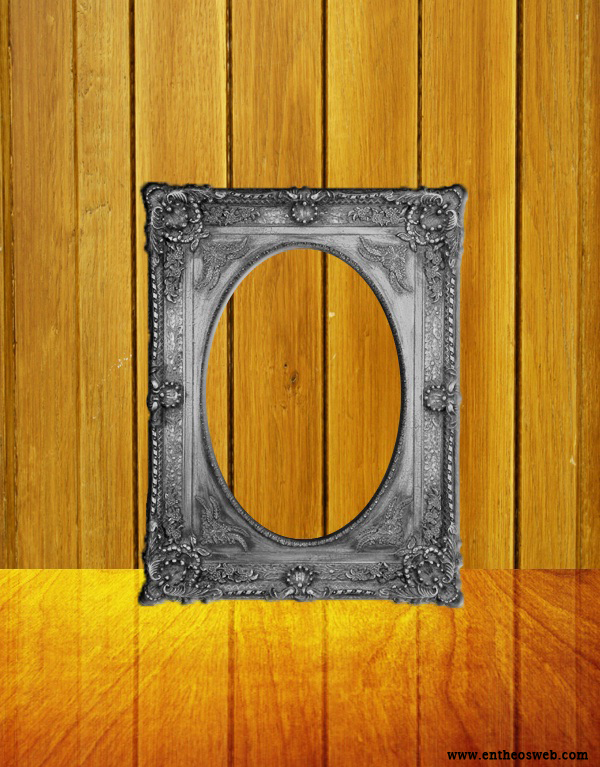
Now duplicate the ‘wood background’ layer by going to Layer > Duplicate layer. Drag it down using ‘move tool’ to place it over the table. Set its ‘Blending mode’ to ‘soft light’. This would form a reflection of the background on our table.

Step 6
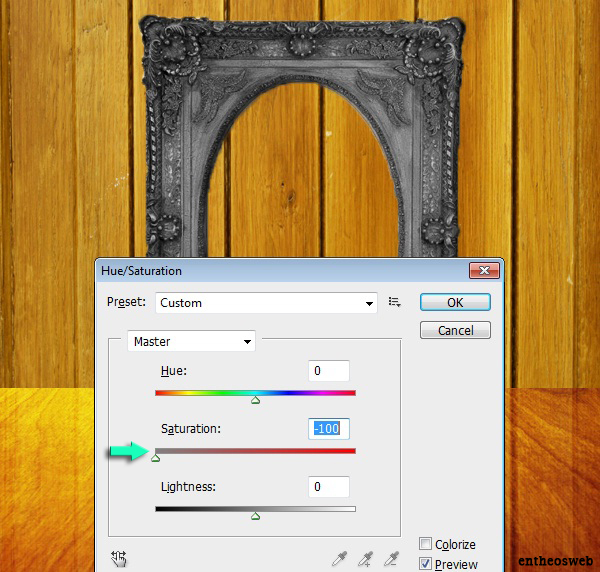
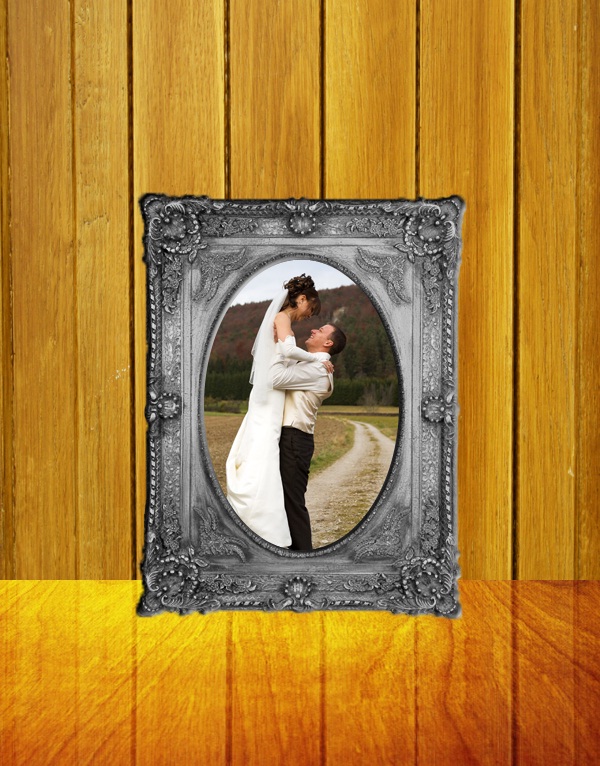
Open the ‘frame’ image and paste it in the document as explained in step 2. Now select the frame from the image using any selection tool. We’ll use ‘quick selection tool’ here and then copy this selection by pressing Ctrl+ C and paste it on a new layer by pressing Ctrl+ V. After that, go to Image > Adjustments > Hue and Saturation and use the given settings to de-saturate the image.
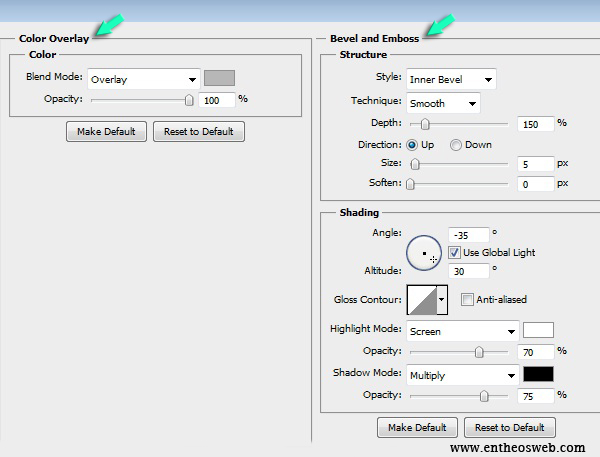
Now go to Layer > Layer style > Blending options and use the following values here.
Step 7
Open the ‘Photo’ and paste it in a new layer. Resize it according to the frame using ‘free transform tool’ and then place this layer just below the frame layer.
Step 8
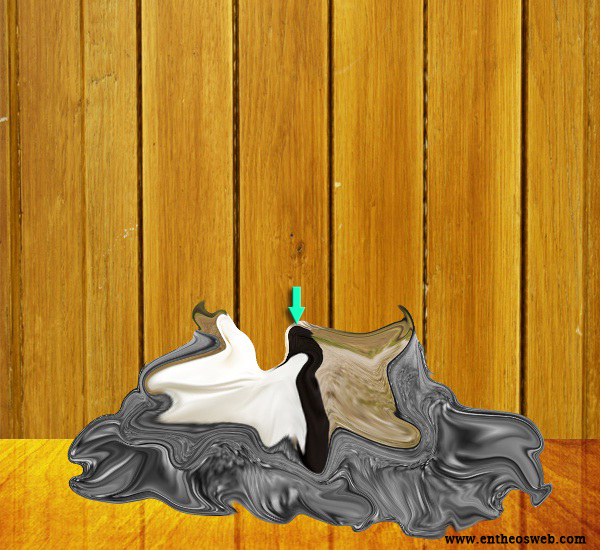
Click on the ‘couple’s photo’ and ‘frame’ layers by pressing Shift key and then go to Layer > Group layer to collect them in a new group. Now duplicate this group and work on the duplicated group. Keep the original group for backup. So, click on the duplicated group and go to Layer > Merge group. After that, select the ‘rectangular marquee tool’ and make a rectangular selection of the lower half of the photo frame. Then press Ctrl+ C to copy it and paste it on a new layer. This lower half frame copy would form the main melting shape. Now go to Filter > Liquify and use the displayed settings here.

Use the ‘turbulence tool’ to melt the frame as shown here. You can play with the tool to get the desired result. Try to start from the top border and compress it downward first. After that, melt the other parts.
Step 9
Now click on the full photo frame layer and liquify its lower 1/3rd using ‘turbulence tool’ as shown below.
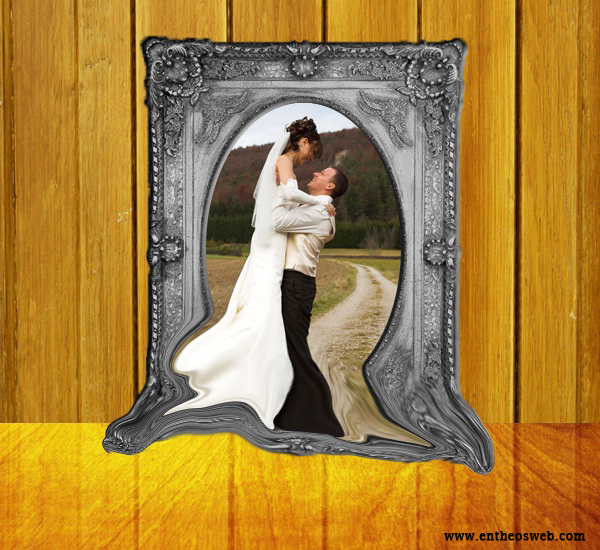
Next, select both half and full frame layers by pressing Shift key and merge them. Then again go to Filter > liquify to blend the melting portions nicely on this merged image using the ‘turbulence tool’.

Step 10
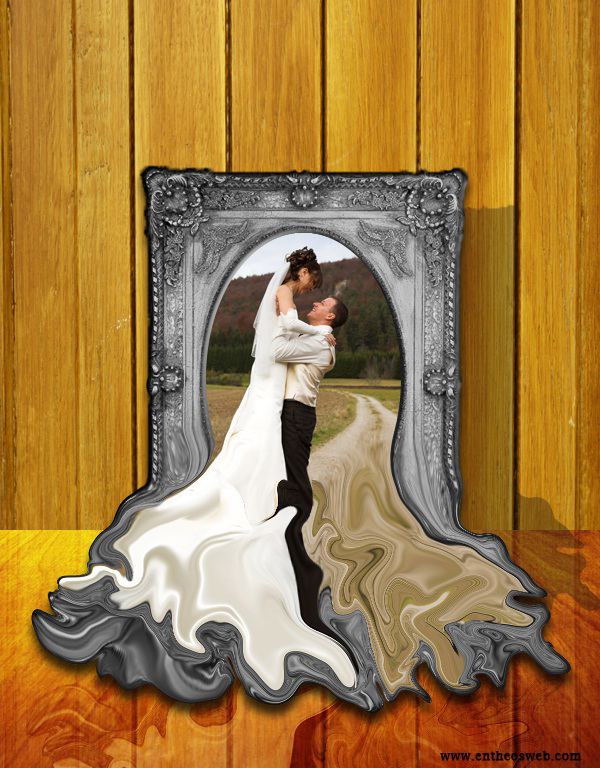
Now duplicate this merged melted layer and then go to Edit > Transform > Flip vertical. Then drag this flipped copy downward using ‘move tool’ to form the reflection of the melting photo frame. After that, change the blending mode of this layer to ‘Soft light’.

Step 11
Click on the melting photo frame layer and go to Layer > Layer style > Blending options and use the given settings.


Step 12
Press Ctrl+ click the thumbnail of melting photo frame layer to make a selection around it. Now create a new layer and place it below the frame layer and fill the selected area with # 000000 color in this new layer. Adjust the position of this shape to form proper shadow and reduce its opacity to 35%. That’s it.
Hope you enjoyed the tutorial. We’ll be waiting for your response. Have fun!