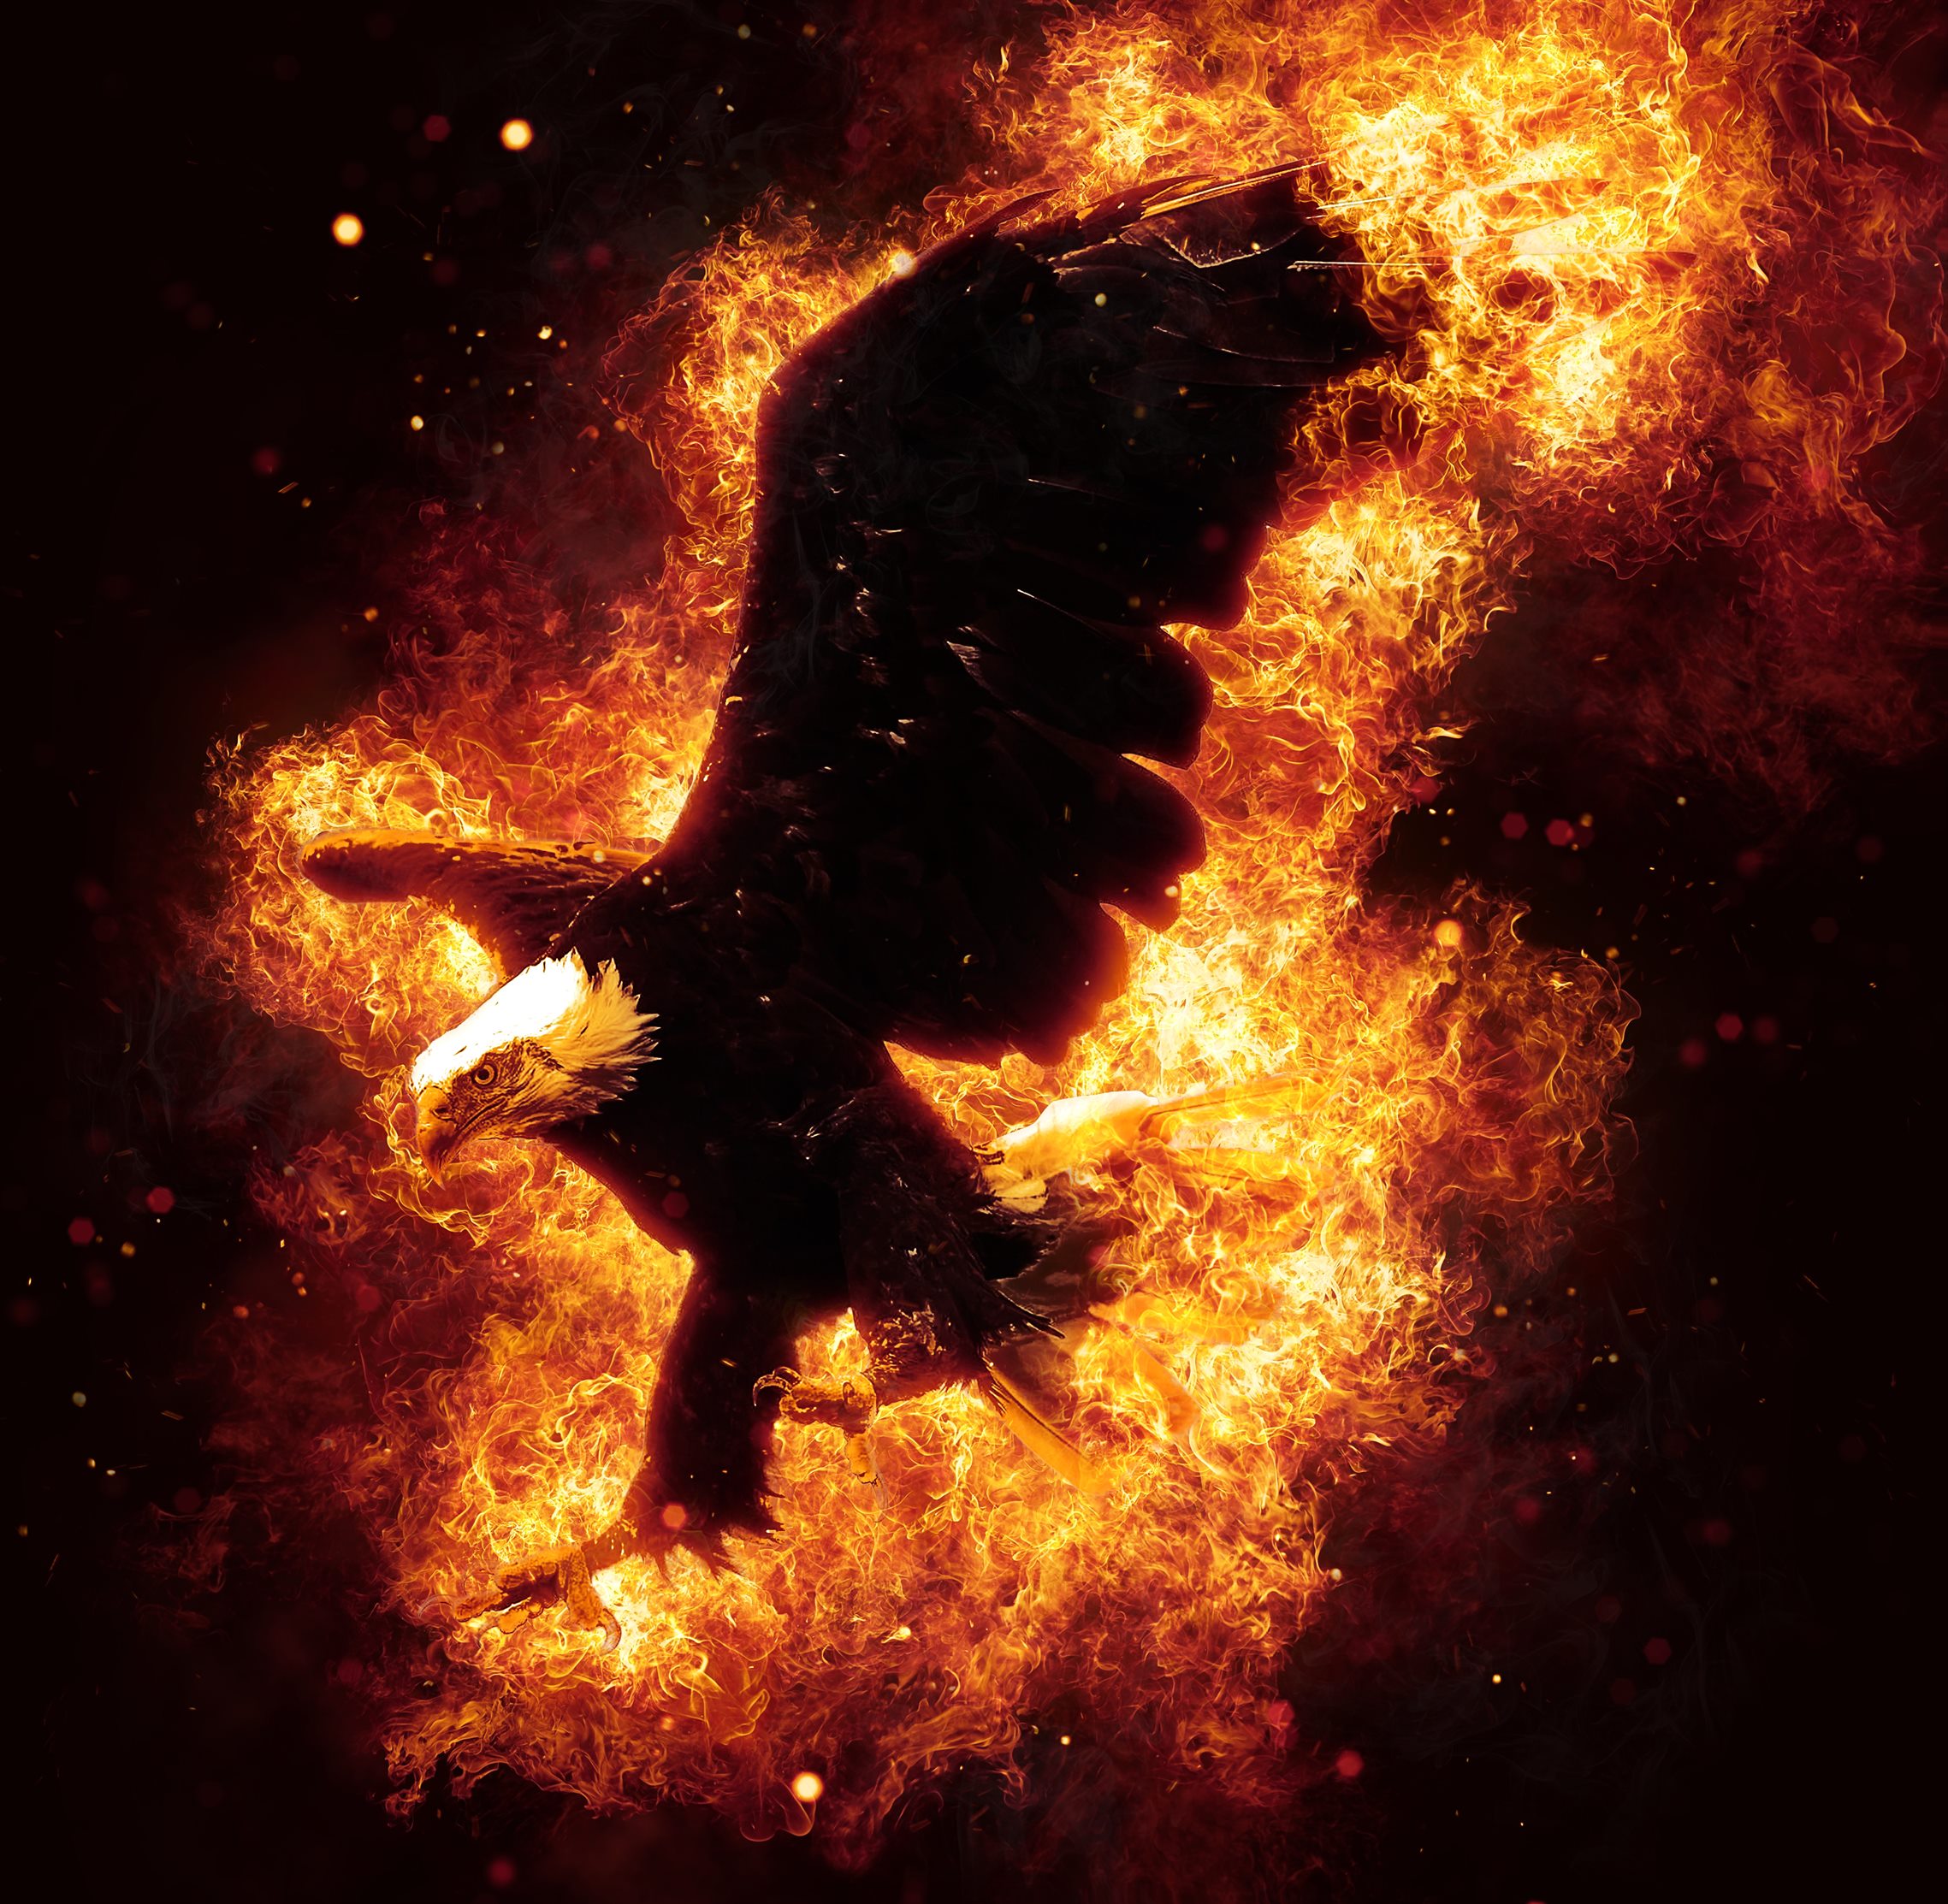
In this tutorial, you will learn how to create a fiery collision effect in outer space using Photoshop. We will learn how to create a flaming meteor collision photo manipulation.

Program: Photoshop CS5
Estimated Completion Time: 30 Minutes
Now we have everything we need we can start.
Step 1:– Open your Photoshop and create a new file with 2000px Width and 2000px Height.

Step 2:- Now for the background, select the “Gradient Tool” and click on Gradient editor. Then adjust the color stops. Keep the color #000000 on left and # 2a270f on right.

Step 3:- Now create a new layer, for this click on Layer> New> Layer. And use star brushes randomly on the background with different colors. I’ve used # 505b63 and 443341.

Step 4:- Open the earth image then copy and paste the earth on our main file. And now we’ll add some outer glow to our earth so for this click on Layer> Layer style> Outer Glow.

Step 5:- Now once again create a new layer and select the “soft round brush” with foreground color #f16523. Use it on the upper right corner of our earth.

Now change the “Blending mode” of the layer to “Color”.

Step 6:- Now open the flame image and paste it on the upper right corner as well. And this time change the blending mode to “Overlay”.

Step 7:-Select the “Ellipse Tool” and create a small circle, fill it with #ffffff. Now we need to add outer glow to our circle so click on Layer> Layer style> Outer Glow.

Step 8:- Now open the Blue earth image and paste it on top of our circle.

Step 9:- Once again we need to use some of the star brushes. So select the star brush with foreground color #ffffff and use it to create the smoke.

Step 10:- Create another new layer. Then select soft round brush and use on the upper right corner over the blue earth with color # f5901d and #ffffff.

Now change the blending mode to “Color”.

Step 11:- Now copy and paste the flame all over our meteorite. And change the blending mode to “Overlay”.

Step 12:- Create a new layer, and then change the foreground color to # ef6422. Select the Soft Round brush and use it on the lower right side. And then change the blending mode to “Color”.

Step 13:- Now copy white circle we have created above and paste it on the lower right corner. And reduce the opacity to 50%.

Step 14:- Now once again paste the flames on it and change the blending mode to “Overlay”.

Step 15:- Create another layer and select a star brush and use it with fore ground color # ffffff. Then click on Layer> Layer Style> Outer Glow. And add outer glow to our start with color # ffa200.

Step 16:- Now select the “Lasso Tool” and select a few pieces of the earth. Then copy and paste them randomly. You can also add texture to some or a little bit of drop shadow.

Step 17:- Now once again paste the flames over it and change the blending mode to “Overlay”.

And now our Fiery Cosmic Collision Effect photo manipulation is done. We hope you guys enjoyed it and learned how to create a poweful visual impact with this tutorial!
Create flame effect on any image using this ready-made Flame Photoshop action.


